

You’ve seen them on Instagram—those crisp, professional-looking outfit photos that make you wonder if everyone except you has a personal photographer following them around. Spoiler alert: they don’t. Taking professional-quality outfit pictures is actually way easier than you think, and you definitely don’t need fancy equipment or a degree in photography to pull it off.
Lighting Is Your Best Friend (And Worst Enemy)
Let’s start with the thing that’ll make or break your photos: lighting. You can have the most amazing outfit in the world, but if your lighting sucks, your photo will too.
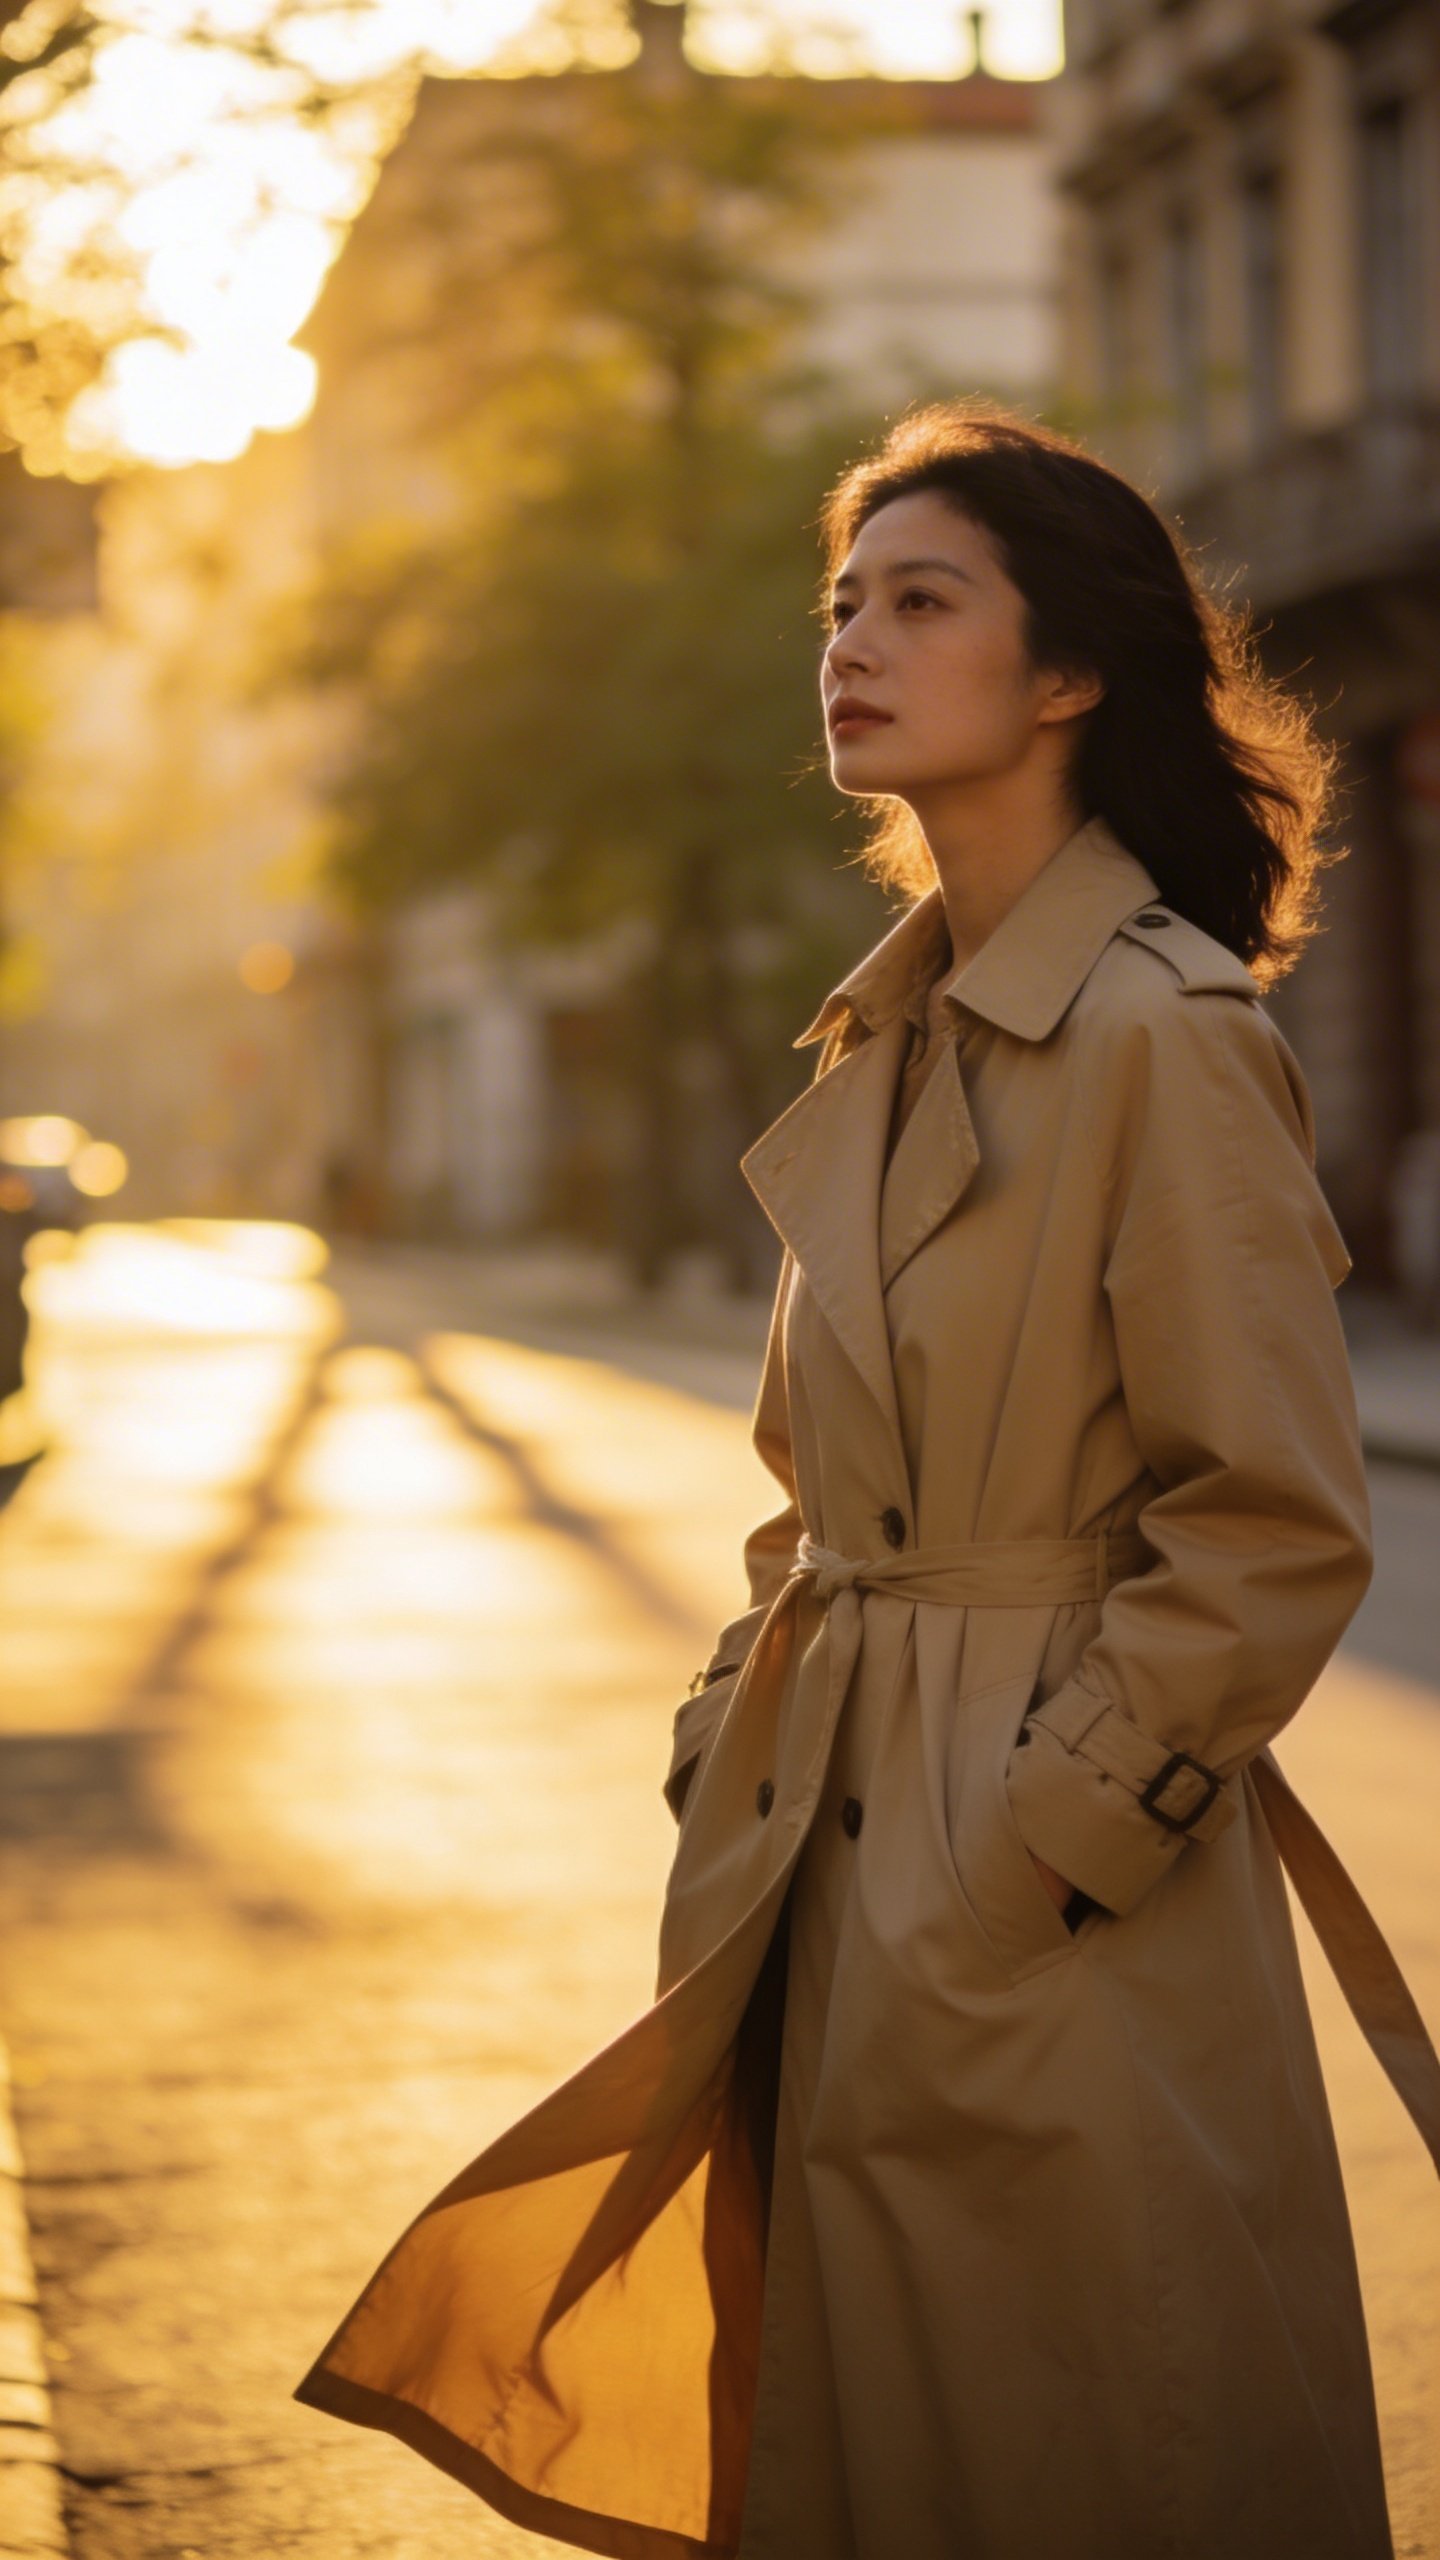
Natural light is the holy grail of outfit photography. Seriously, golden hour—that magical time about an hour after sunrise or before sunset—will make even your laziest outfit look editorial-worthy. The light is soft, warm, and incredibly forgiving. It’s like a built-in Instagram filter, except better.
But what if you can’t shoot during golden hour because, you know, you have a job or a life? No worries. Overcast days are actually fantastic for outfit photos. The clouds act like a giant softbox, diffusing the light evenly. You won’t get harsh shadows or that squinty look people get in direct sunlight.
Indoor Lighting Hacks
Sometimes you just need to shoot indoors. When that happens, position yourself near a large window but not directly in front of it. Face the window so the light hits you from the front or side—never shoot with the window behind you unless you want to look like a witness in a crime documentary.
Avoid overhead lighting at all costs. It creates unflattering shadows under your eyes and nose. If you must use artificial light, position lamps at eye level or slightly higher.
Background Matters More Than You Think
Ever notice how some outfit photos just look… messy? Nine times out of ten, it’s the background causing the problem.
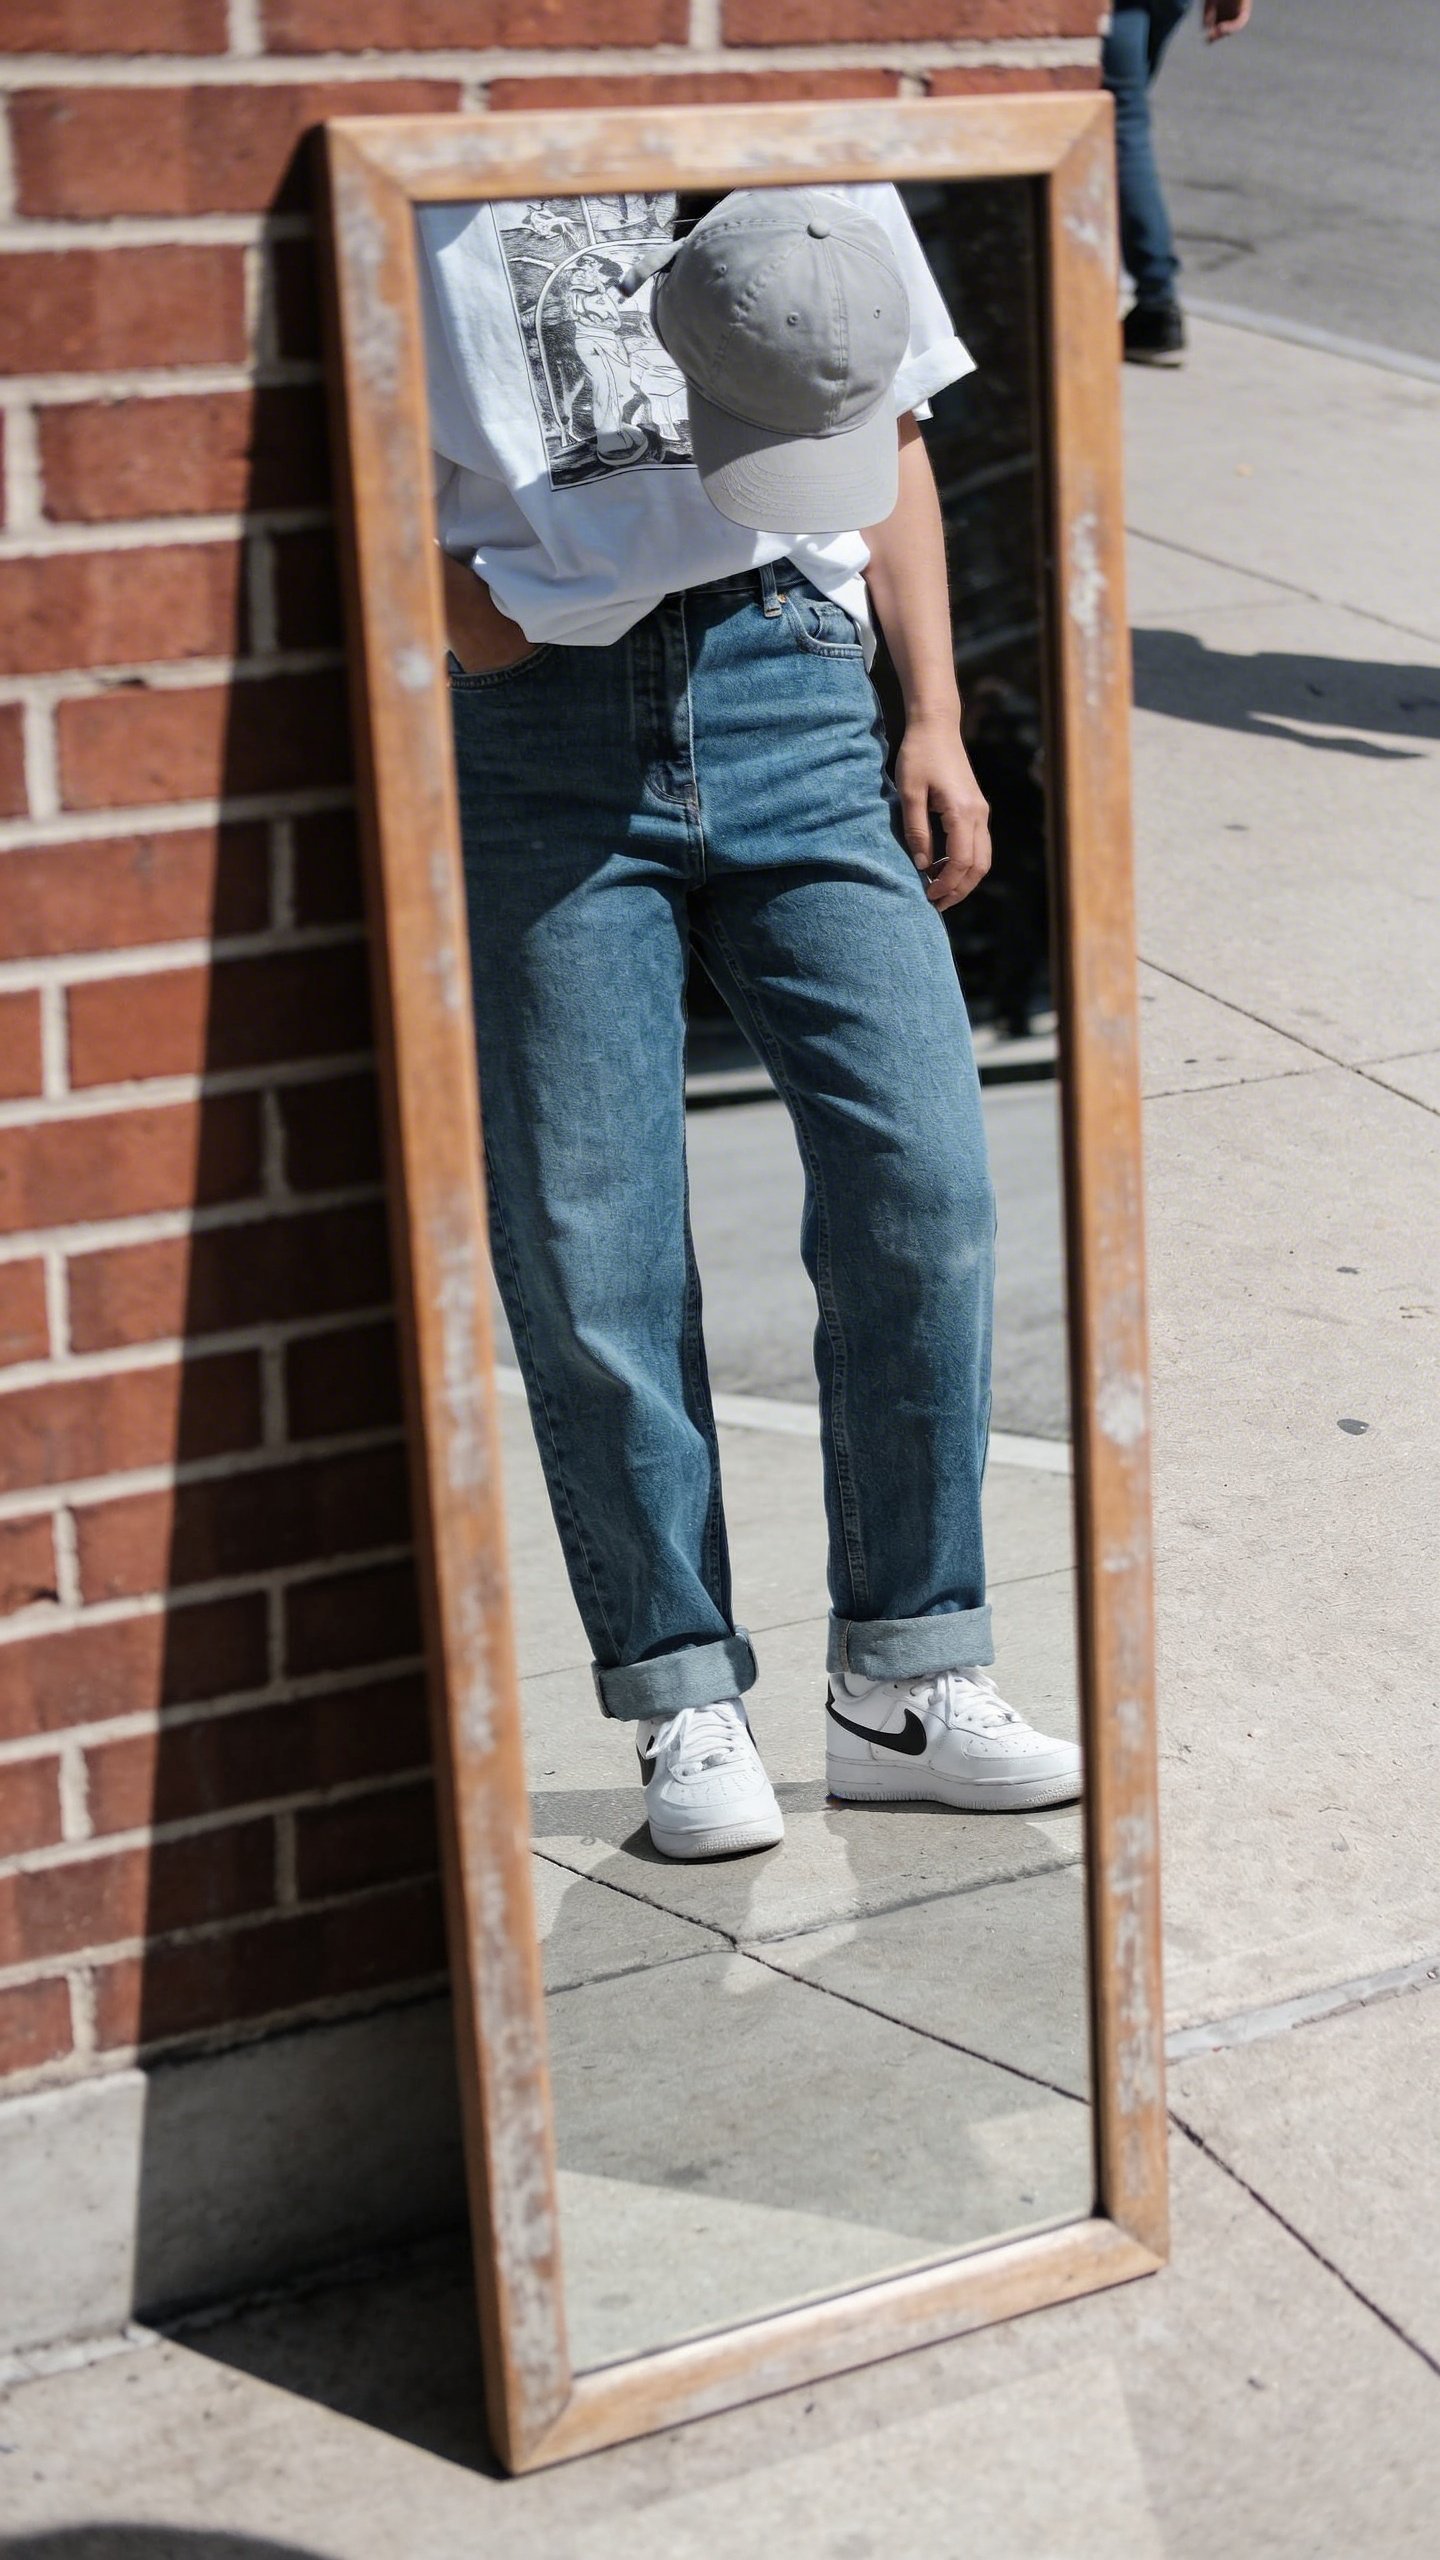
Keep your background simple and uncluttered. A plain wall works wonders—white, beige, or even a trendy accent color can all work. Brick walls, garage doors, and interesting architectural features also photograph beautifully and add texture without overwhelming your outfit.
Here’s a pro tip: scan your background before shooting. Look for random objects that’ll photobomb you—trash cans, electrical outlets, people’s feet, or that pile of laundry you swear you were going to fold yesterday. Move them or change your position.
Camera Settings and Equipment (Keep It Simple)
Good news: you don’t need a $3,000 camera. Your smartphone is completely capable of taking professional-looking photos. In fact, most fashion bloggers and influencers use their phones for the majority of their content.
If you’re using your phone, here’s what you need to know:
- Use the back camera, not the selfie camera—the quality is significantly better
- Clean your lens (seriously, when’s the last time you wiped it?)
- Enable gridlines to help with composition and make sure you’re not tilting
- Avoid using the zoom—it reduces quality. Just move closer instead
- Turn off the flash. Always. No exceptions.
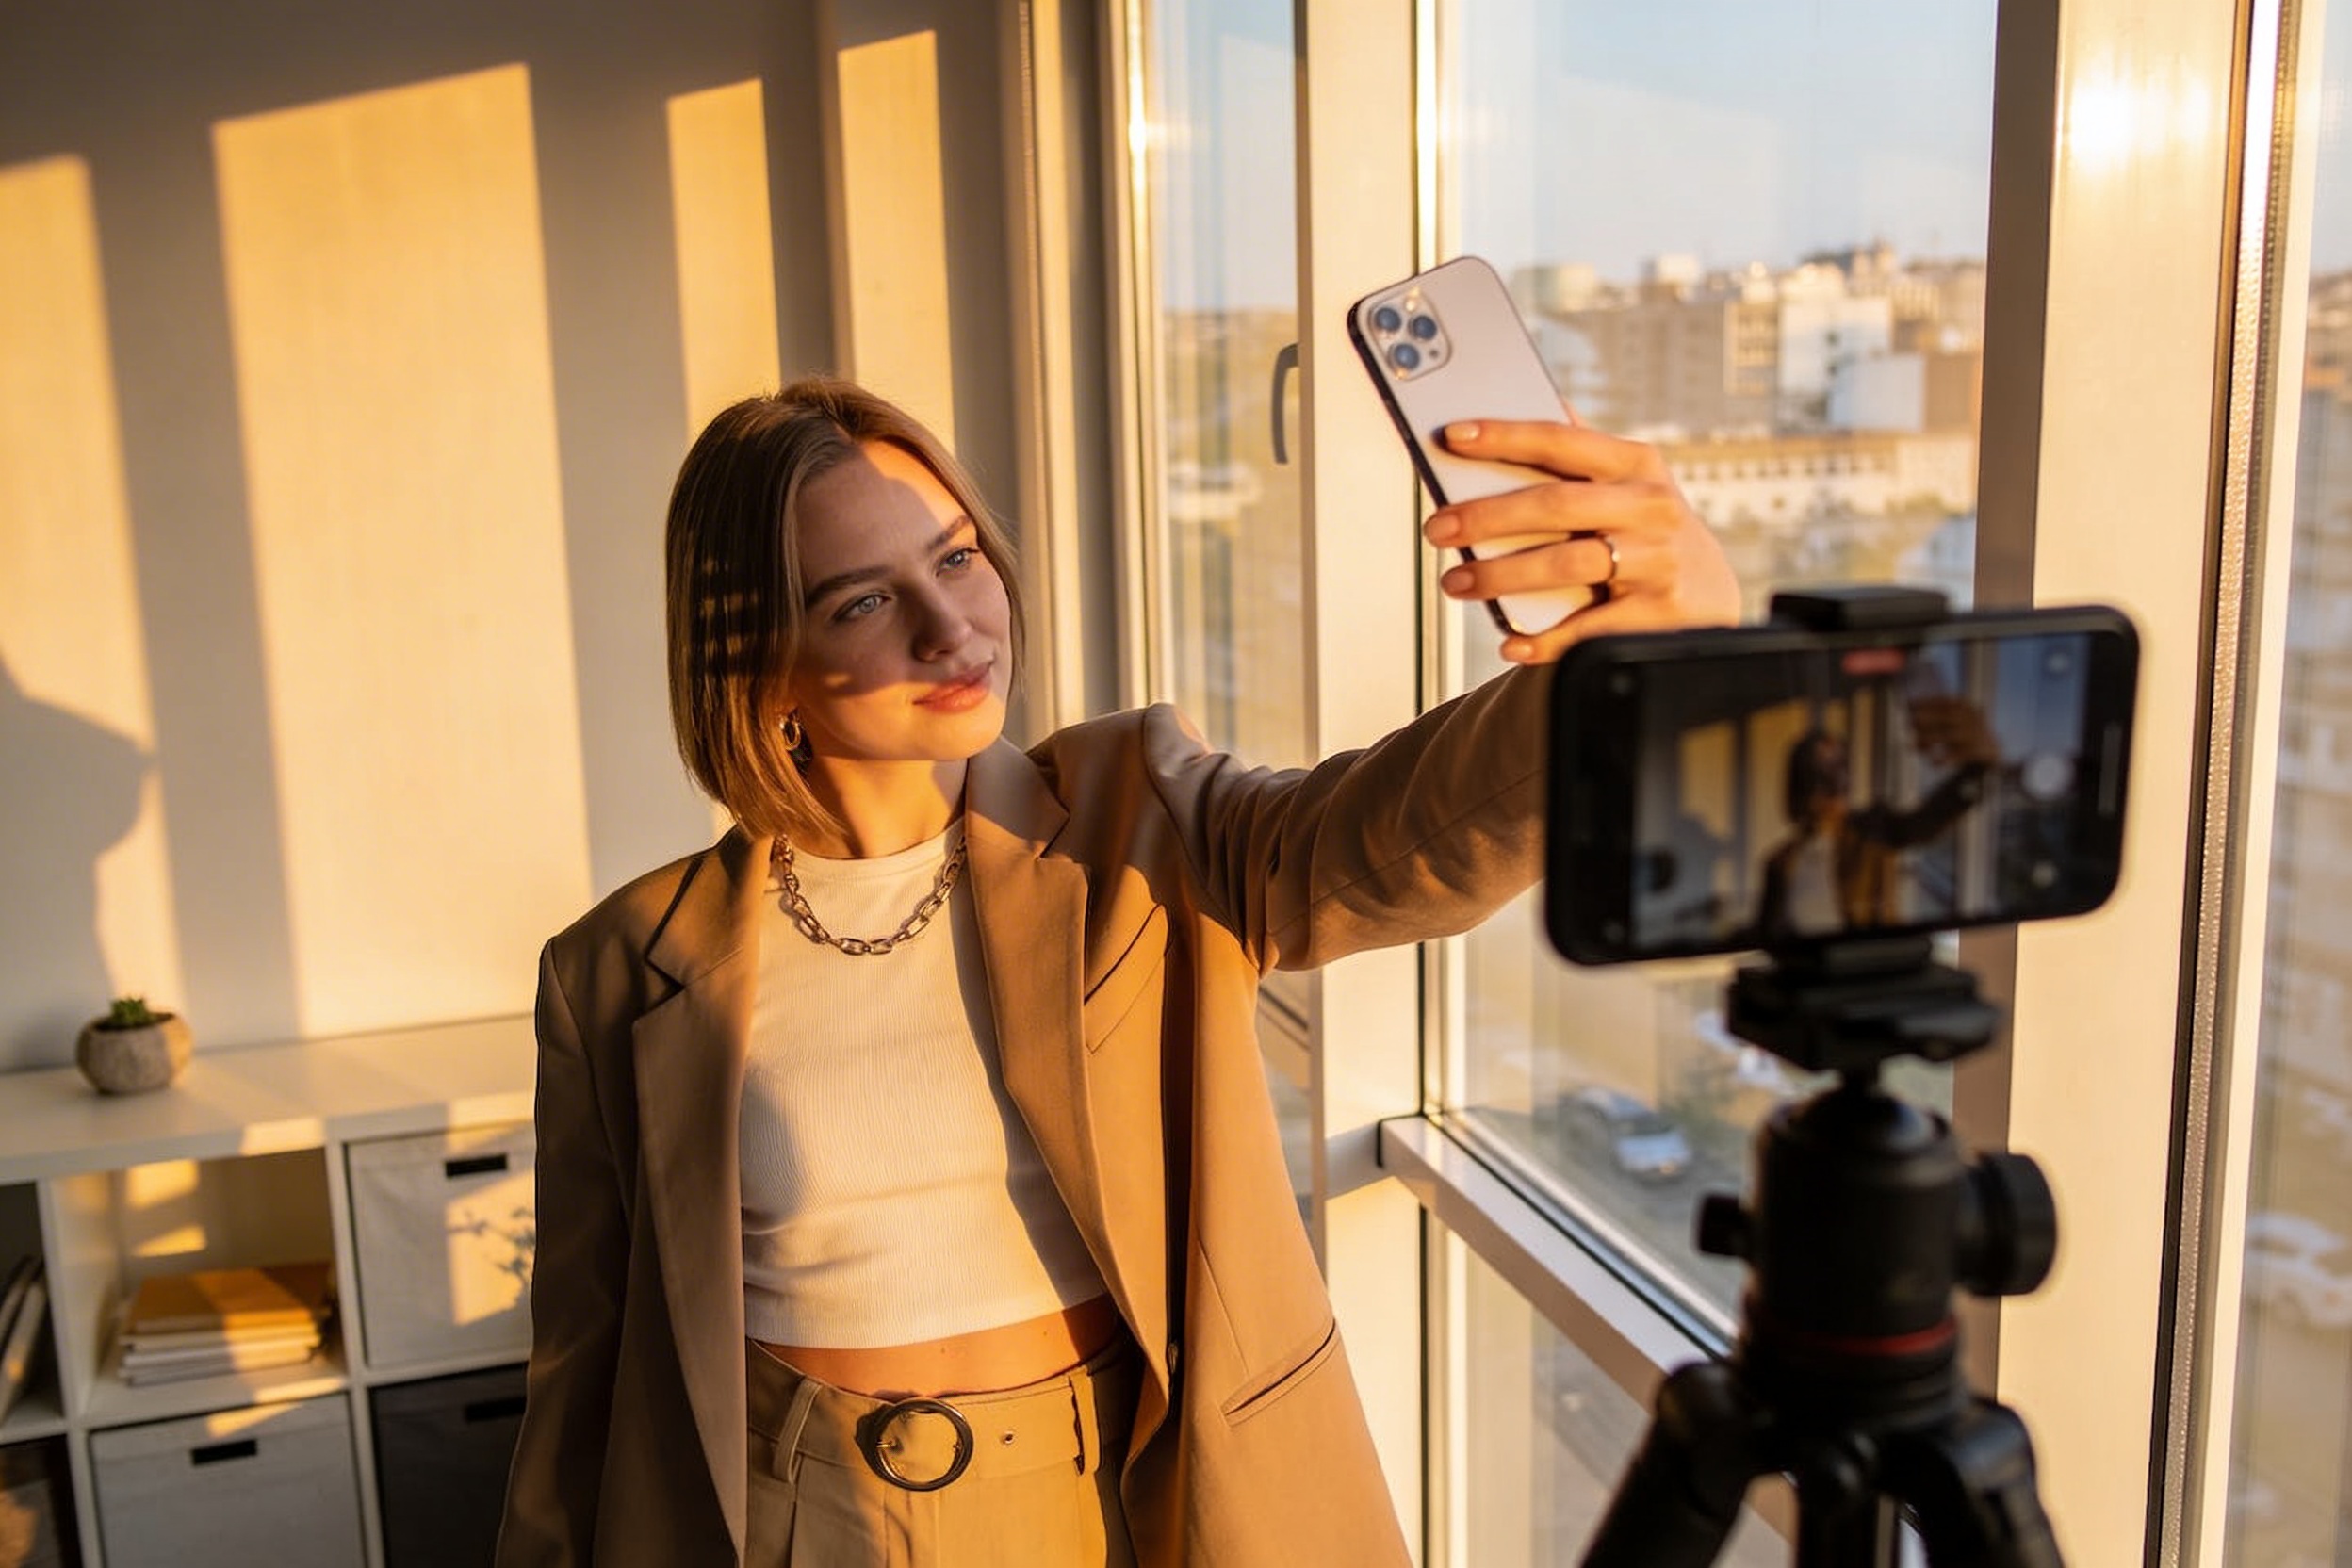
The Tripod Question
A tripod or phone holder makes life infinitely easier. You can grab a decent smartphone tripod for like twenty bucks. Set it up, use your phone’s timer or a Bluetooth remote, and boom—you’re your own photographer.
Position the camera at chest height or slightly lower for the most flattering angles. Shooting from too high makes you look shorter, and shooting from too low can create unflattering proportions unless you’re specifically going for that dramatic editorial vibe.
Posing Without Looking Awkward AF
Let’s address the elephant in the room: posing feels weird. You’re basically standing in public (or your bedroom) trying to look natural while doing something completely unnatural.
The secret? Movement is your friend. Static poses where you just stand there like a mannequin rarely look good. Instead, try these:
- Walk toward the camera and capture mid-stride
- Turn your body slightly to the side (about 45 degrees) instead of facing straight on
- Play with your hair, adjust your jacket, or look at something off-camera
- Shift your weight to one leg and pop your hip slightly
- Look away from the camera, then back at it—capture both moments
Your hands are probably the trickiest part. When in doubt: pockets, touching your hair, holding something (a bag, coffee cup, sunglasses), or gently resting one hand on your opposite arm all work well. Just don’t let them hang limply at your sides like you’re an NPC in a poorly designed video game.
Composition and Framing Tricks
Remember those gridlines we turned on earlier? Use the rule of thirds. Position yourself along one of those vertical lines rather than dead center. It creates a more dynamic, professional-looking composition.
Leave some space in the frame—you don’t need to fill the entire photo with your body. A little breathing room, especially above your head, looks more polished. But don’t go overboard and make yourself a tiny speck in the distance.
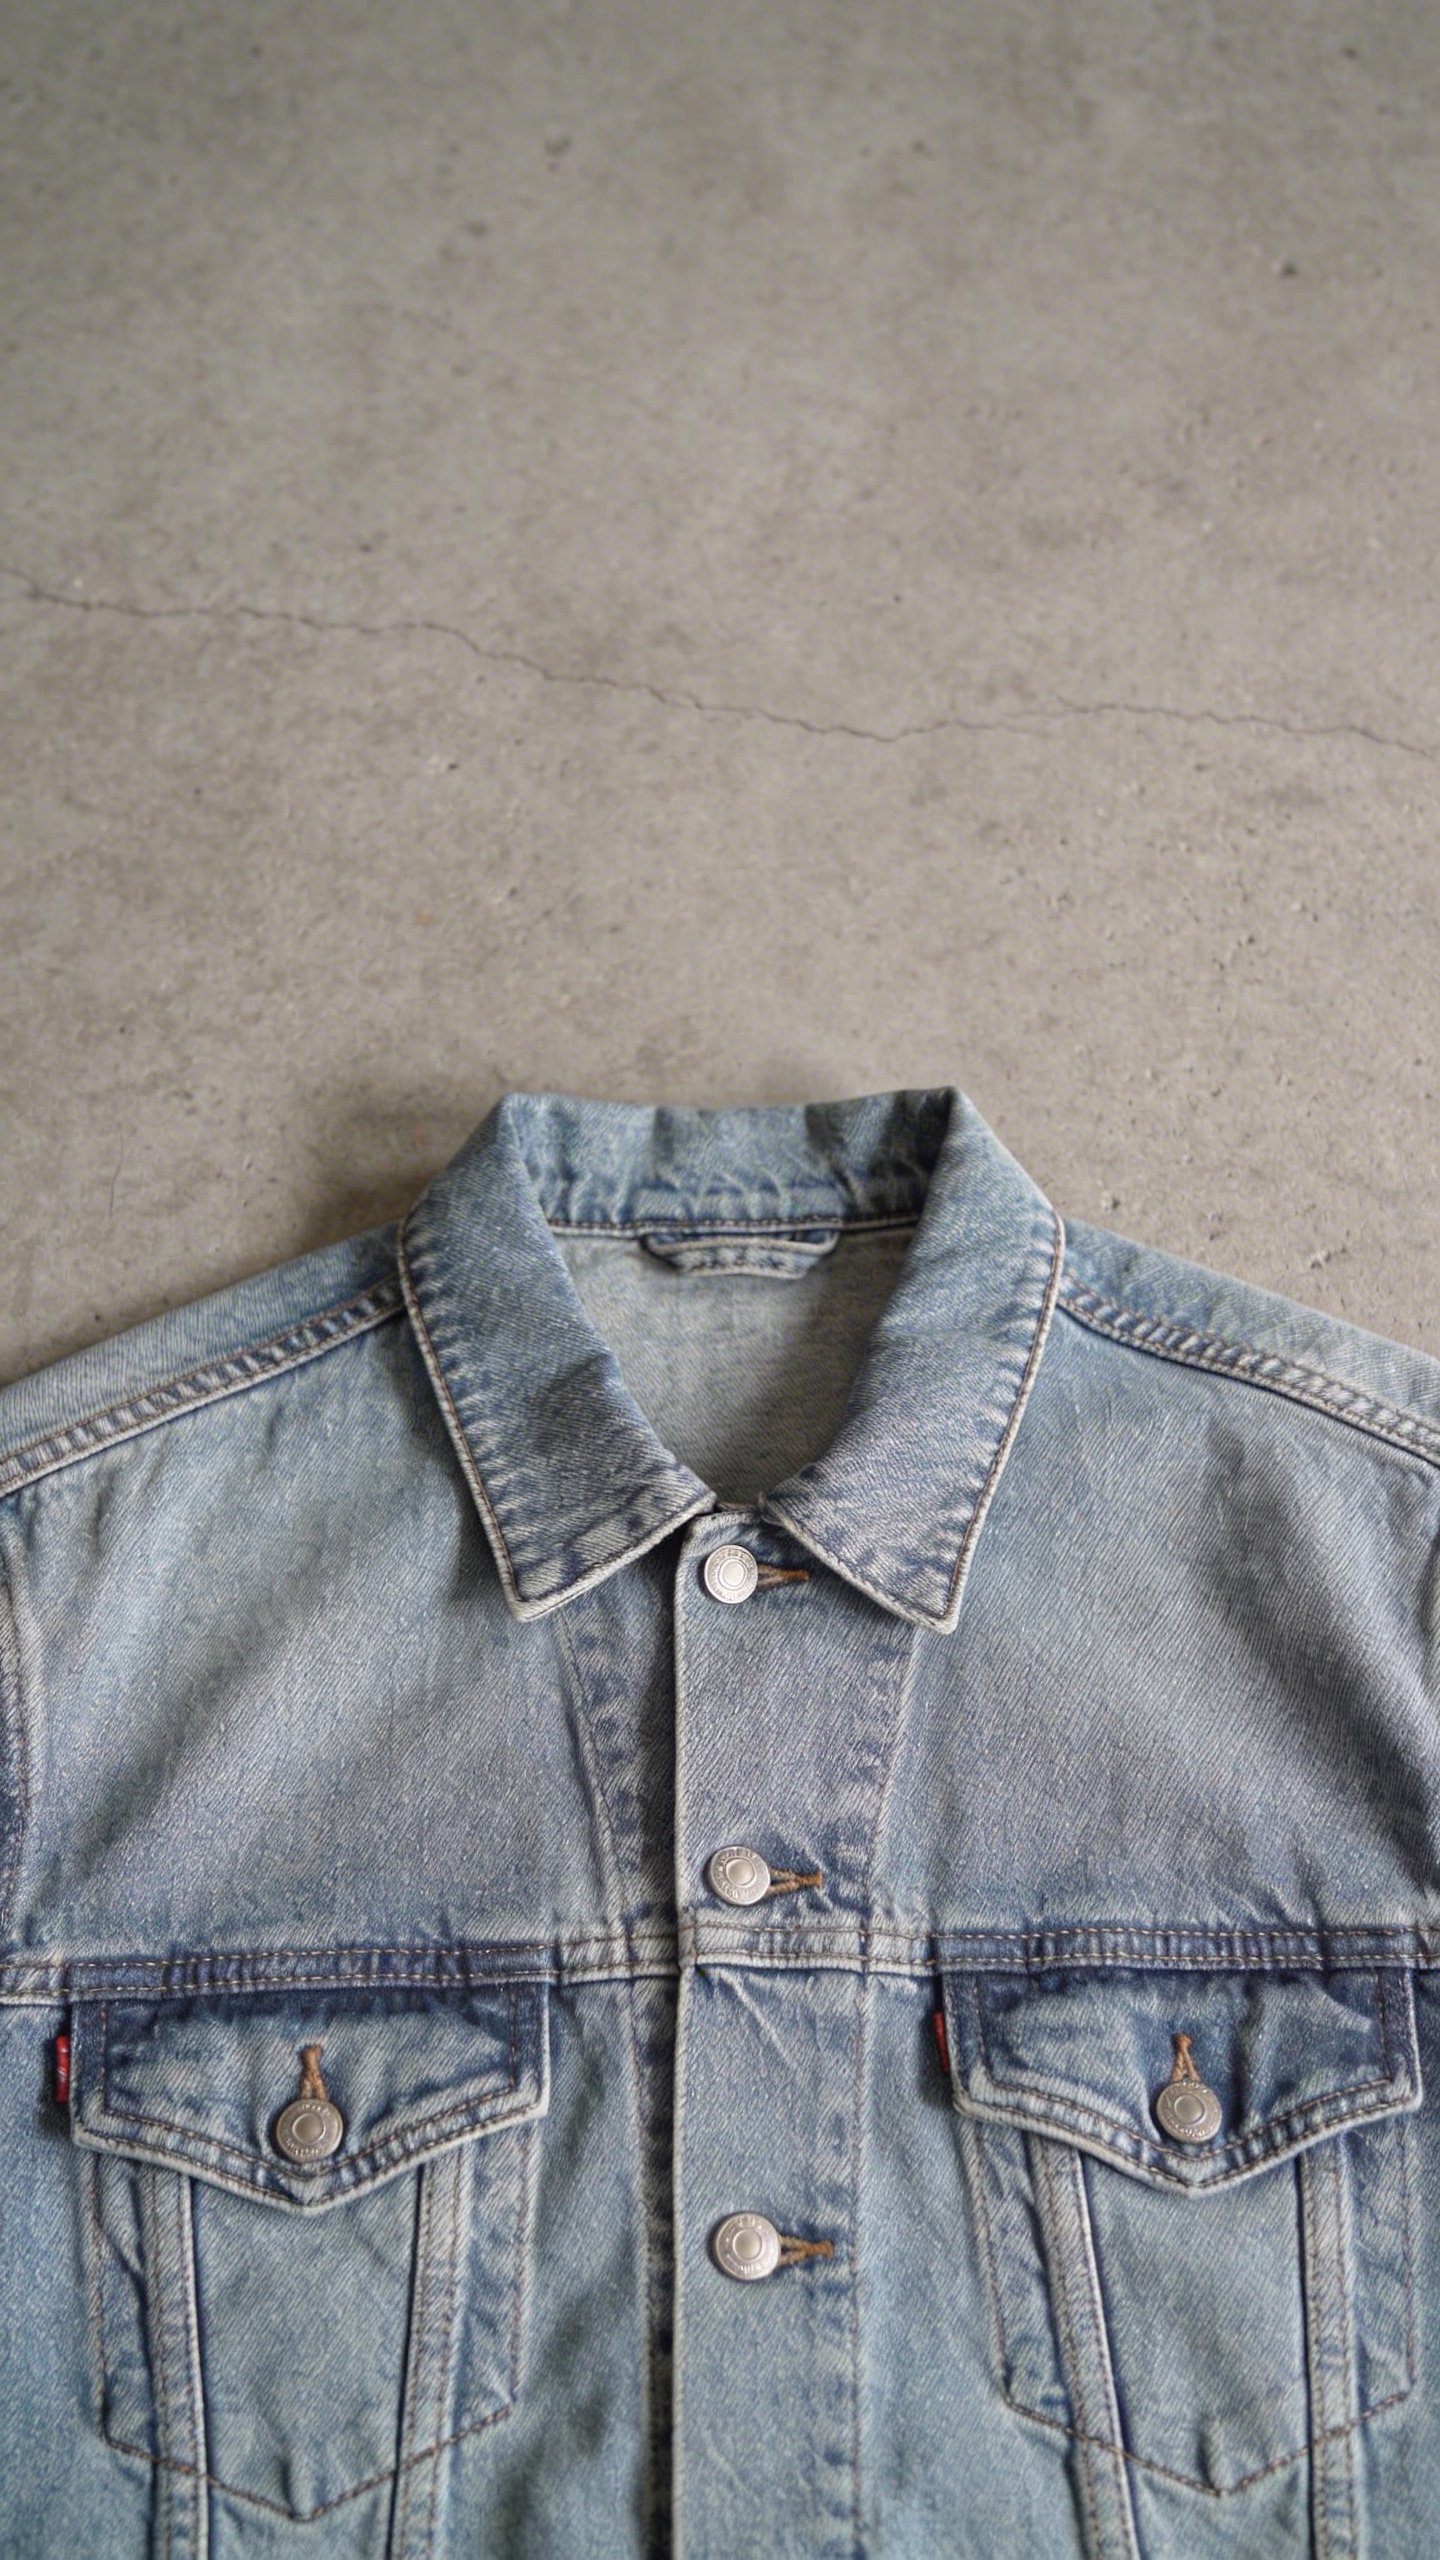
Full Body vs. Detail Shots
Mix it up! Sure, you need full-body shots to show the complete outfit, but detail shots add interest and professionalism to your photo series. Get close-ups of your shoes, jewelry, how you styled your bag, or an interesting texture in your outfit.
These detail shots also give you more content to work with and help tell a more complete story about your outfit. Plus, they’re easier to shoot—less pressure to nail the perfect pose.
Editing Like a Pro (Without Going Overboard)
Editing can elevate a good photo to a great one, but the key word here is “elevate,” not “completely transform.” If you edit so heavily that the photo no longer looks like reality, you’ve gone too far.
Start with basic adjustments:
- Brightness and exposure—make sure you can see the details
- Contrast—add a little punch to make the image pop
- Saturation—slight adjustments can make colors more vibrant, but dial it back if your skin starts looking orange
- Sharpness—a touch of sharpening adds clarity
- Straightening—fix any tilted horizons or wonky angles
Apps like Lightroom Mobile, VSCO, and Snapseed offer amazing editing tools for free (or with minimal cost). Find a preset or editing style you like and apply it consistently across your photos. This creates a cohesive aesthetic that screams “professional.”
FYI: don’t abuse the saturation slider. Your outfit might be fire, but it shouldn’t literally look like it’s on fire.
Frequently Asked Questions
Do I really need someone else to take my photos, or can I do it alone?
You can absolutely do it alone! A tripod with a timer or Bluetooth remote gives you complete control over your shots. Some people actually prefer this method because they can take as many photos as they want without feeling rushed or self-conscious. The downside? You’ll need to run back and forth to check your shots, which can be a mini workout.
What’s the best time of day to take outfit photos outside?
Golden hour is ideal—roughly one hour after sunrise or one hour before sunset. The light is soft, warm, and incredibly flattering. If that doesn’t work with your schedule, overcast days provide beautifully diffused light any time. Avoid midday sun (roughly 11 AM to 2 PM) because it creates harsh shadows and makes everyone squint.
How many photos should I take to get one good shot?
Take way more than you think you need. Professional photographers might take hundreds of shots to get a handful of great ones. Personally? I usually take 30-50 photos per outfit and end up with maybe 5-10 keepers. Don’t feel bad about your “reject” pile—it happens to everyone.
Should my photos have a consistent editing style?
IMO, yes—especially if you’re posting on Instagram or building any kind of portfolio. A consistent editing style makes your feed look cohesive and professional. Find a preset or editing approach you love and stick with it. Your photos should look like they belong to the same collection.
What should I do if I feel awkward posing in public?
Start in less crowded areas until you build confidence. Early mornings often mean fewer people around. Remember that most people are too absorbed in their own lives to care about someone taking photos. And honestly? The more you do it, the less weird it feels. You’ll probably be your own harshest critic.
Can I take professional-looking photos indoors?
Absolutely! The key is finding good natural light from windows. Position yourself near a large window with indirect light—not in direct sunlight streaming through. You can also create a simple backdrop using a plain wall, curtain, or even a bedsheet. Indoor photos can look just as professional as outdoor shots with the right lighting and background.
Conclusion
Taking professional-looking outfit photos doesn’t require expensive equipment, a photography degree, or even another person. It just takes some understanding of basic principles—good lighting, clean backgrounds, thoughtful composition, and a willingness to take way more photos than you’ll actually use.
Start with natural light and simple backgrounds, keep your editing subtle, and don’t be afraid to experiment with different poses and angles. Your first attempts might feel awkward (they probably will), but you’ll improve quickly with practice. Before you know it, you’ll be that person whose outfit photos make everyone else wonder if you have a professional photographer on speed dial.