

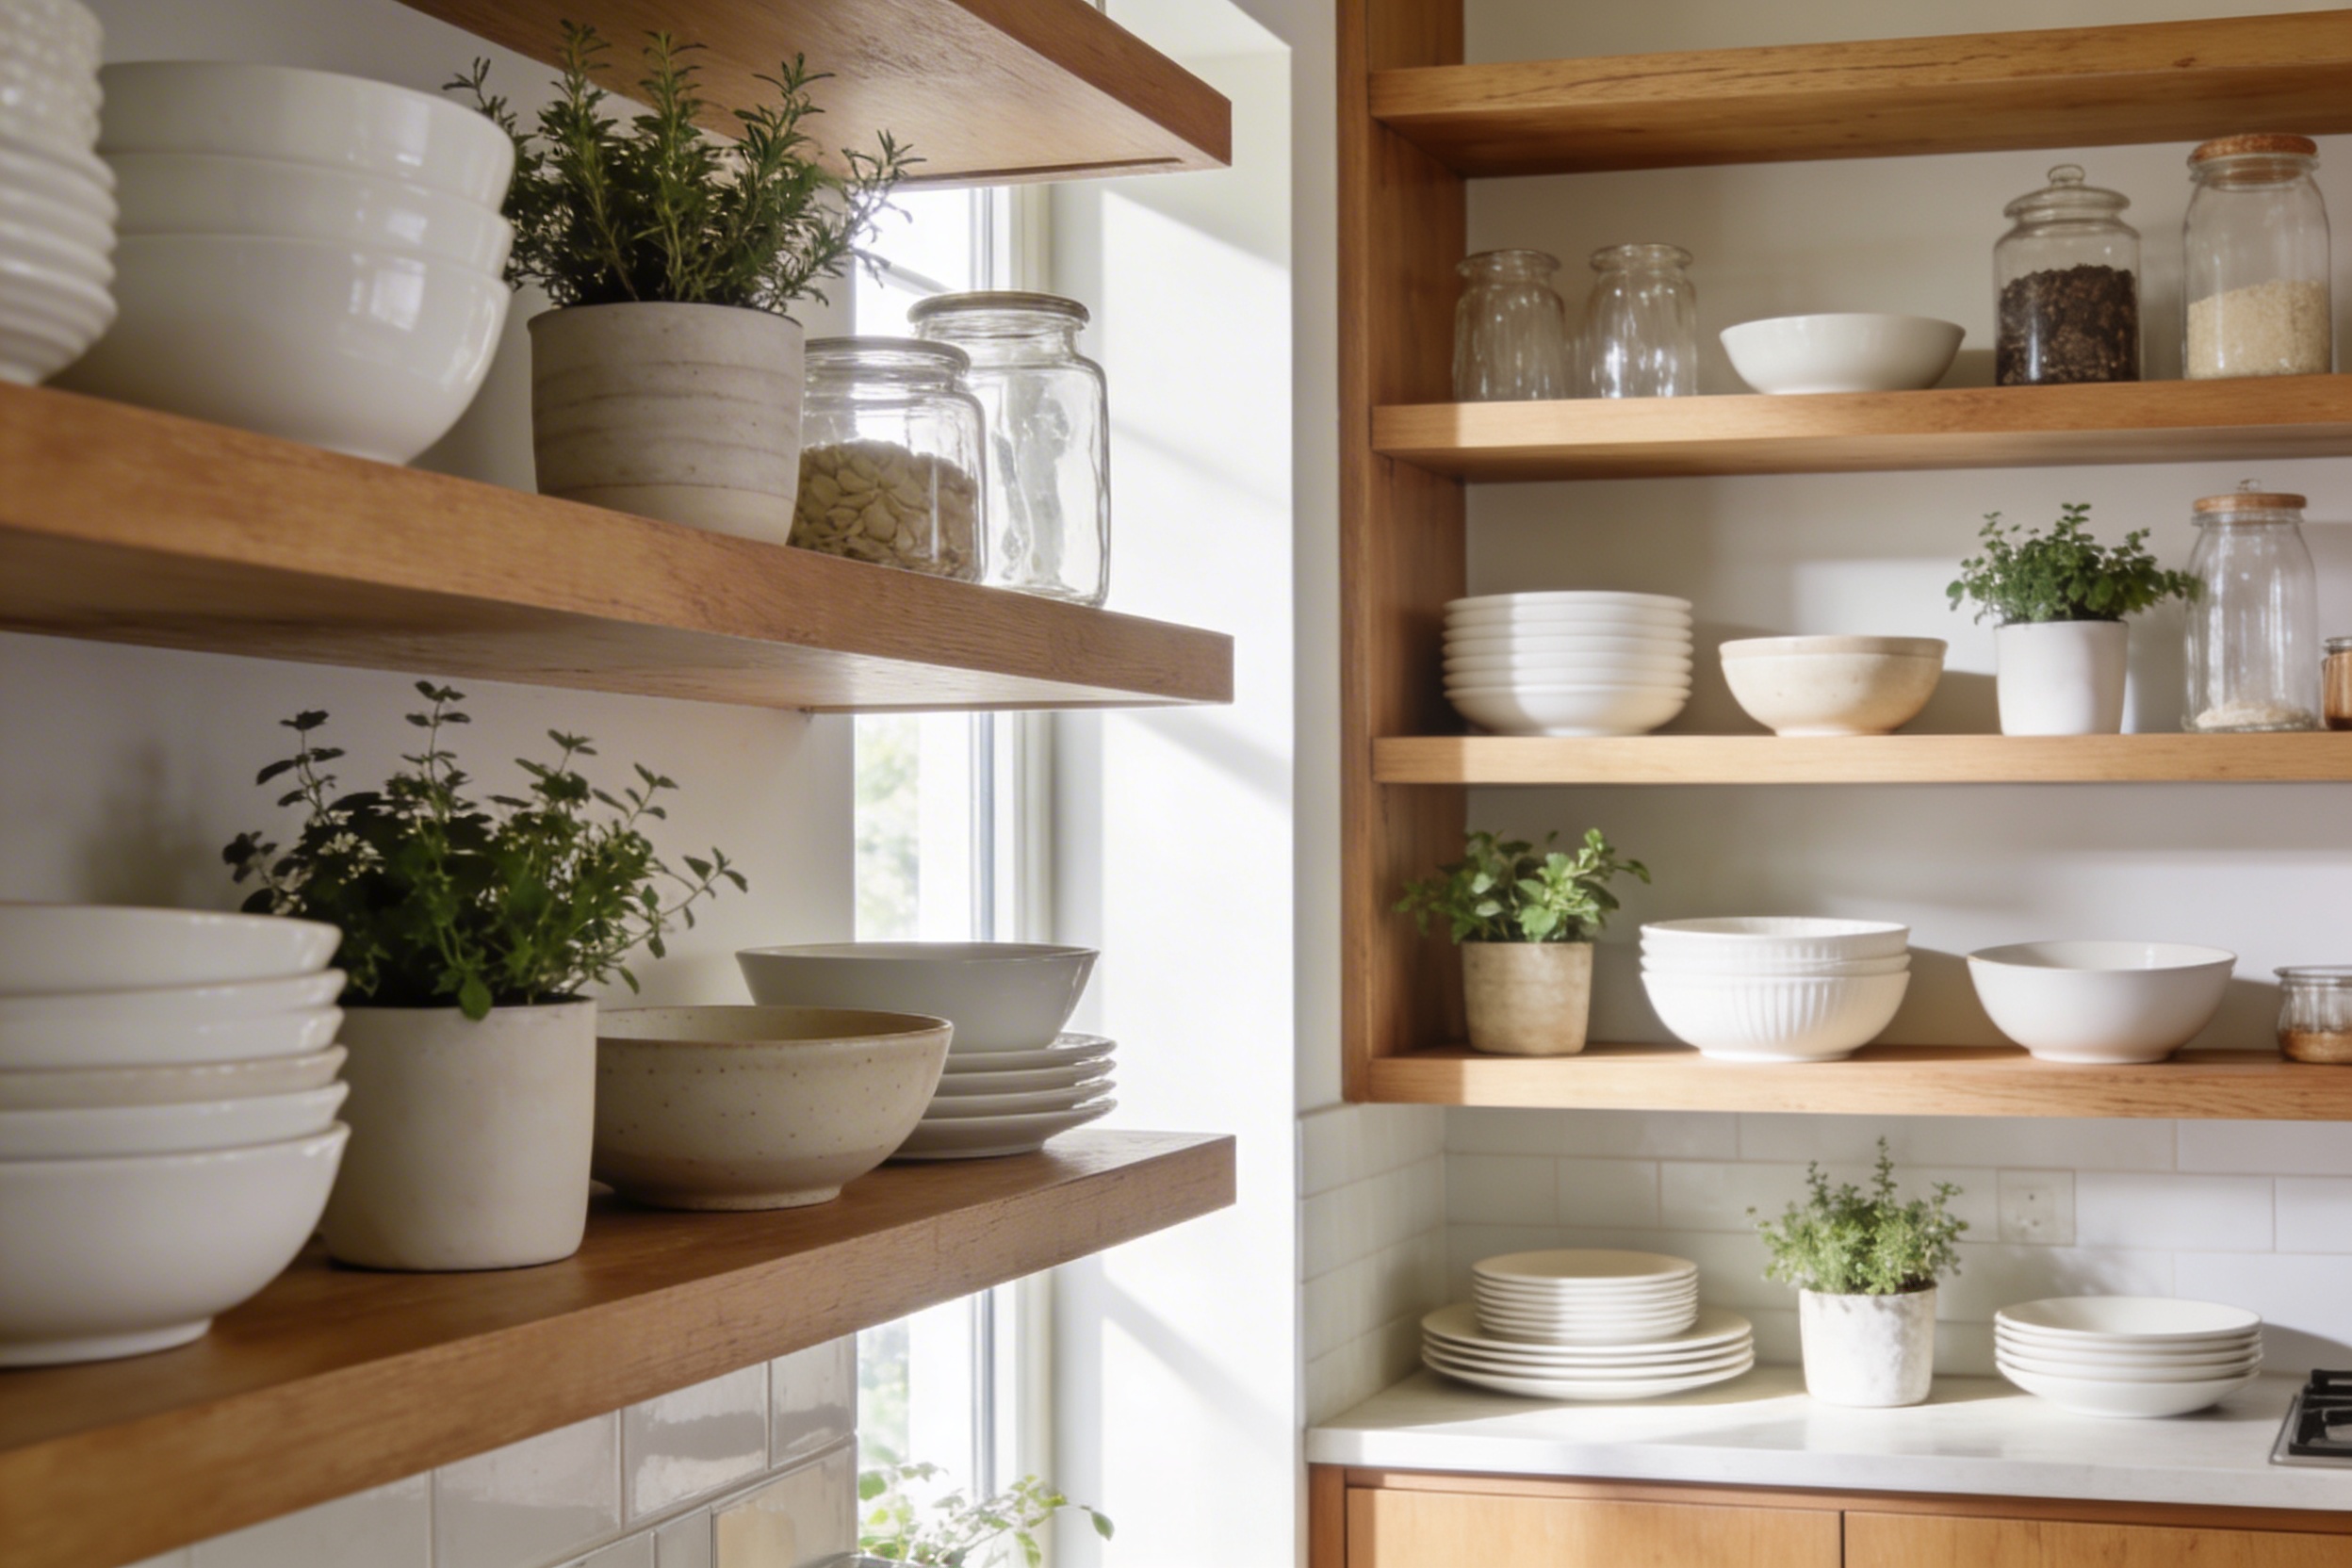
Open shelves in kitchens are having a major moment, but let’s be real—they can look either Instagram-perfect or like a complete disaster zone. The difference comes down to styling, and luckily, you don’t need to be a professional designer to nail it. Let me walk you through how to make your open shelves look intentional and put-together, not like you just randomly threw stuff up there and called it a day.
Start With a Good Purge and Edit
Before you even think about arranging anything, you need to be ruthless about what actually goes on those shelves. Open shelving isn’t like your closed cabinets where you can hide that mismatched Tupperware collection your aunt gave you in 2009. Everything is on display, so everything needs to earn its spot.
Pull everything out and ask yourself: Do I actually use this? Does it look good? Does it fit with the vibe I’m going for? If something is ugly but functional, it probably belongs in a closed cabinet or drawer. Your chipped coffee mug with the faded joke from college? Yeah, that’s a hard pass for open shelving.
The goal here is to create a curated collection of items that are both beautiful and functional. Think of it like editing your closet—you’re keeping the pieces you love and use, not everything you’ve ever owned.
Pick a Color Palette (And Stick to It)
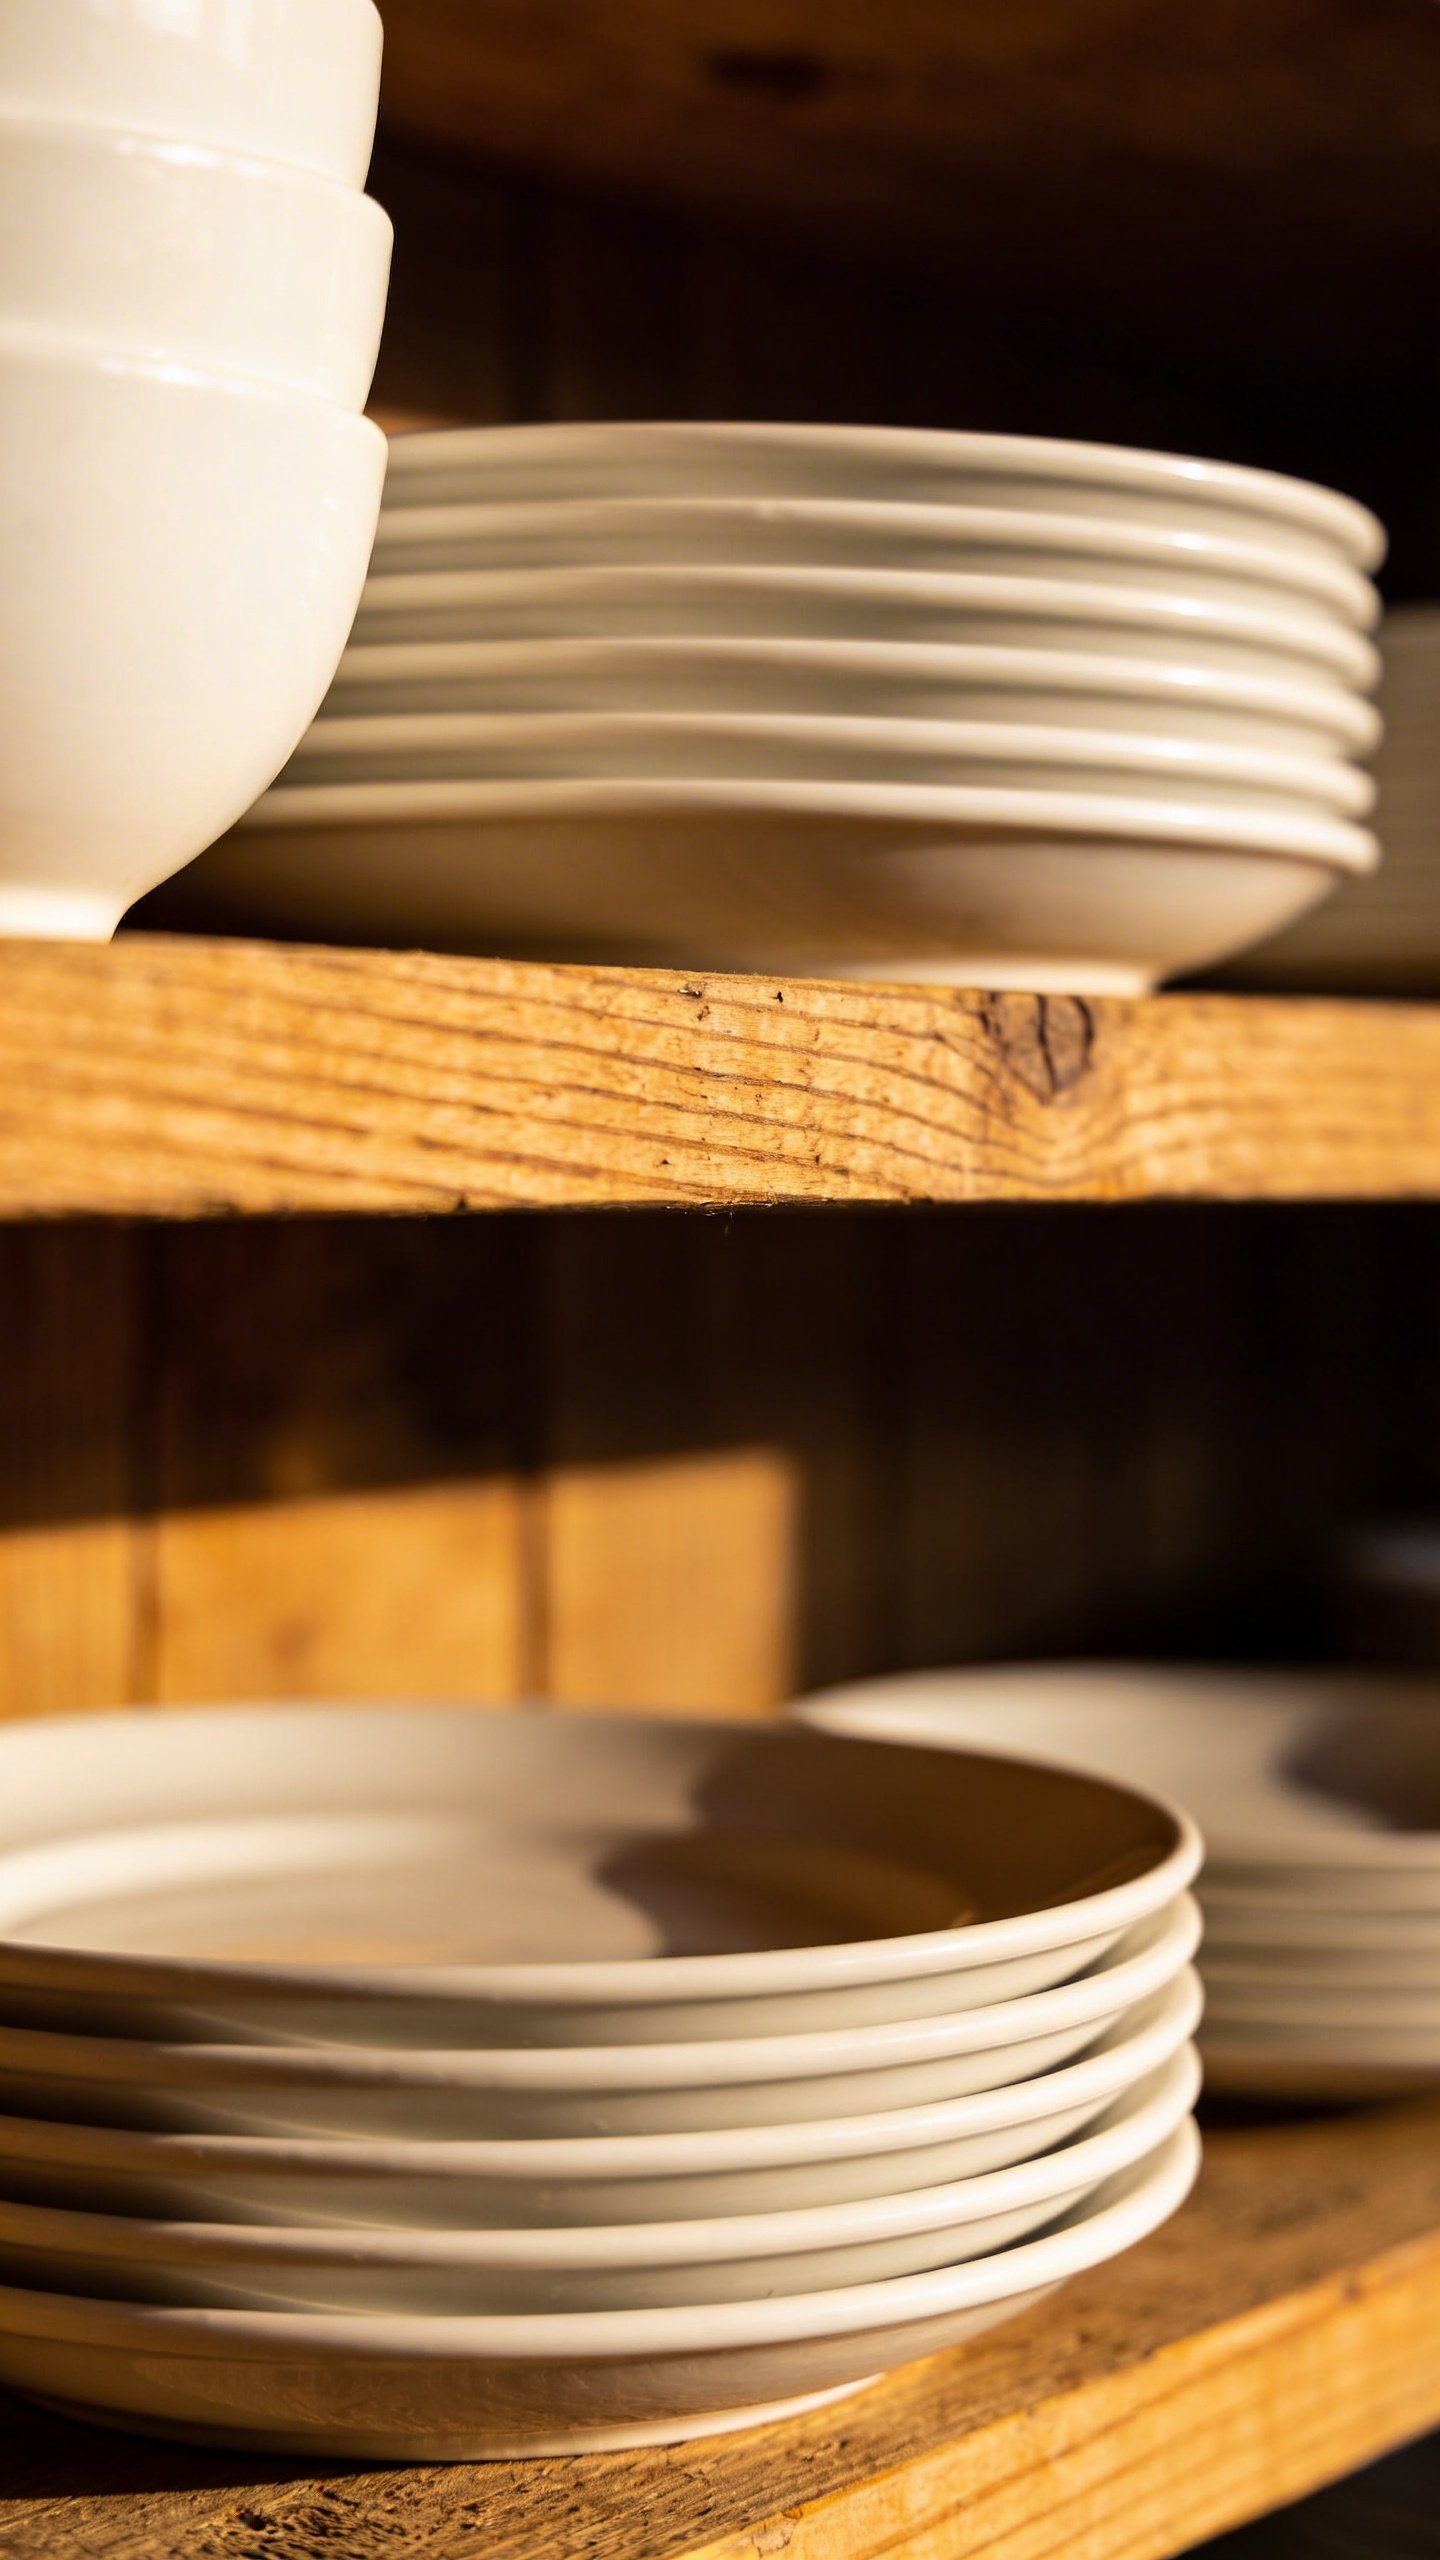
This is where a lot of people go wrong. They throw up whatever dishes and bowls they own, and suddenly their shelves look like a rainbow exploded. Not cute.
Choose two to four main colors that work together, then build your display around those. Maybe it’s whites and creams with touches of wood. Or perhaps you’re going for a darker, moodier vibe with blacks, grays, and brass accents. Whatever you choose, consistency is key.
That doesn’t mean everything needs to match perfectly—this isn’t 1995 and we’re not trying to create a matchy-matchy catalog look. But having a cohesive color story makes everything feel intentional. If you have a few colorful pieces you love, use them as accent pops rather than spreading chaos across every shelf.
The Rule of Threes (and Other Grouping Tricks)
Here’s a design secret that actually works: things look better in odd-numbered groups. Three bowls stacked together look intentional. Four of them? Eh, not so much. Five small items clustered? Perfect. Two? Lonely and awkward.
This applies to pretty much everything you’re styling. Group items in threes, fives, or sevens for the most visually pleasing arrangements. Your brain just likes odd numbers better—I don’t make the rules.
Vary Your Heights
Speaking of visual interest, you can’t just line everything up at the same height and call it styled. That’s how you end up with shelves that look like a boring cafeteria lineup. Mix tall items with short ones. Put a tall vase next to a stack of bowls next to a small potted plant.
Create what designers call “visual rhythm” by letting your eye travel up and down across the shelves, not just left to right. This keeps things interesting and makes people actually want to look at your display.
Layer Like You Mean It
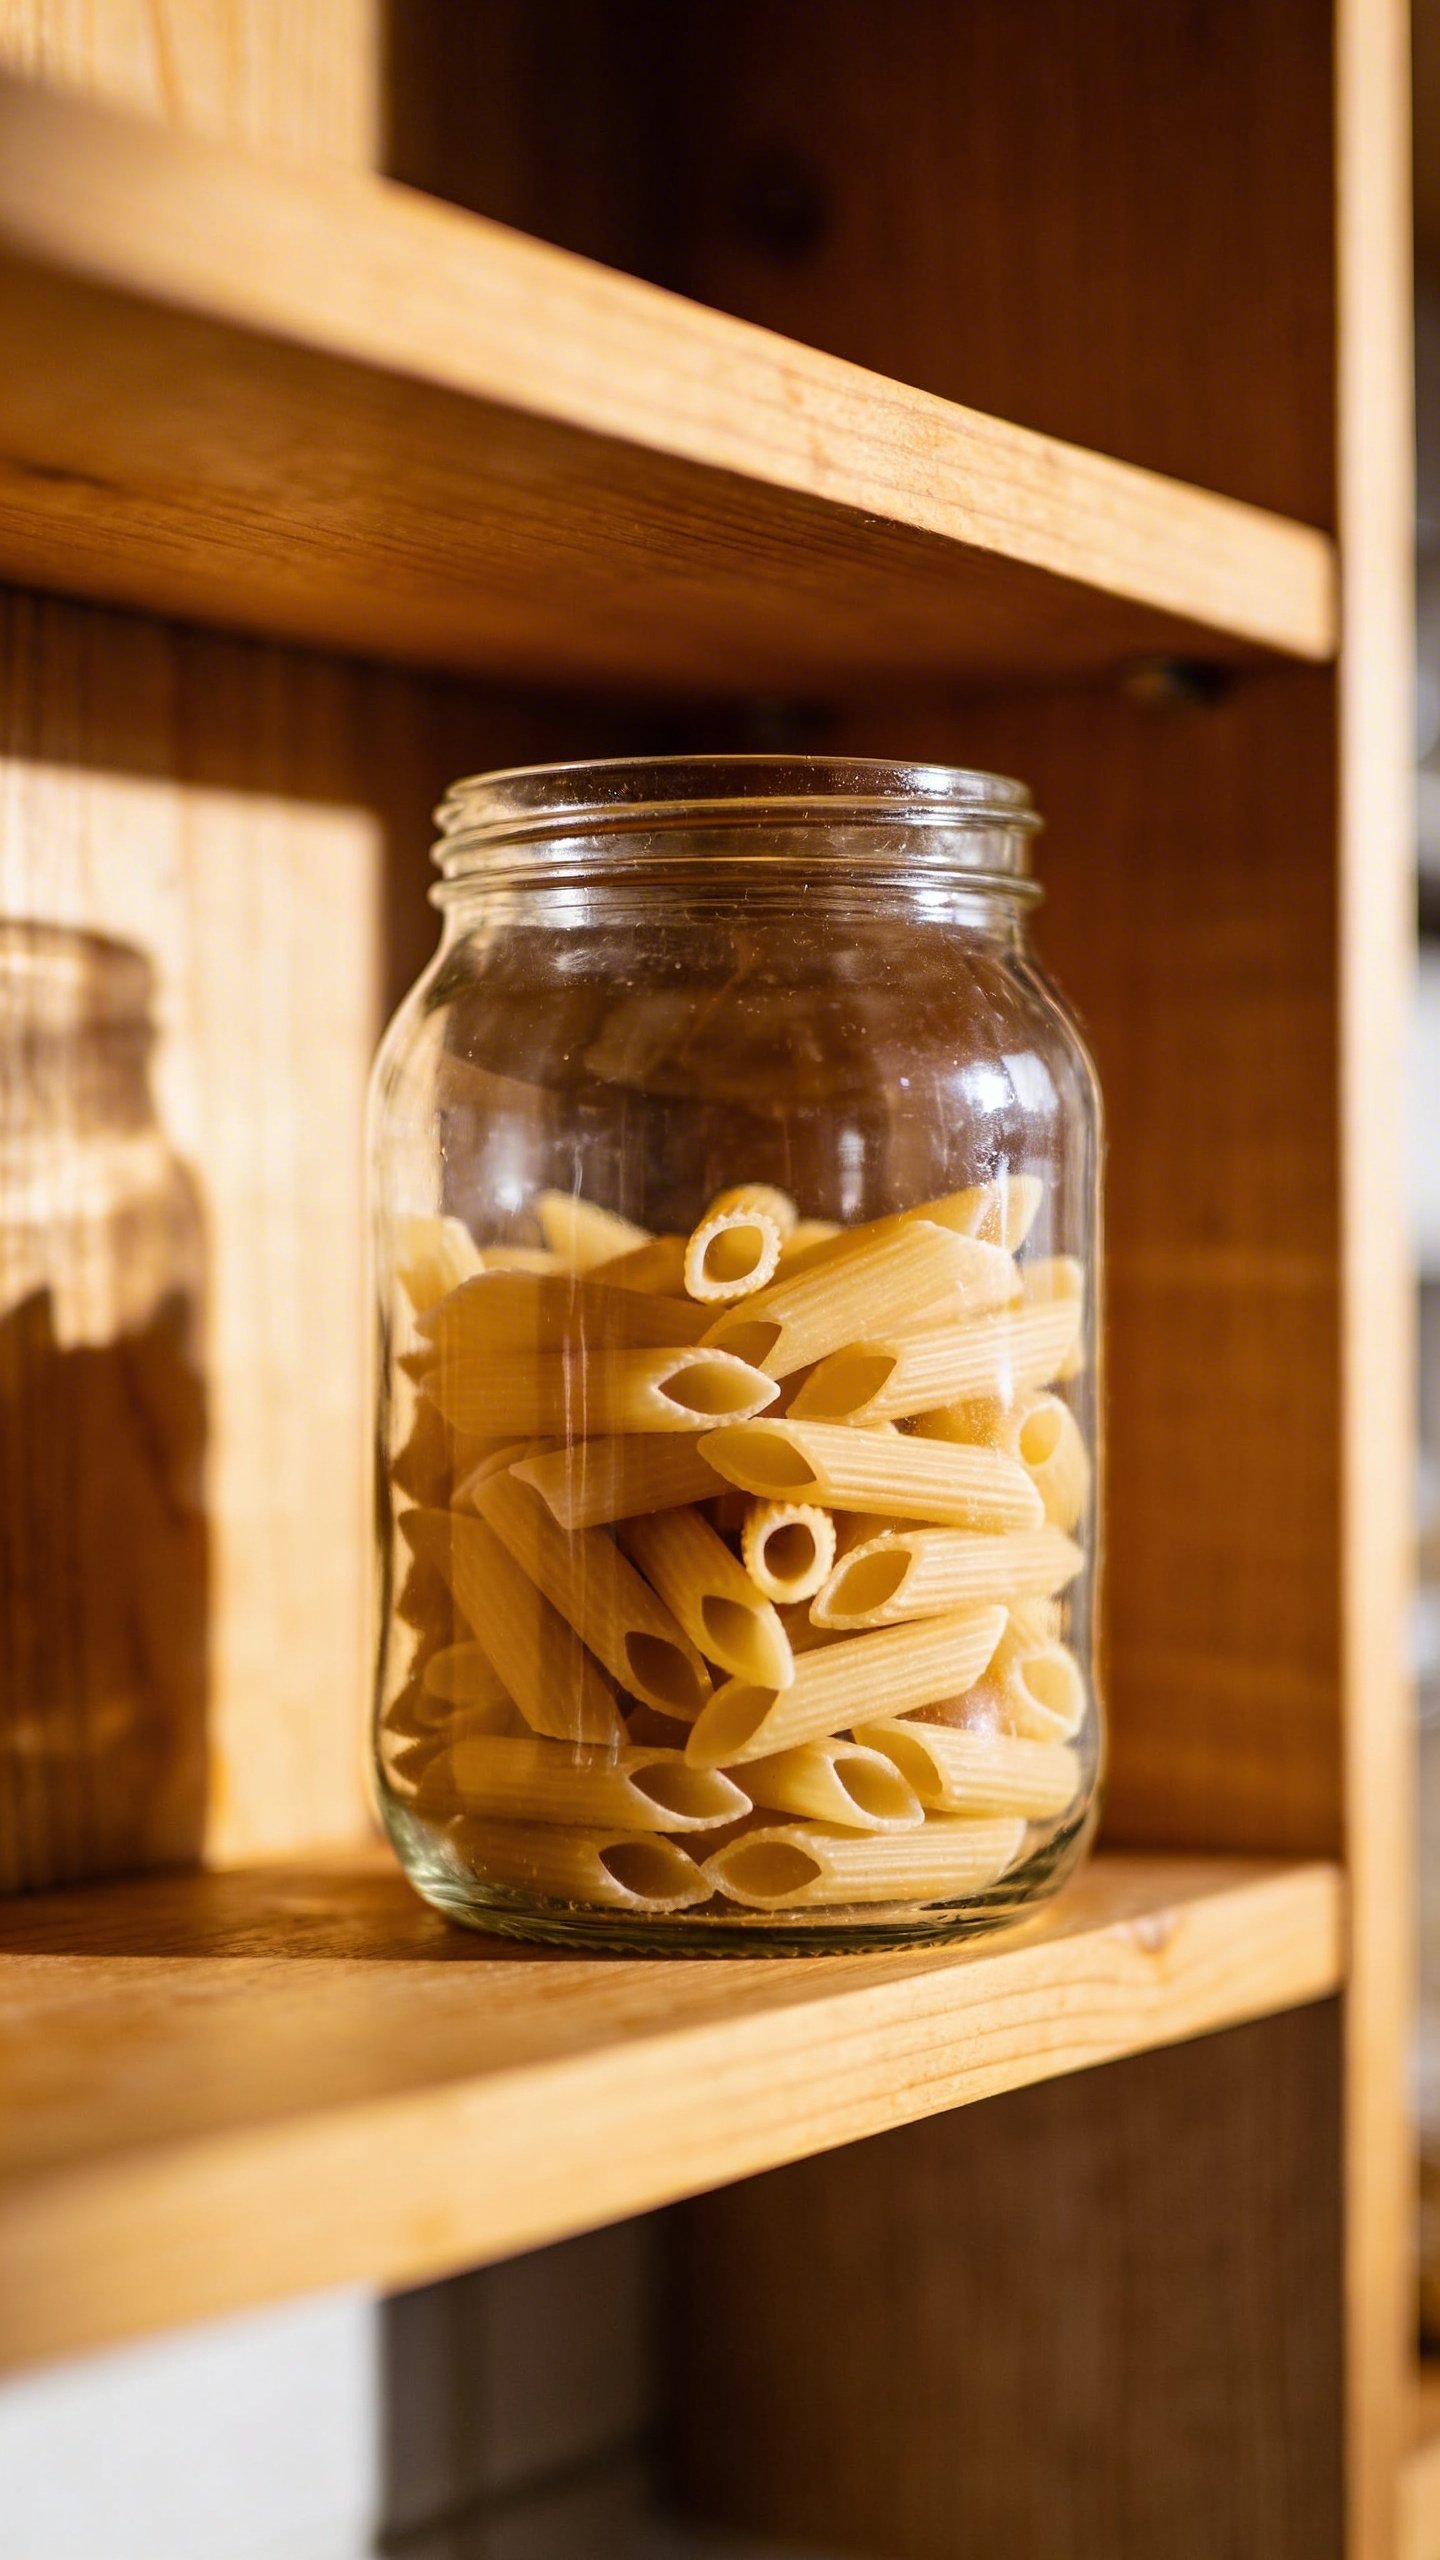
Flat, one-dimensional styling is the kiss of death for open shelves. You want depth, people! This means putting some items in front of others, leaning things against the back wall, and creating layers.
Try placing larger items toward the back and smaller items in front. Lean a cutting board or pretty platter against the wall, then arrange smaller items in front of it. This creates dimension and makes your shelves look professionally styled instead of just… stored.
Don’t push everything against the back wall either. Pull some items forward to create shadows and depth. Yes, this means you’ll have slightly less storage space, but the trade-off in visual appeal is totally worth it.
The Back Wall Is Prime Real Estate
FYI, don’t waste that vertical space behind your items. This is perfect for leaning artwork, small signs, or decorative plates. You can also paint or wallpaper the back of your shelving to add another layer of interest.
Just make sure whatever you put back there doesn’t compete too much with what’s in front. You want it to complement, not clash.
Mix Pretty With Practical
The best-styled open shelves balance decoration with function. After all, this is a kitchen, not a museum. You need to actually use this stuff.
IMO, the sweet spot is about 70% functional items and 30% purely decorative. That means most of what’s up there should be dishes, glasses, bowls, or cooking items you reach for regularly. Then sprinkle in some cookbooks, small plants, or decorative objects to keep things interesting.
This approach keeps your shelves from looking like a staging photo (too perfect, not livable) while also preventing them from looking like cluttered storage.
Everyday Items That Look Great
Not sure what counts as both pretty and practical? Here are some items that work double duty:
- White or neutral dishes and bowls – timeless and stackable
- Glass storage jars – fill them with pasta, rice, or beans for instant visual appeal
- Wooden cutting boards – lean them against the wall for texture
- Nice glassware – stemware or pretty drinking glasses add elegance
- Ceramic containers – great for holding utensils or wooden spoons
- Coffee and tea canisters – especially vintage or artisan ones
Don’t Forget the Breathing Room
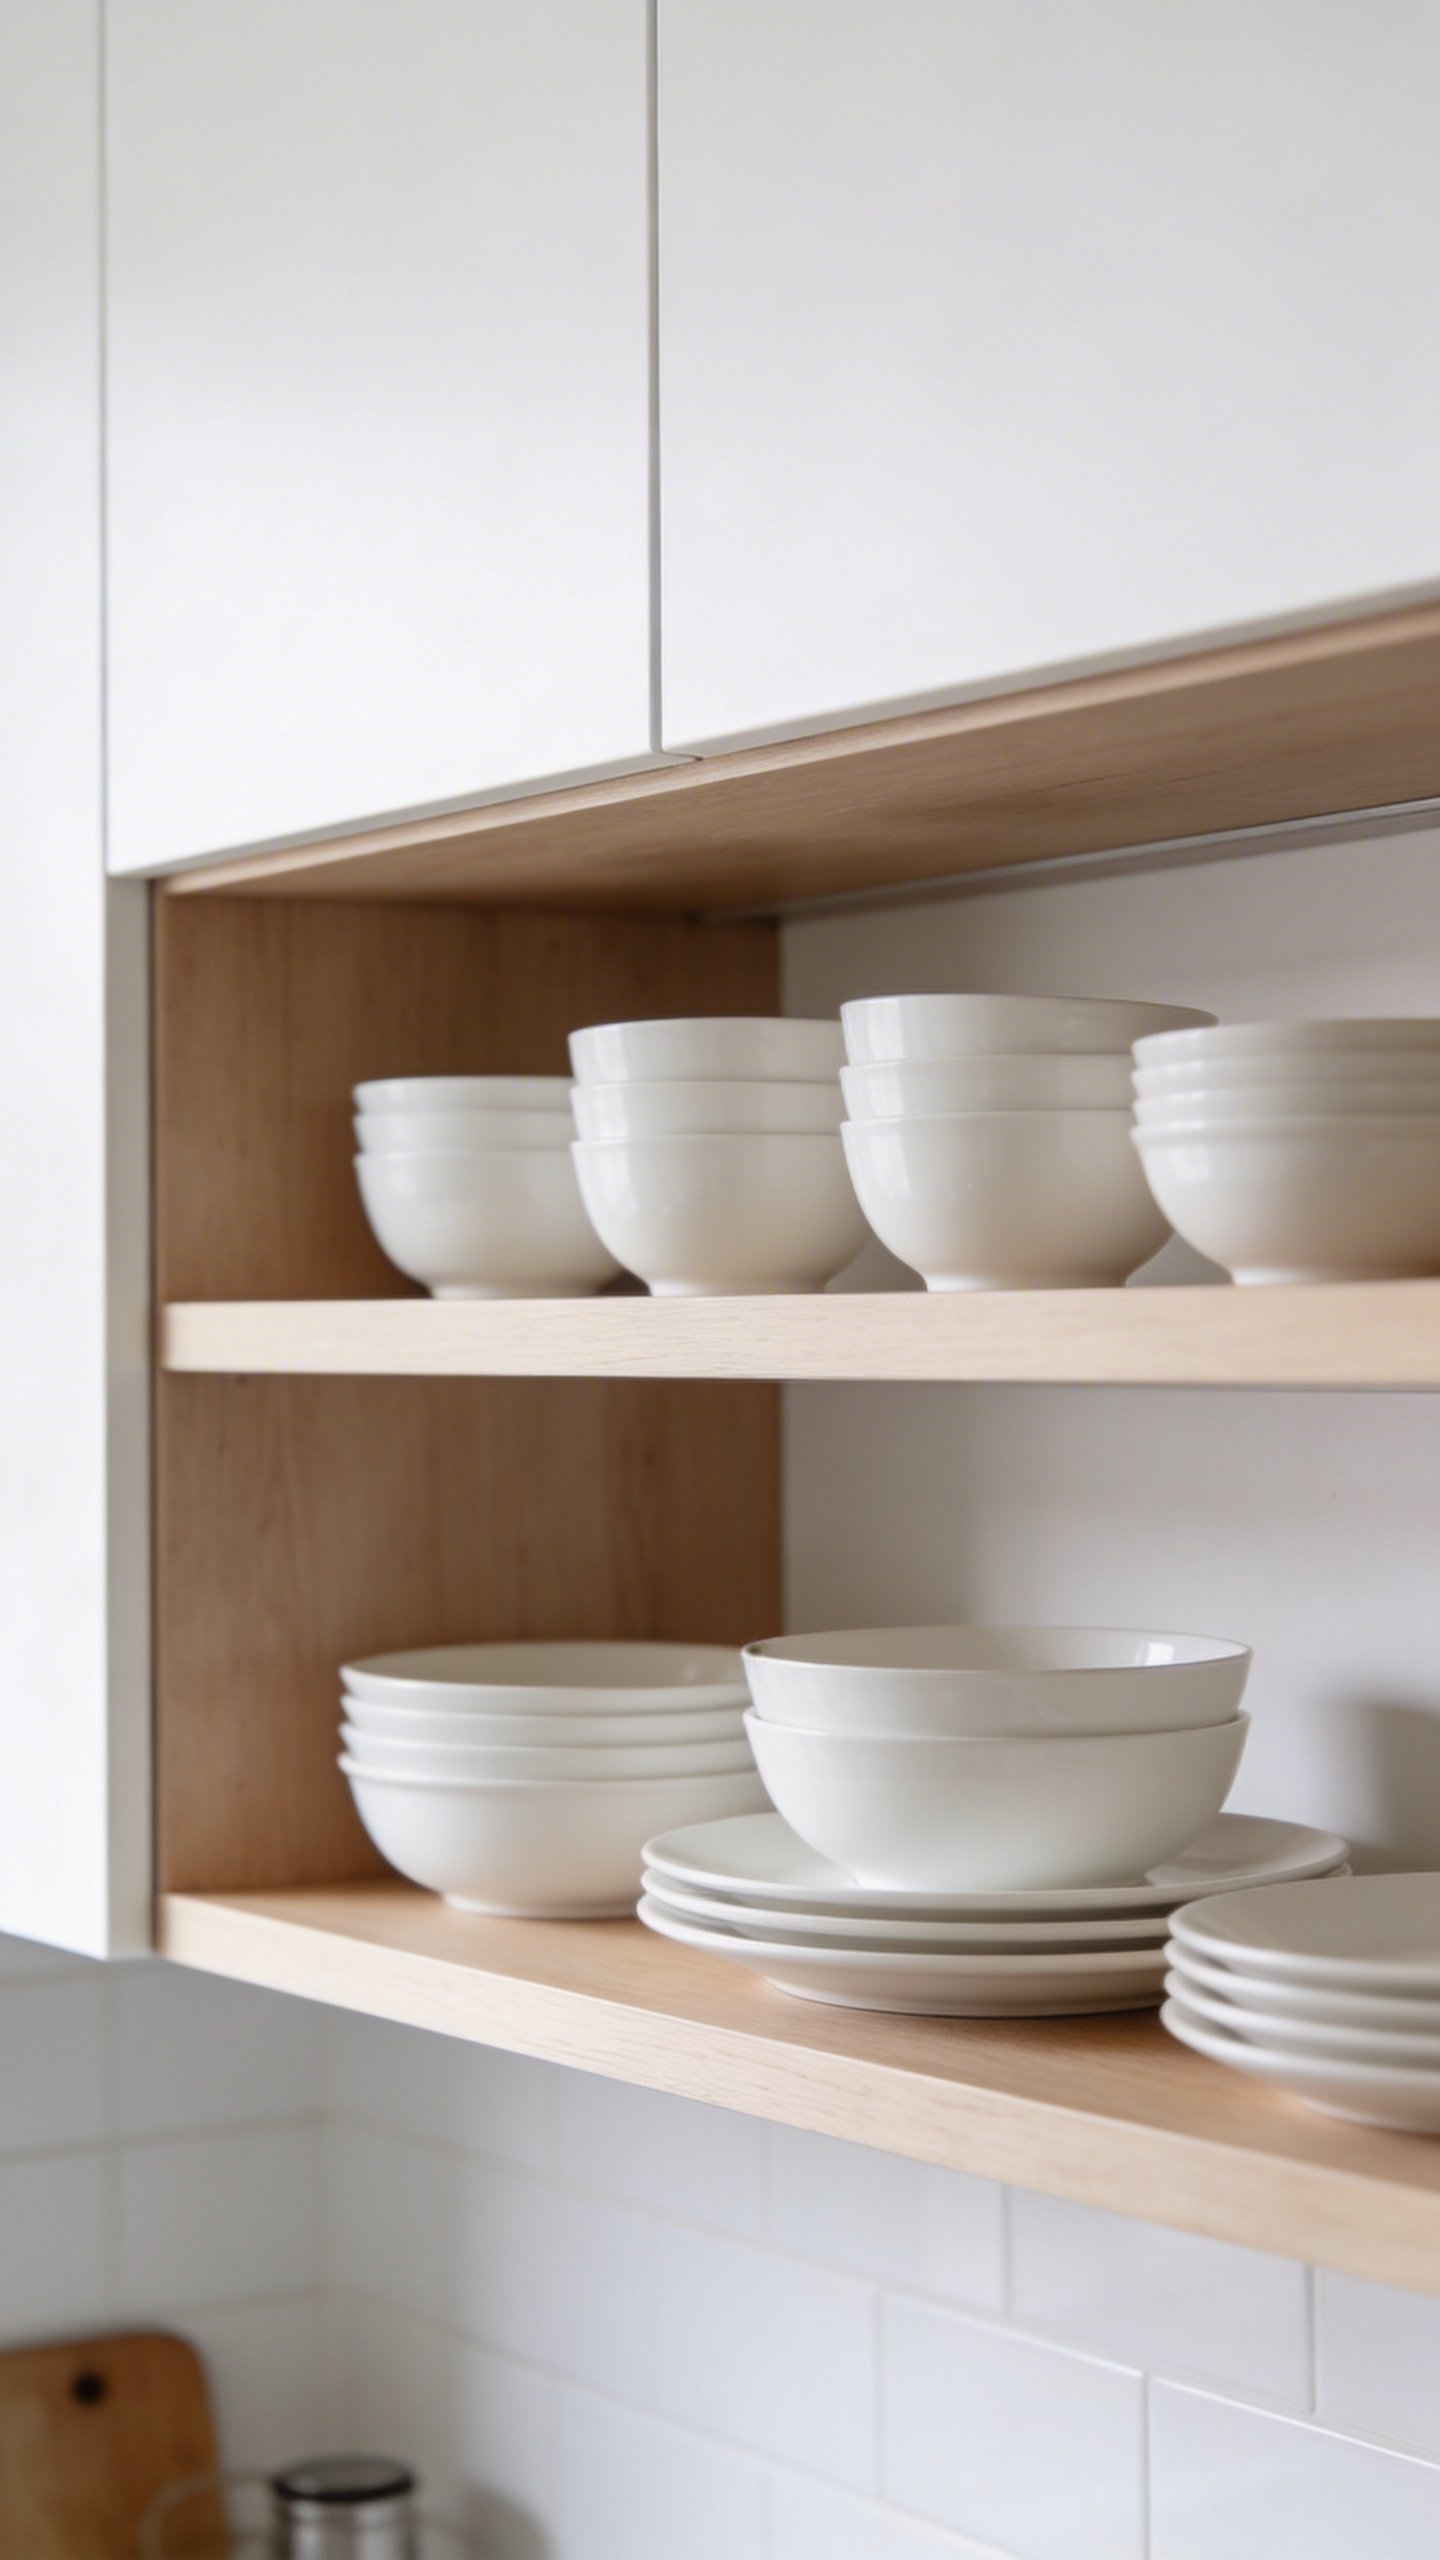
Here’s where a lot of people mess up: they fill every single inch of shelf space. Resist this urge! Negative space is your friend. It gives your eye places to rest and makes everything feel less chaotic.
Leave some empty space on each shelf. Not huge gaps that look weird, but enough breathing room that things don’t feel crammed together. Think of it like the margins on a page—they make the content easier to read and more pleasant to look at.
If your shelves feel too full, remove items until it feels comfortable. You can always rotate things seasonally if you have more stuff you want to display.
Keep It Fresh With Regular Rotation
Static displays get boring. The beauty of open shelves is that you can easily switch things up whenever the mood strikes.
Change out items seasonally—add small pumpkins in fall, fresh greenery in winter, bright colors in spring. Swap in different dishes when you get sick of looking at the same ones. Move things around just because you feel like it.
This keeps your kitchen feeling fresh and gives you an excuse to play designer whenever you want. Plus, it’s way easier than repainting or buying new cabinets when you get bored.
Frequently Asked Questions
How do I keep open shelves from getting dusty?
Real talk: open shelves do collect dust, and that’s just the reality you’re signing up for. The key is using the items regularly so they don’t sit there accumulating grime. Give everything a quick wipe-down every couple of weeks, and wash items you use less frequently every month or so. If you cook a lot and create grease buildup, you might need to clean more often. Honestly though, if you’re actually using your dishes and glasses, dust isn’t as big a problem as people think.
What if my kitchen style is more eclectic and doesn’t fit one color palette?
Then embrace the eclectic! The color palette rule is a guideline, not a law. If your style is more bohemian or collected-over-time, you can totally make that work. The trick is to have some unifying element—maybe it’s all vintage pieces, or they all have a similar patina, or they’re all handmade ceramics. Find the common thread that ties your eclectic pieces together and lean into that.
How many items should I put on each shelf?
There’s no magic number, but as a general rule, three to five groupings per shelf works well for most standard kitchen shelving. A grouping might be a stack of plates, a cluster of mugs, or a cutting board with a plant in front. Don’t overthink it—arrange items, step back, and see how it feels. If it looks crowded, remove something. If it looks empty, add more.
Can I mix metals on open shelves?
Absolutely! Mixing metals is totally on-trend and adds visual interest. Brass, copper, stainless steel, and black metal can all play nicely together. Just like with colors, having one dominant metal (maybe 60-70% of your metallic items) with one or two accent metals keeps things cohesive without being boring.
Should I display my everyday dishes or my fancy ones?
Why not both? Use your everyday dishes as the foundation—these are the workhorses that get rotated regularly. Then add in a few special pieces for visual interest. That fancy serving platter you only use twice a year? Perfect for open shelving. Your grandma’s vintage tea cups? Display them proudly. Just make sure the everyday stuff is within easy reach.
How do I style open shelves in a rental where I can’t paint or modify anything?
Focus on what you can control: the items themselves. Since you can’t change the shelves or the back wall, make your displayed items work harder. Use consistent colors in your dishes and accessories. Add removable elements like small plants, cookbooks with pretty spines, or decorative containers. You can also use temporary wallpaper or contact paper on the back wall if your landlord allows it (and if you’re feeling ambitious). The styling principles are the same—you’re just working within more limitations.
Conclusion
Styling open kitchen shelves isn’t rocket science, but it does take some thought and editing. Start with a good purge, choose a cohesive color palette, and remember that less is often more. Mix your pretty decorative pieces with functional everyday items, create depth by layering, and don’t be afraid to leave some breathing room.
Most importantly, style your shelves in a way that works for your actual life. If you need quick access to ten different coffee mugs every morning, arrange them where you can grab them easily—just make sure they look good doing it. Your kitchen should be both beautiful and livable, and with these tips, your open shelves can definitely be both.