

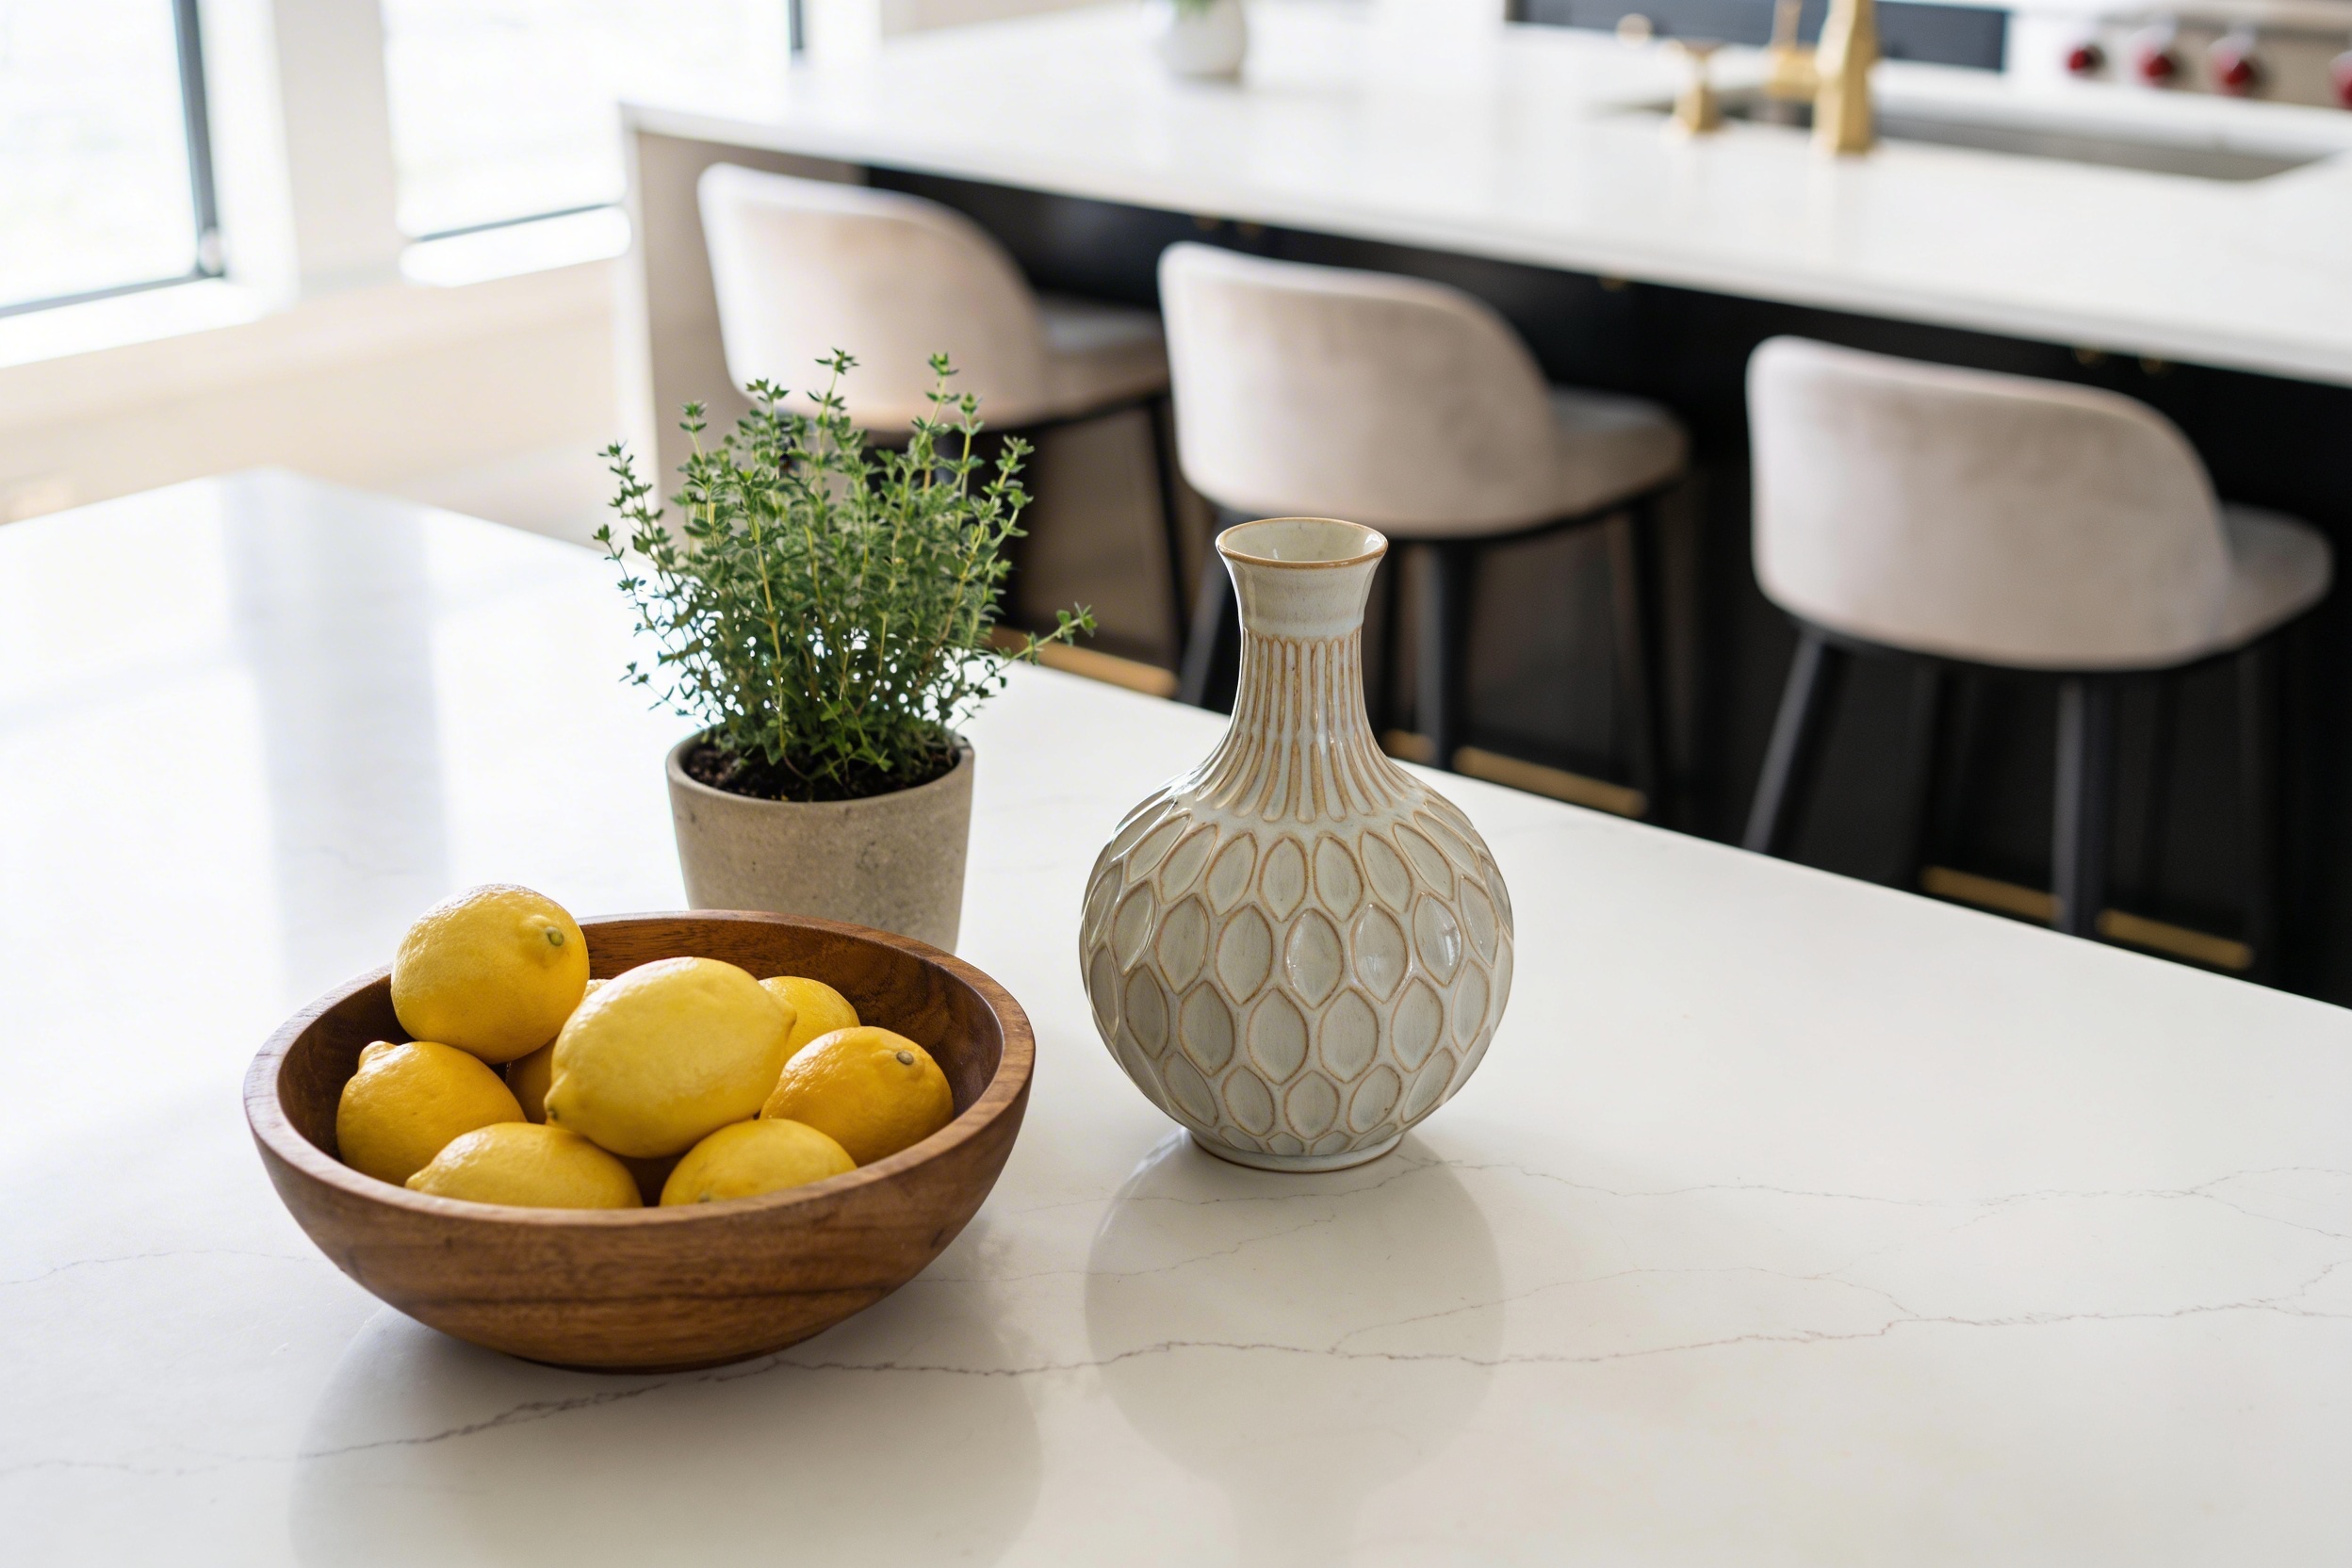
Your kitchen island sits there day after day looking like a dumping ground for mail, keys, and that random pile of stuff you swear you’ll deal with “later.” But here’s the thing—your island is prime real estate, and with a little styling know-how, it can be the star of your kitchen instead of a cluttered mess. Let’s fix that.
Start With a Clean Slate (Yes, That Means Decluttering)
Before you even think about styling, you need to clear everything off that island. And I mean everything—the stacks of unopened mail, the kids’ homework, that banana that’s seen better days.
Your kitchen island isn’t a junk drawer with legs. Think of it as the kitchen’s focal point, because that’s exactly what it is. Every time someone walks into your kitchen, their eyes go straight there.
Once it’s clear, give it a good wipe down. You’ll be amazed at how different the space feels when you’re starting fresh. Plus, you’ll actually want to style it when it’s not covered in crumbs and mystery stains.
The Rule of Three (Your New Best Friend)
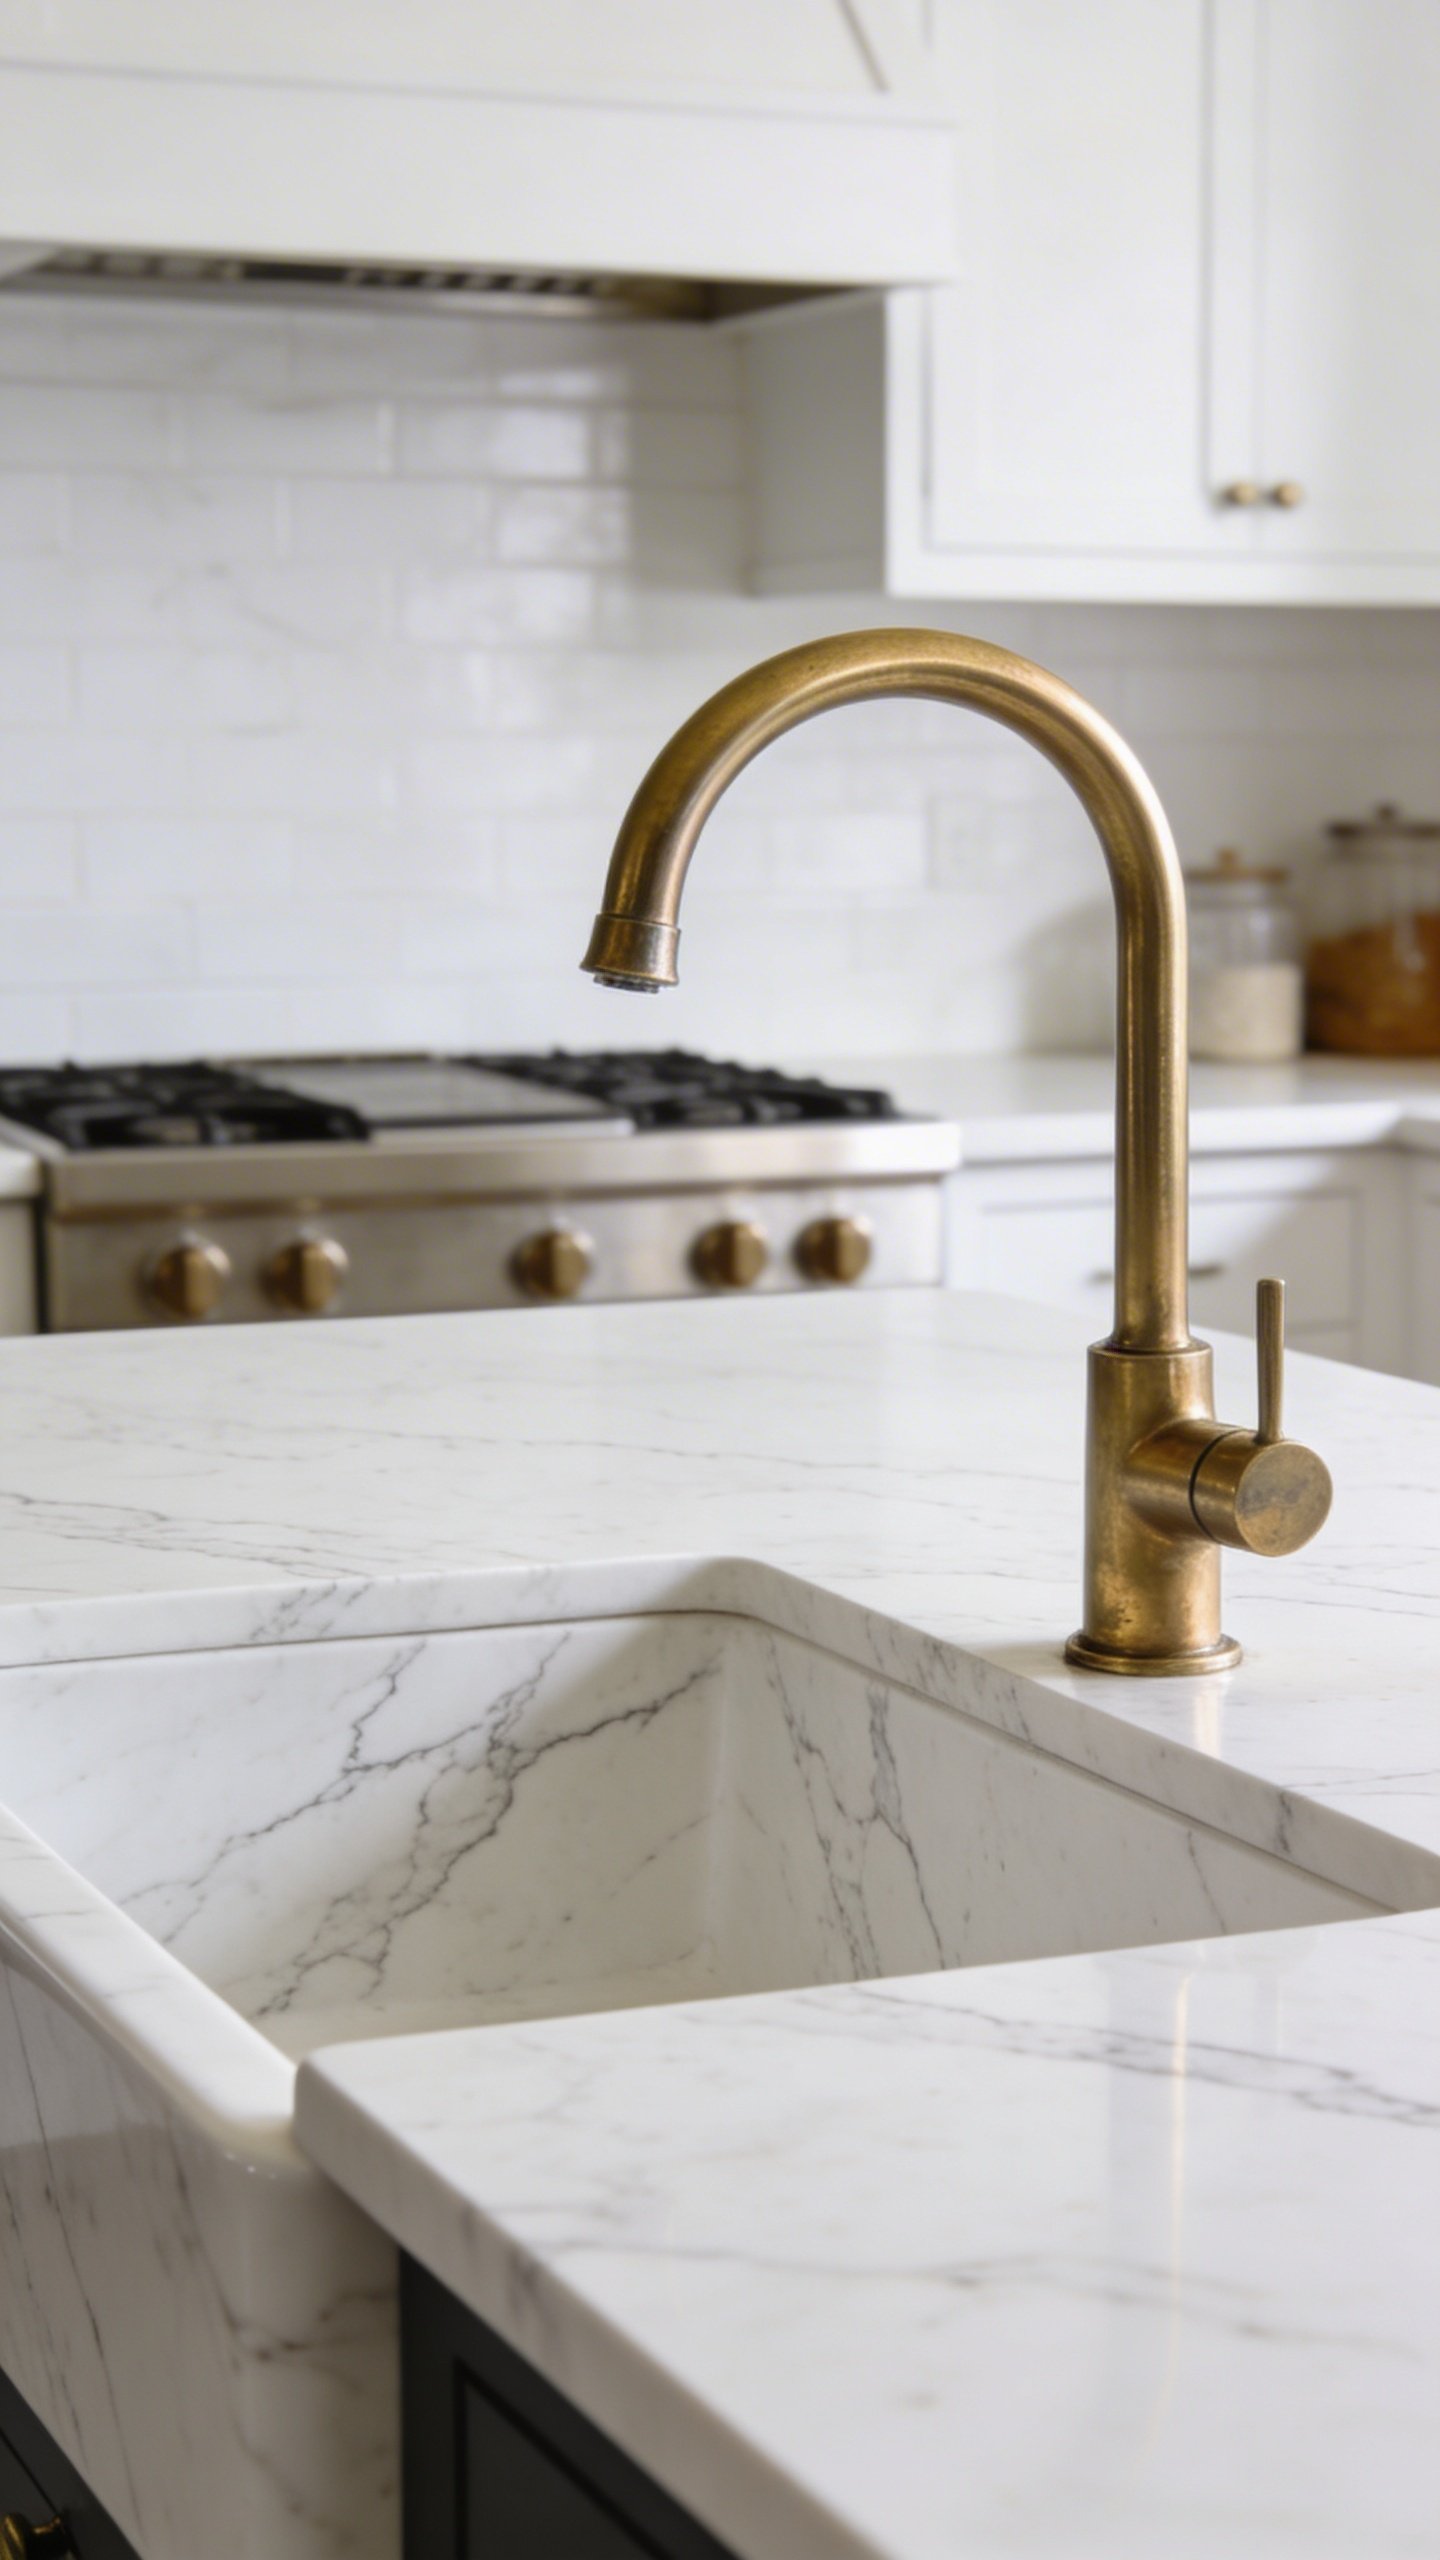
Here’s a styling secret that works pretty much everywhere: group items in threes. Our brains love odd numbers, especially three. It creates visual interest without looking cluttered or too symmetrical.
This doesn’t mean you need exactly three items total on your island. You can have multiple groupings of three, or groups of three with varying heights. The key is creating little vignettes that feel intentional rather than random.
Try pairing a tall vase with a medium-height bowl and a small plant. Or stack three cookbooks, place a candle on top, and set a small dish nearby. See how that works? You’re creating layers and visual rhythm without overthinking it.
Mix Function With Style (Because Pretty Stuff That’s Useless Is Just Clutter)
The best island styling includes things you actually use. Otherwise, you’re just creating obstacles between you and your morning coffee, and nobody wants that.
Functional Items That Look Good
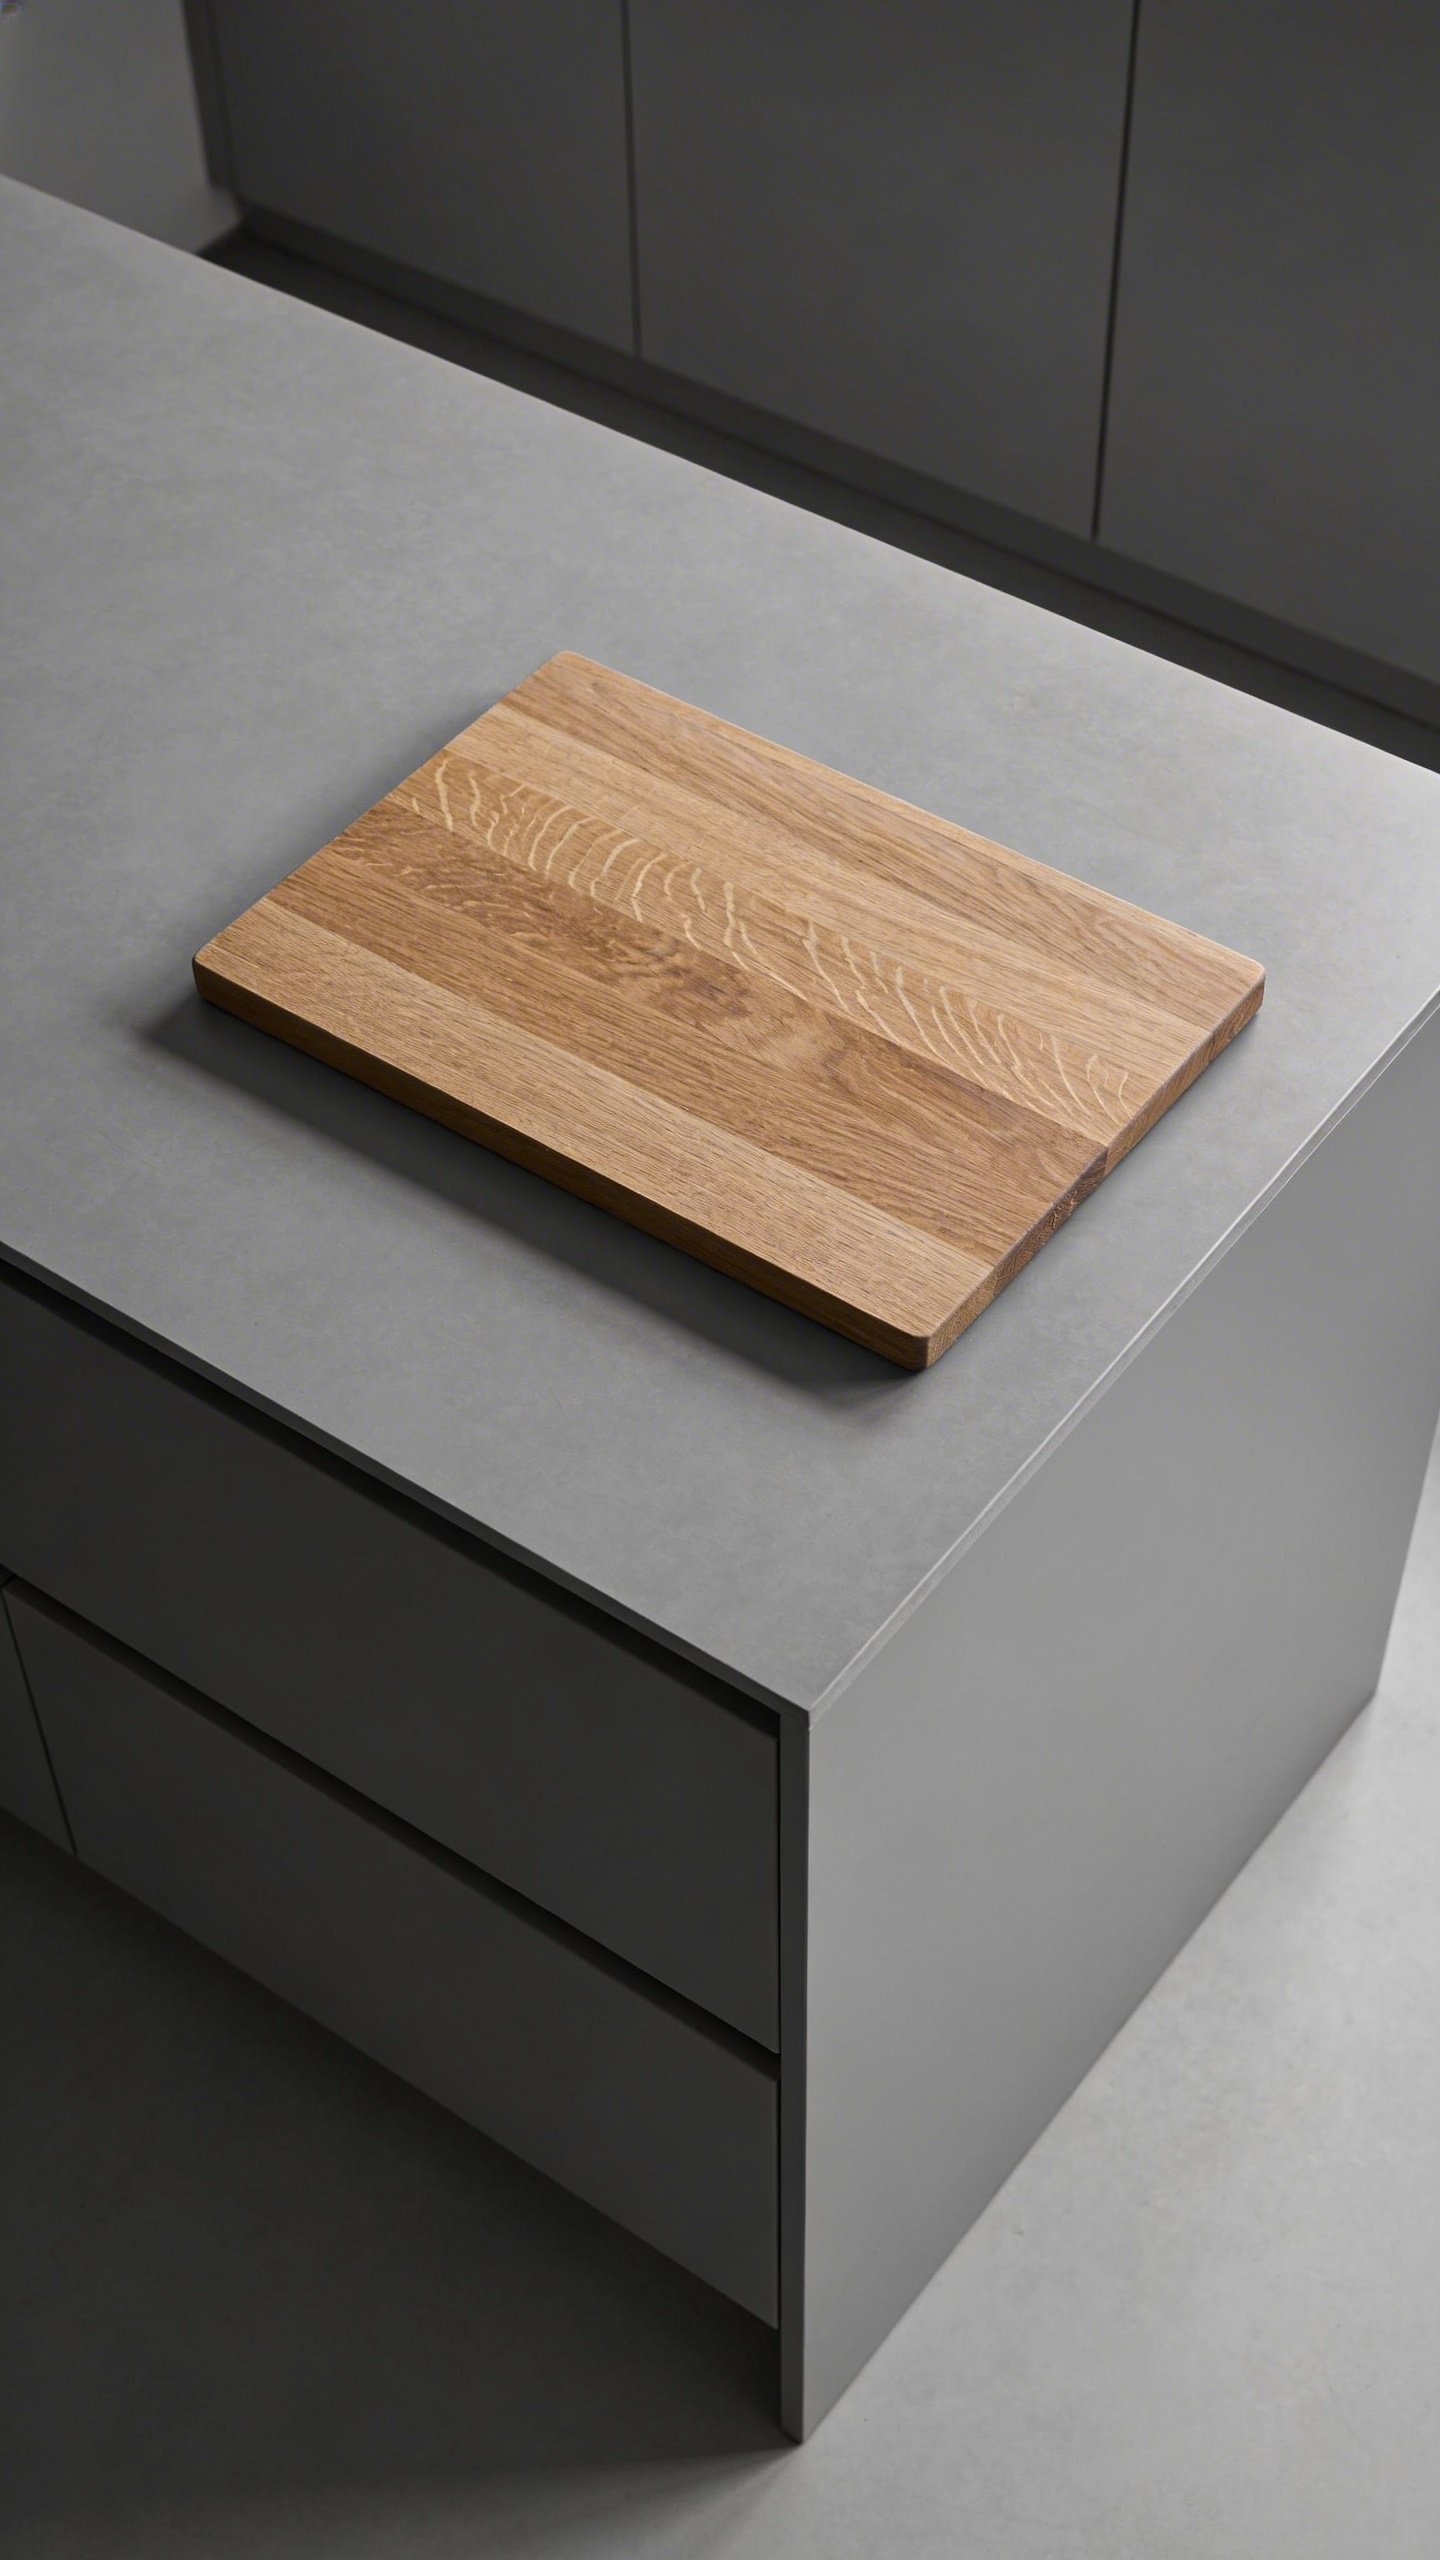
Think about what you reach for daily. A beautiful wooden cutting board can lean against the backsplash. A gorgeous bowl can hold fruit (and actually encourage your family to eat said fruit). A chic utensil holder keeps your most-used tools within arm’s reach.
Your island should work as hard as it looks good. FYI, this is also how you avoid the “it’s too pretty to use” syndrome that plagues so many styled spaces.
The Kitchen Essentials Worth Displaying
Some kitchen items are genuinely attractive enough to leave out:
- High-quality olive oil in a pretty bottle
- A vintage-style salt cellar or pepper mill
- A nice coffee canister or tea collection
- Fresh herbs in small pots
- A cake stand with pastries or seasonal fruit
Notice these are all things you’d use regularly. That’s the sweet spot you’re aiming for.
Add Height and Dimension
A flat, one-level island styling looks boring. Sorry, but it’s true. You need to create visual interest by playing with different heights and layers.
Use risers, stacks of books, or cake stands to elevate certain items. This draws the eye upward and makes the whole space feel more dynamic. A tall vase with branches or flowers instantly adds drama without taking up much surface area.
Think about it like composing a photograph—you want foreground, middle ground, and background. That tall element in the back, medium items in the middle, and smaller pieces up front create depth that makes your styling feel professional.
Bring in Natural Elements
Nothing makes a space feel alive like actual living things. A small potted herb garden does double duty—it looks fresh and you can snip basil for your pasta. Win-win.
Fresh flowers are an obvious choice, but don’t sleep on branches, eucalyptus, or even interesting twigs from your yard. In fall, mini pumpkins or gourds work great. Winter calls for evergreen sprigs or pinecones. You get the idea.
Natural elements add texture and warmth that you just can’t get from manufactured items alone. Plus, they give you an excuse to change things up seasonally without buying new stuff constantly.
The Tray Method (For People Who Like Easy Solutions)
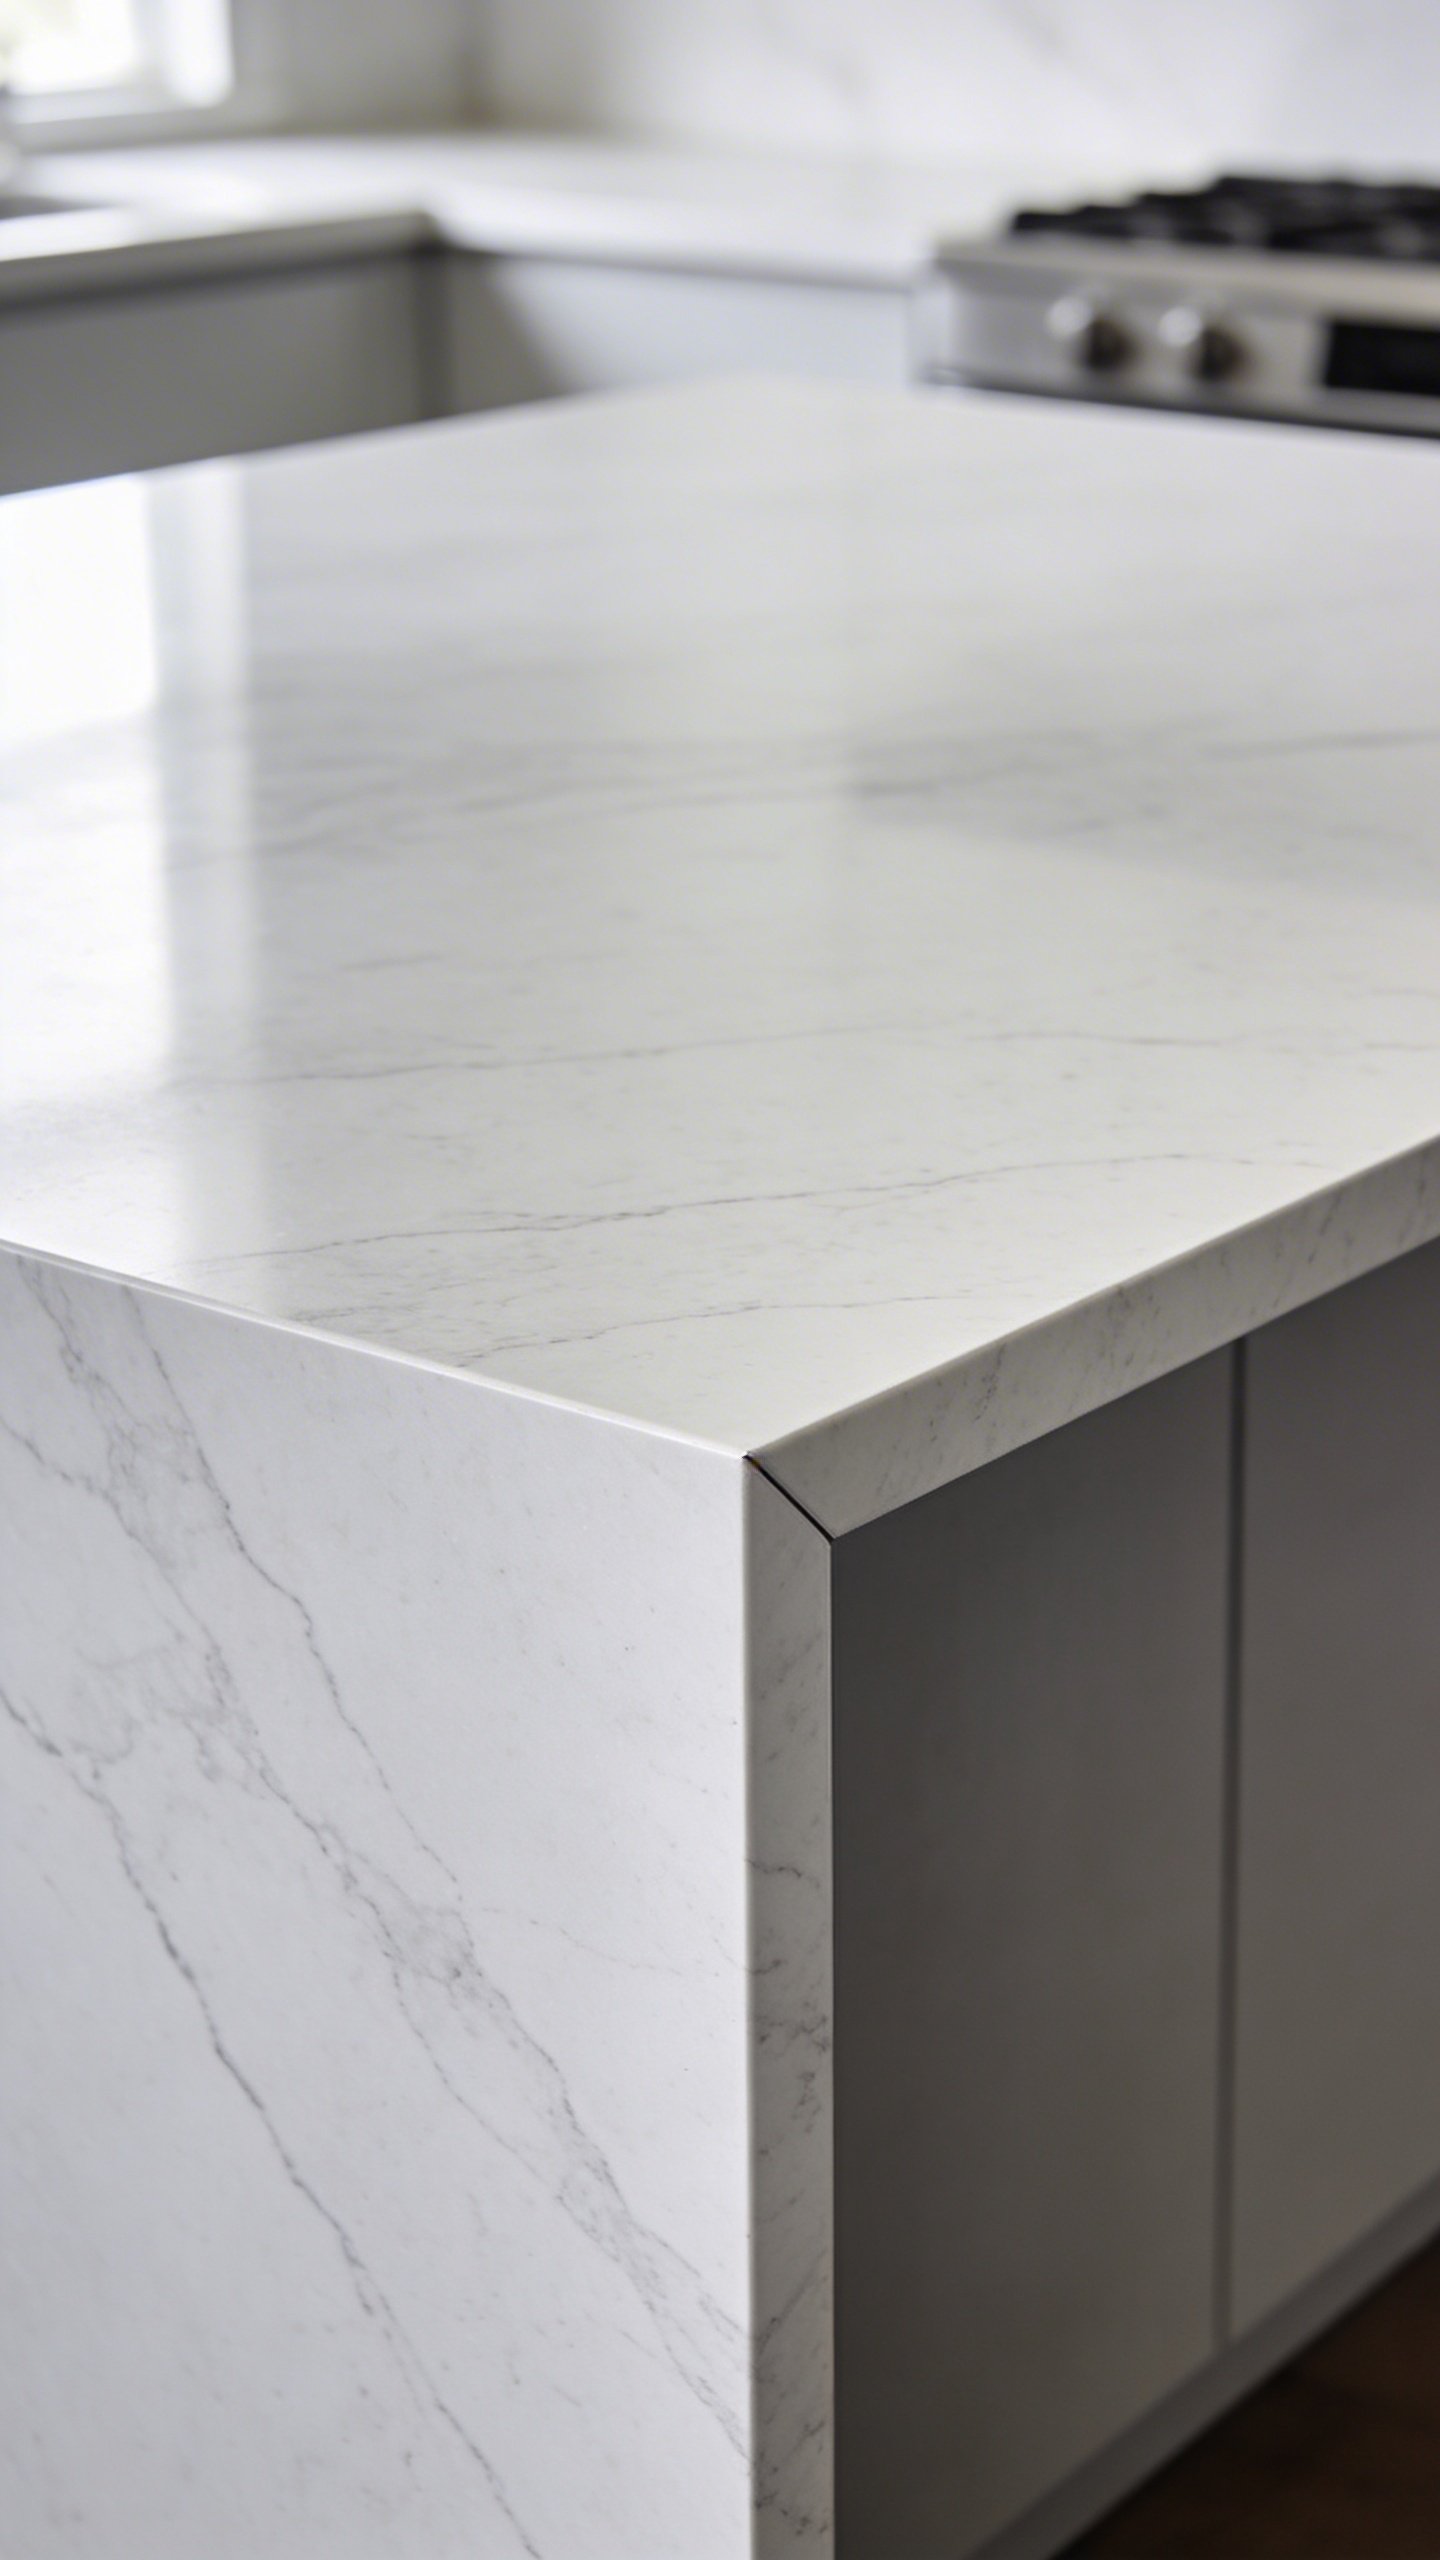
Want to know the laziest way to make your island look styled? Use a tray. I’m serious—it’s almost embarrassing how well this works.
A large tray corrals items together and makes them look intentional rather than random. You can pile stuff on that tray willy-nilly, and somehow it still looks curated. It’s basically cheating, and I’m here for it.
Choose a tray that complements your kitchen’s style—rustic wood, sleek marble, woven rattan, whatever floats your boat. Then group your items on it: maybe a candle, a small plant, and a pretty soap dispenser if your island has a sink.
The best part? When you need to use your island for actual cooking or homework or whatever, you just move the whole tray. Everything stays together, and you can put it right back when you’re done.
Edit Ruthlessly (Less Really Is More)
Here’s where people mess up: they get excited and add too much. Then their beautifully styled island becomes cluttered again, just with nicer clutter.
Step back and remove at least one item from whatever you’ve arranged. Sometimes two. Your island needs breathing room—negative space is part of good design, not wasted space.
If your island is your main prep area, you definitely don’t want it so styled that you can’t actually use it. IMO, you should be able to clear it for cooking in about 30 seconds flat.
Frequently Asked Questions
How much of my island should I leave empty?
Aim to keep at least 60-70% of your island surface clear. You need workspace, and overcrowding defeats the purpose of having an island in the first place. Your styled elements should enhance the space, not dominate it.
Should I style both sides of my island?
It depends on your layout. If one side faces your living area or serves as a breakfast bar, that’s the side to prioritize. The working side (where you prep food) should stay mostly clear. You can add a small plant or herb garden, but keep it minimal so you have room to actually cook.
What if I have young kids who’ll just mess everything up?
Keep your styling simple and kid-proof. Skip the delicate vases and expensive decor. Instead, use a sturdy bowl with fresh fruit they can grab, potted herbs in unbreakable containers, or a wooden tray with everyday items. You can still make it look good without setting yourself up for constant frustration.
How often should I change my island styling?
There’s no rule, but swapping things seasonally keeps your kitchen feeling fresh. That might mean new flowers monthly, different fruit varieties, or switching out accessories every few months. Do whatever feels manageable—this shouldn’t become another chore on your endless to-do list.
What’s the biggest mistake people make when styling their island?
Treating it like a shelf instead of a workspace. Your island isn’t a display case—it’s a functional surface that happens to be visible. The styling should complement your cooking life, not complicate it. If you find yourself constantly moving things out of the way, you’ve styled too much.
Can I style a small island?
Absolutely! Small islands actually benefit from thoughtful styling because you have to be selective. One beautiful grouping of three items or a single gorgeous tray with carefully chosen pieces can look amazing. Just scale everything down and resist the urge to cram too much into a small space.
Conclusion
Styling your kitchen island doesn’t require an interior design degree or a massive budget. It just takes a little thought about mixing form with function, creating visual interest through height and groupings, and—most importantly—knowing when to stop adding stuff.
Your island should make your kitchen feel more inviting and pulled-together, not more stressful. Start with a few key pieces, use that magic rule of three, and edit until it feels right. And remember, the best-styled island is one you can actually clear off and use when you need to roll out cookie dough or help with homework. Because at the end of the day, it’s still a kitchen—it just happens to be a really good-looking one now.