
How to Refinish Kitchen Cabinets Like a Pro for $200
Your kitchen cabinets look like they’ve seen better days, but a full replacement would cost you roughly the same as a small car. The good news? Refinishing them yourself can give you that fresh, updated kitchen look for a fraction of the price. Even better, you don’t need to be a woodworking wizard to pull it off.
What Does “Refinishing” Actually Mean?
Let’s clear up some confusion right off the bat. People throw around terms like refinishing, refacing, and repainting like they’re all the same thing, but they’re not.
Refinishing means stripping your cabinets down to bare wood and applying a new stain or finish. You’re basically giving them a complete makeover from the ground up. This is different from repainting (which just means adding paint over existing finish) or refacing (which involves replacing just the door fronts and drawer faces).
Refinishing is the most labor-intensive option, but it’s also the most transformative. If your cabinets are solid wood and you want to show off that gorgeous grain, this is your play.
Deciding If Your Cabinets Are Worth Refinishing
Before you commit to this project, you need to figure out if your cabinets are actually good candidates. Not all cabinets deserve a second chance, and that’s okay.
Check for solid wood construction first. If your cabinets are made from particle board or MDF with a thin veneer, refinishing isn’t really an option. You’ll just end up with a mess. Solid wood or thick plywood cabinets, though? Those are perfect.
Next, inspect the structural integrity. Are the doors hanging straight? Are the boxes solid, or do they wobble when you touch them? If your cabinets are falling apart, no amount of refinishing will fix that. Sometimes you just need to accept that they’ve lived a good life and move on.
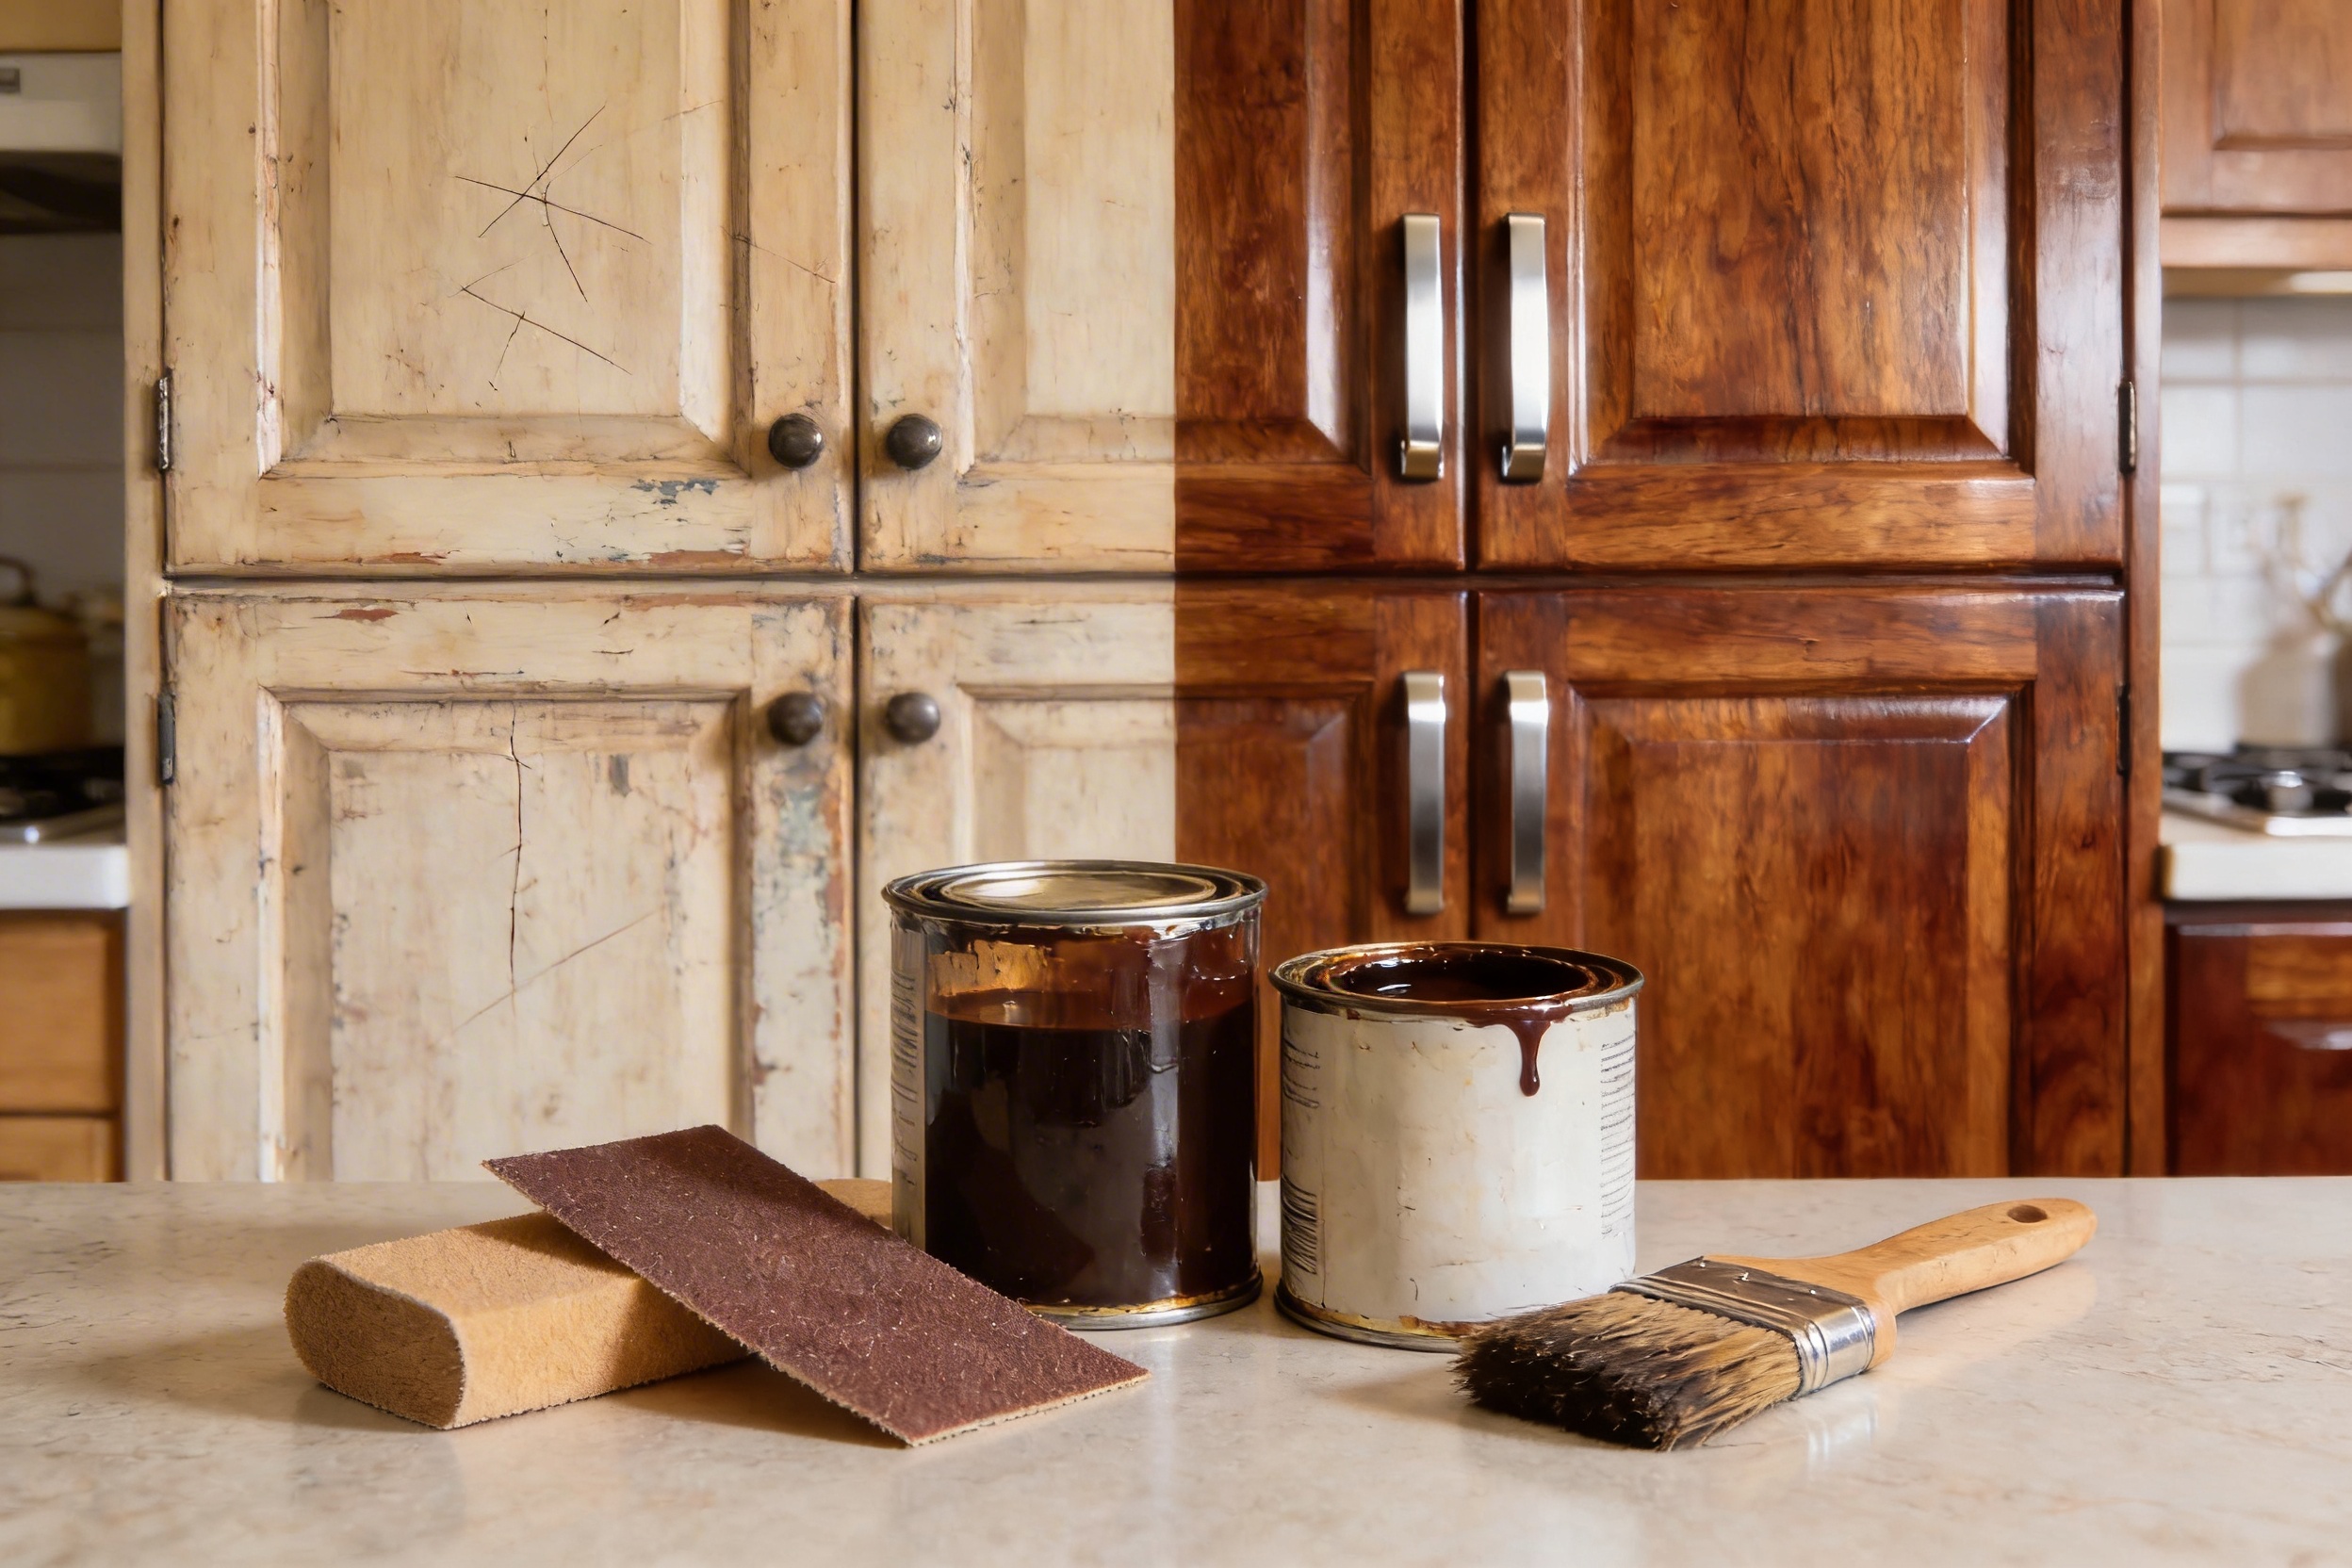
Gathering Your Supplies
You’re going to need more than just a can of stain and a prayer. Here’s what to grab before you start:
- Chemical stripper or heat gun for removing old finish
- Sandpaper in various grits (80, 120, 220)
- Tack cloths for dust removal
- Wood stain in your chosen color
- Polyurethane or varnish for the top coat
- Brushes and foam applicators
- Safety gear: gloves, goggles, respirator mask
- Drop cloths and painter’s tape
- Screwdriver and small containers for hardware
FYI, you can rent some of the pricier tools from home improvement stores if you don’t want to buy them outright. No shame in that game.
The Actual Refinishing Process
Alright, let’s get into the nitty-gritty. This is where the magic happens, assuming you don’t lose your mind halfway through.
Remove Everything
Take off all the doors, drawers, and hardware. Label everything as you go because trust me, you will not remember which door goes where three weeks from now. Use painter’s tape and a marker to number each piece and its corresponding location.
Set up a proper workspace. Your garage, basement, or a well-ventilated room works great. You’ll want sawhorses or a worktable to lay the doors flat while you work on them.
Strip the Old Finish
This is the worst part. There’s no getting around it. You’ve got two main options: chemical strippers or a heat gun.
Chemical strippers work well but smell absolutely terrible and require serious ventilation. Apply the stripper, wait for the finish to bubble up, then scrape it off with a putty knife. You’ll probably need multiple applications because finishes are stubborn like that.
Heat guns are less toxic but require more finesse. You heat the finish until it softens, then scrape it away. Just don’t hold the heat gun in one spot too long, or you’ll scorch the wood. Not a good look.
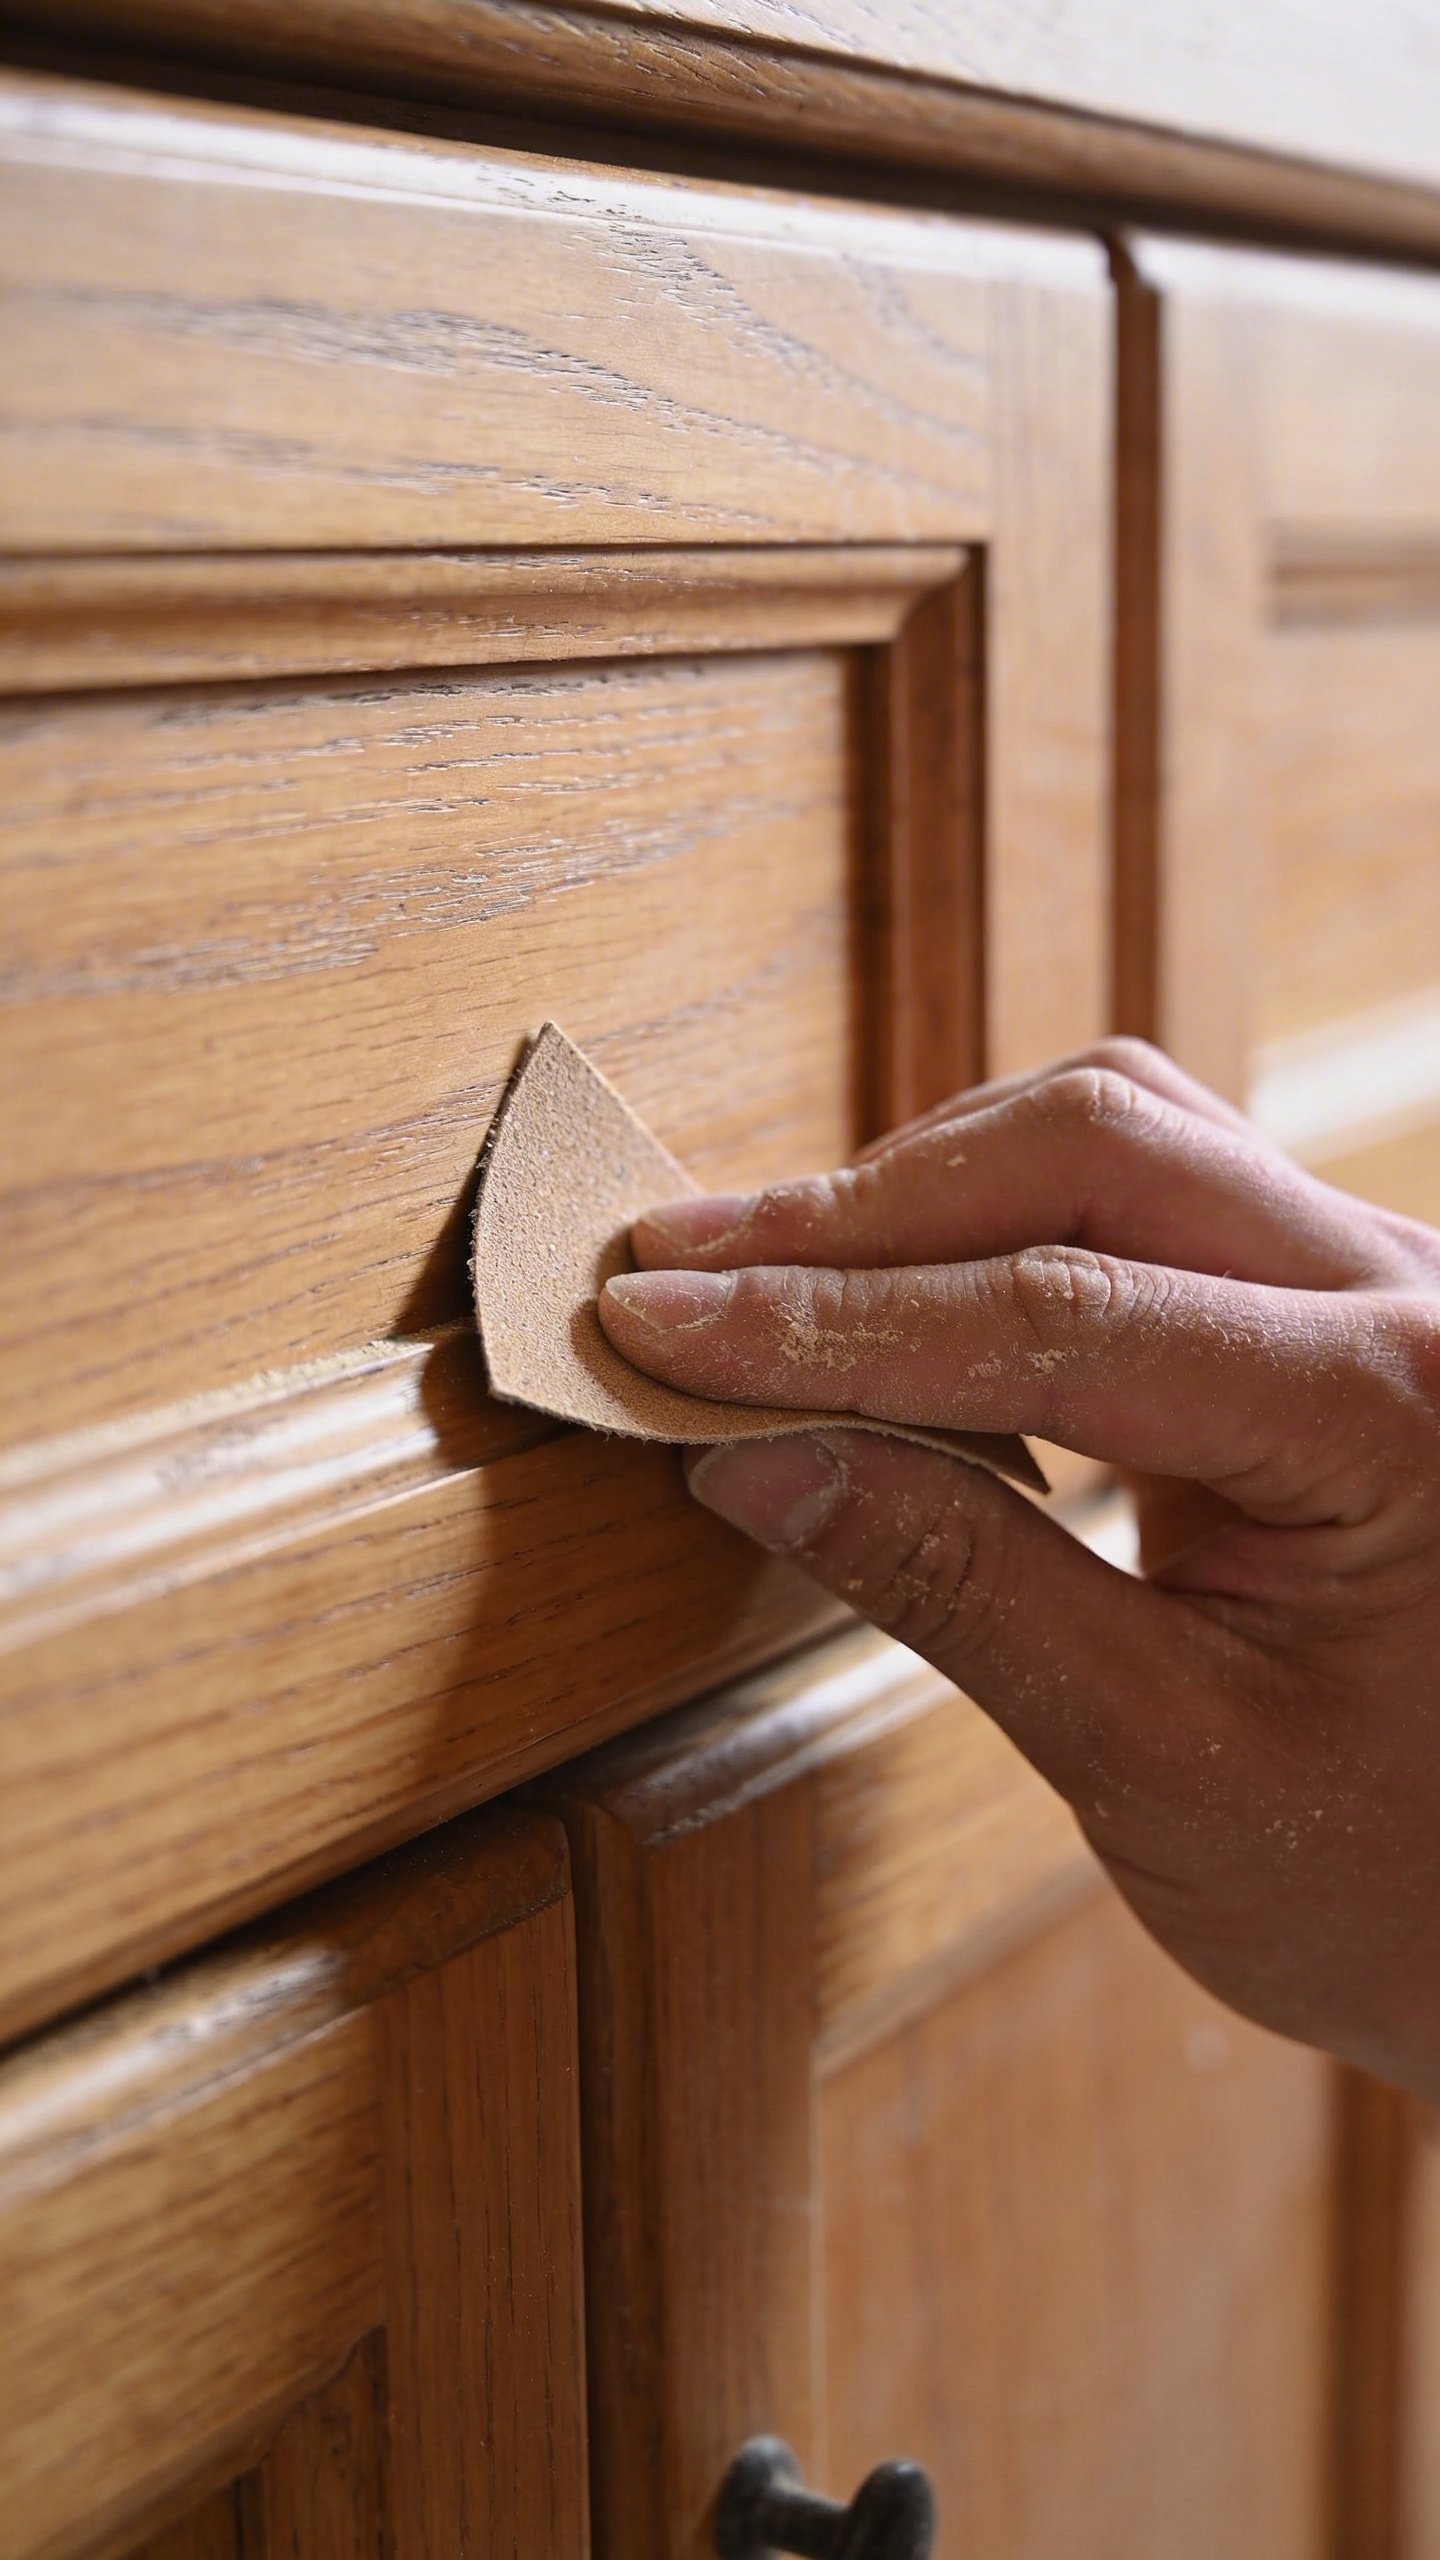
Sand Everything Down
Once you’ve stripped the old finish, it’s sanding time. Start with 80-grit sandpaper to smooth out any remaining finish and imperfections. Move up to 120-grit, then finish with 220-grit for a super smooth surface.
Sand with the grain, not against it. This isn’t a suggestion—it’s a rule. Sanding against the grain leaves scratches that’ll show up once you stain.
Wipe everything down with a tack cloth when you’re done. Any dust left behind will create a bumpy, unprofessional finish.
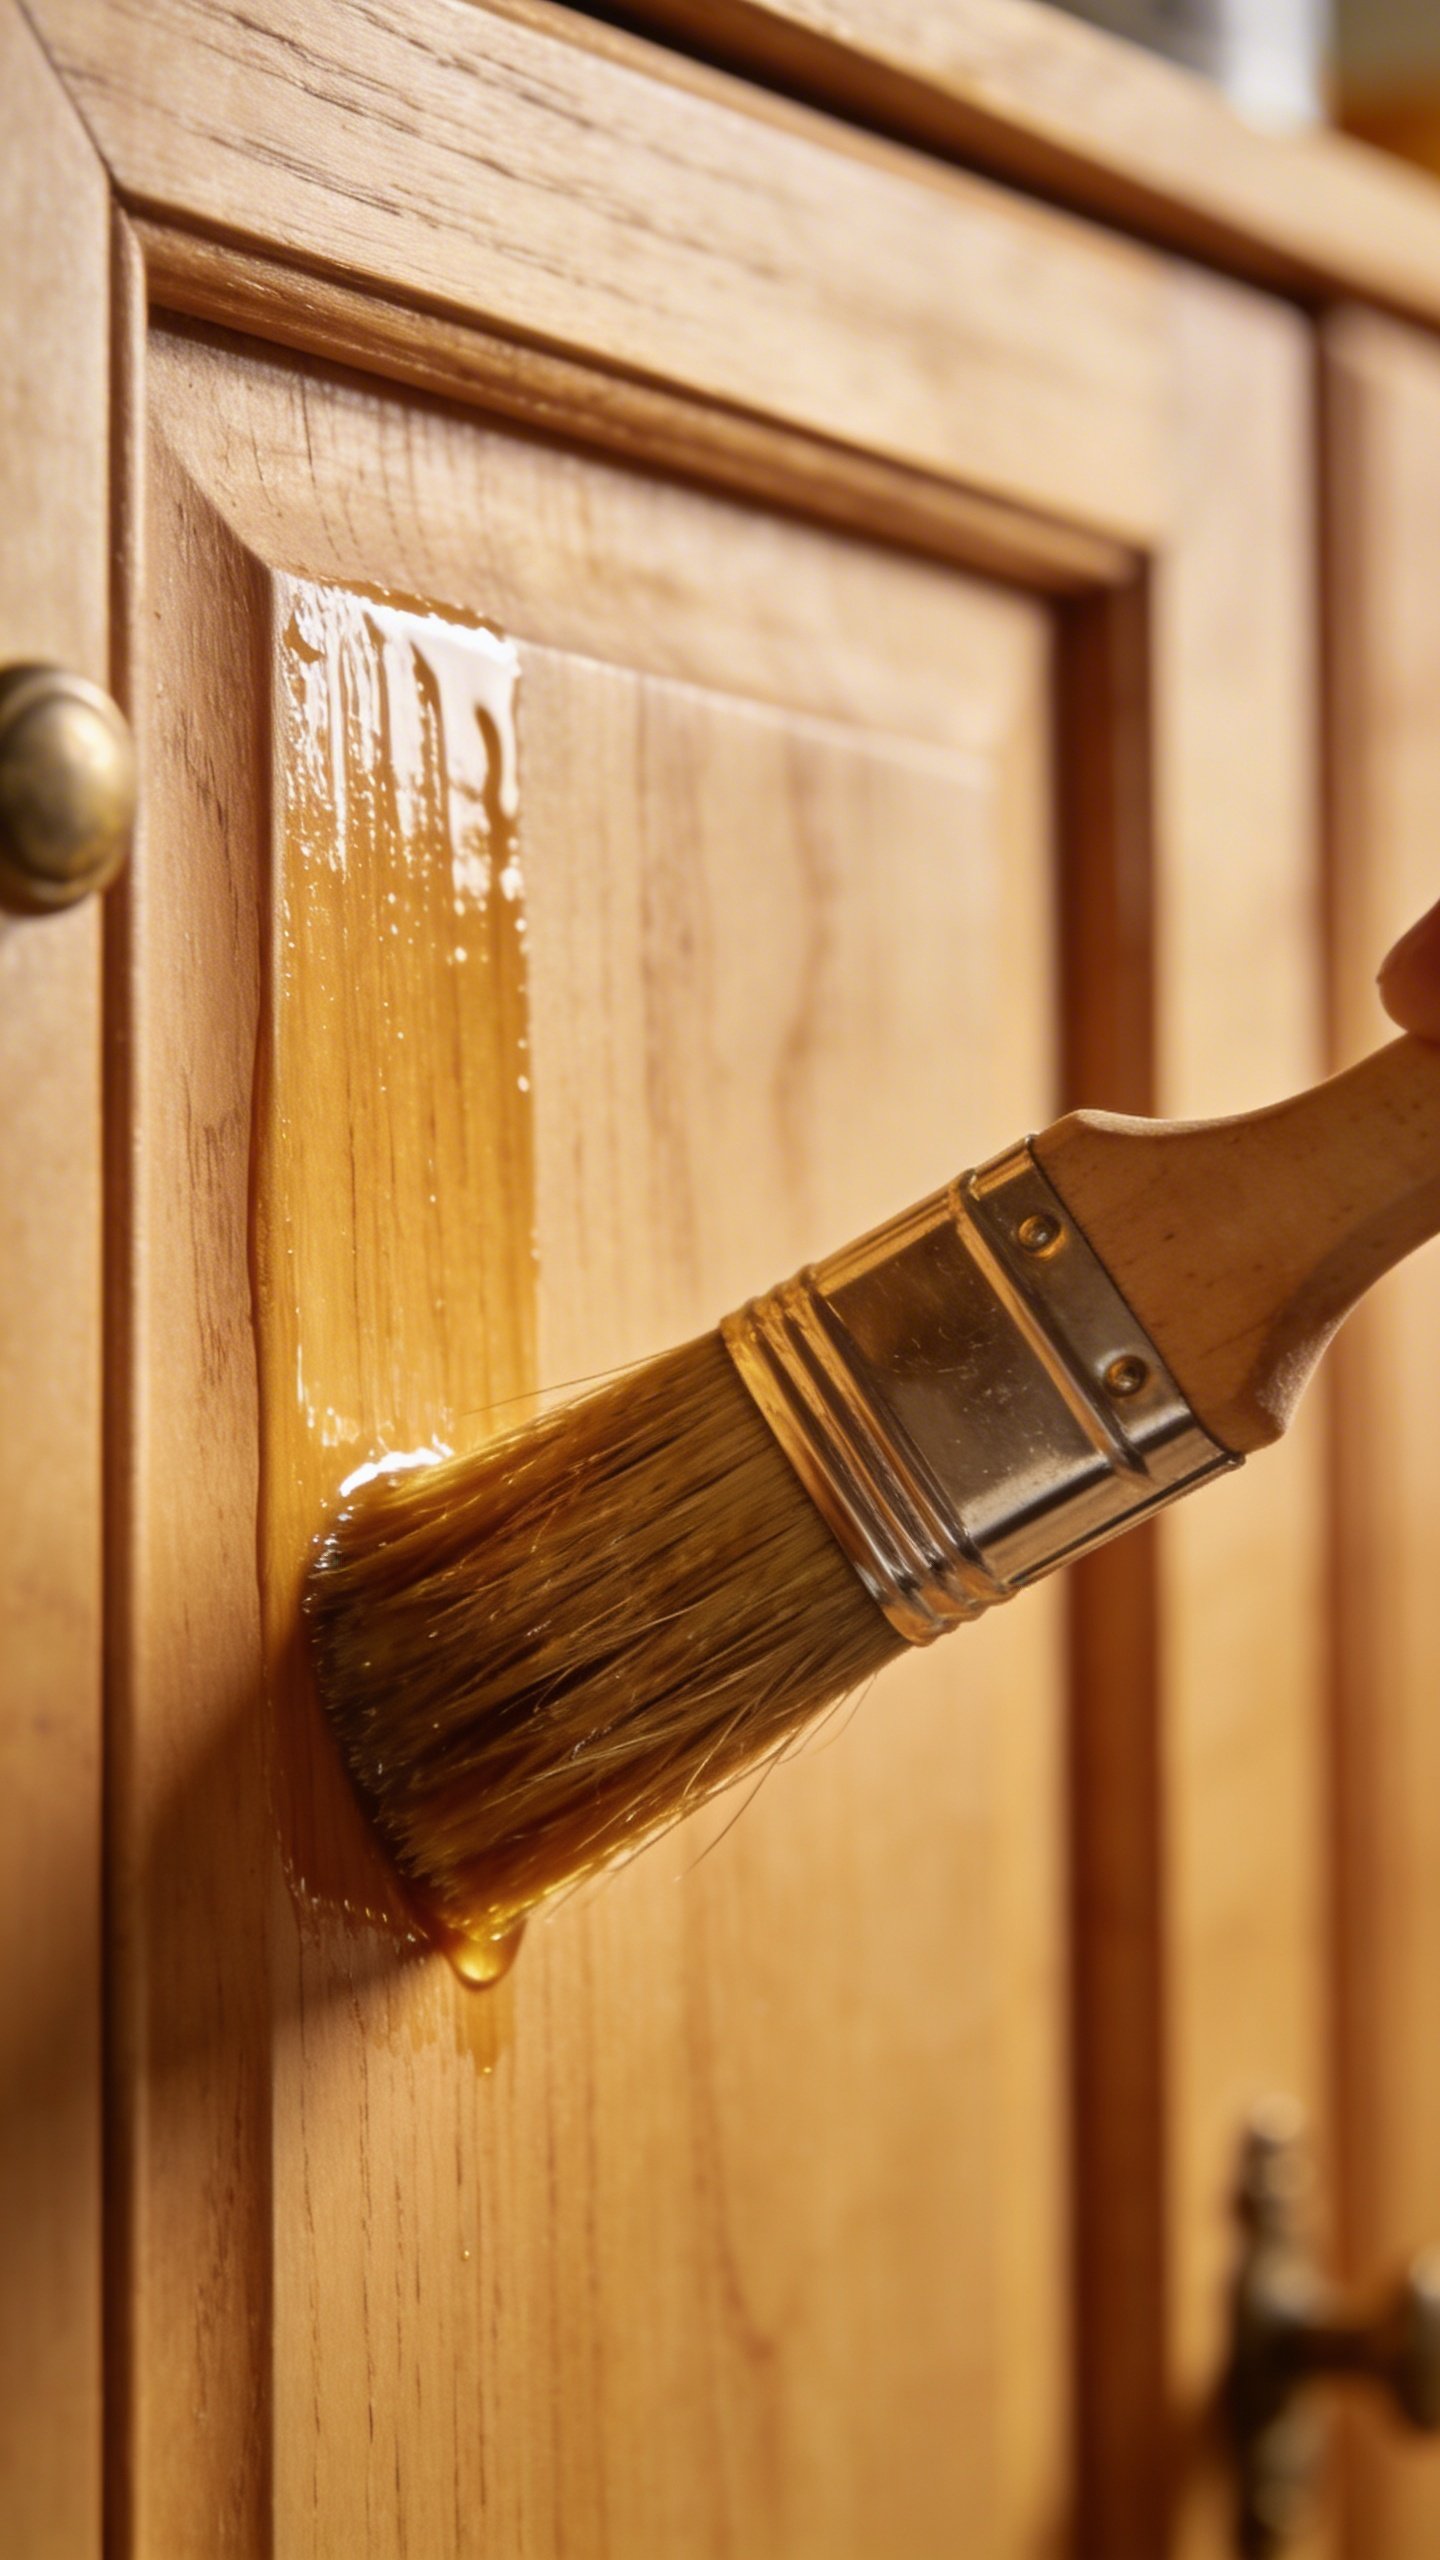
Apply Stain
Now for the fun part! Apply your stain with a brush or foam applicator, working with the grain. Let it sit for a few minutes (check the manufacturer’s instructions), then wipe off the excess with a clean cloth.
Want a darker color? Apply multiple coats. Just make sure each coat dries completely before adding the next one. Rushing this step is how you end up with blotchy, uneven cabinets.
Seal With a Top Coat
Your cabinets need protection, especially in a kitchen where they’ll face grease, moisture, and the occasional wine spill. Apply at least two coats of polyurethane or varnish, sanding lightly with 220-grit paper between coats.
Water-based poly dries faster and has less odor, but oil-based poly is more durable. Pick your poison based on your timeline and patience level.
Reinstalling Your Beautiful New Cabinets
Once everything is completely dry (and I mean completely—give it at least 24 hours after the final coat), you can start putting things back together.
Reattach the hinges and hardware. This is where those labels you made at the beginning save your sanity. If your old hardware looks dated, now’s the perfect time to upgrade to new pulls and knobs. It’s like jewelry for your cabinets.
Make sure doors align properly and drawers slide smoothly. You might need to adjust hinges or drawer slides if things don’t line up perfectly.
Common Mistakes to Avoid
Let me save you some headaches by pointing out where people usually mess up.
Don’t skip the stripping step. Some people think they can just sand down to bare wood, but that takes forever and creates uneven results. Stripping first makes your life so much easier.
Don’t apply stain over dust or debris. I know I already mentioned this, but seriously, it bears repeating. Clean surfaces are non-negotiable.
Don’t rush the drying time. I get it—you want your kitchen back. But if you reassemble everything before the finish has fully cured, you’ll end up with sticky cabinets that pick up every fingerprint and smudge. Patience pays off here.
Frequently Asked Questions
How long does refinishing kitchen cabinets take?
Plan on at least a week, possibly two if you’re working on this in your spare time. The actual work isn’t continuous, but you need drying time between steps. If you’re refinishing a large kitchen, it could take even longer. IMO, it’s better to overestimate your timeline than to rush and mess it up.
Can I refinish cabinets without removing them?
You can, but I wouldn’t recommend it. Working with the doors and drawers laid flat gives you much better results. Plus, you’ll get finish drips and runs if you try to work vertically. Taking everything down also lets you work more efficiently and protects your countertops and floors.
How much money can I save by refinishing instead of replacing?
A typical cabinet replacement runs anywhere from $5,000 to $20,000 depending on your kitchen size and material choices. Refinishing the same kitchen might cost $200-$500 in materials if you DIY. Even if you hire a professional to refinish them, you’re looking at $1,500-$4,000. The savings are substantial.
What’s the best type of finish for kitchen cabinets?
For durability, you can’t beat polyurethane. Oil-based poly offers the toughest protection against daily wear and tear, but water-based poly is easier to work with and doesn’t yellow over time. If you want a more traditional look, lacquer or varnish also works well, though they require more maintenance.
Do I need to refinish the cabinet boxes or just the doors?
Technically, you only need to refinish what’s visible. Most people focus on the doors, drawer fronts, and face frames. The interior boxes usually don’t show, so you can get away with just cleaning them thoroughly. That said, if you’re going for a complete transformation and you’ve got the time, doing everything creates a more cohesive look.
Can I change the color completely when refinishing?
Absolutely! That’s one of the best parts about refinishing. You can go from honey oak to dark walnut, or even do a completely different wood tone. Just remember that you need to strip everything down to bare wood first. You can’t just slap a darker stain over a lighter finish and call it done.
Final Thoughts
Refinishing kitchen cabinets isn’t a quick weekend project, but it’s totally doable for someone with moderate DIY skills and a decent amount of patience. You’ll save thousands of dollars compared to replacement, and you’ll end up with custom-looking cabinets that reflect your style.
The key is proper prep work and not rushing through the steps. Take your time, follow the process, and you’ll end up with results that’ll make you want to invite people over just to show off your kitchen. And honestly? There’s something pretty satisfying about completely transforming a space with your own two hands.