
How to Paint Kitchen Countertop Like a Total Pro
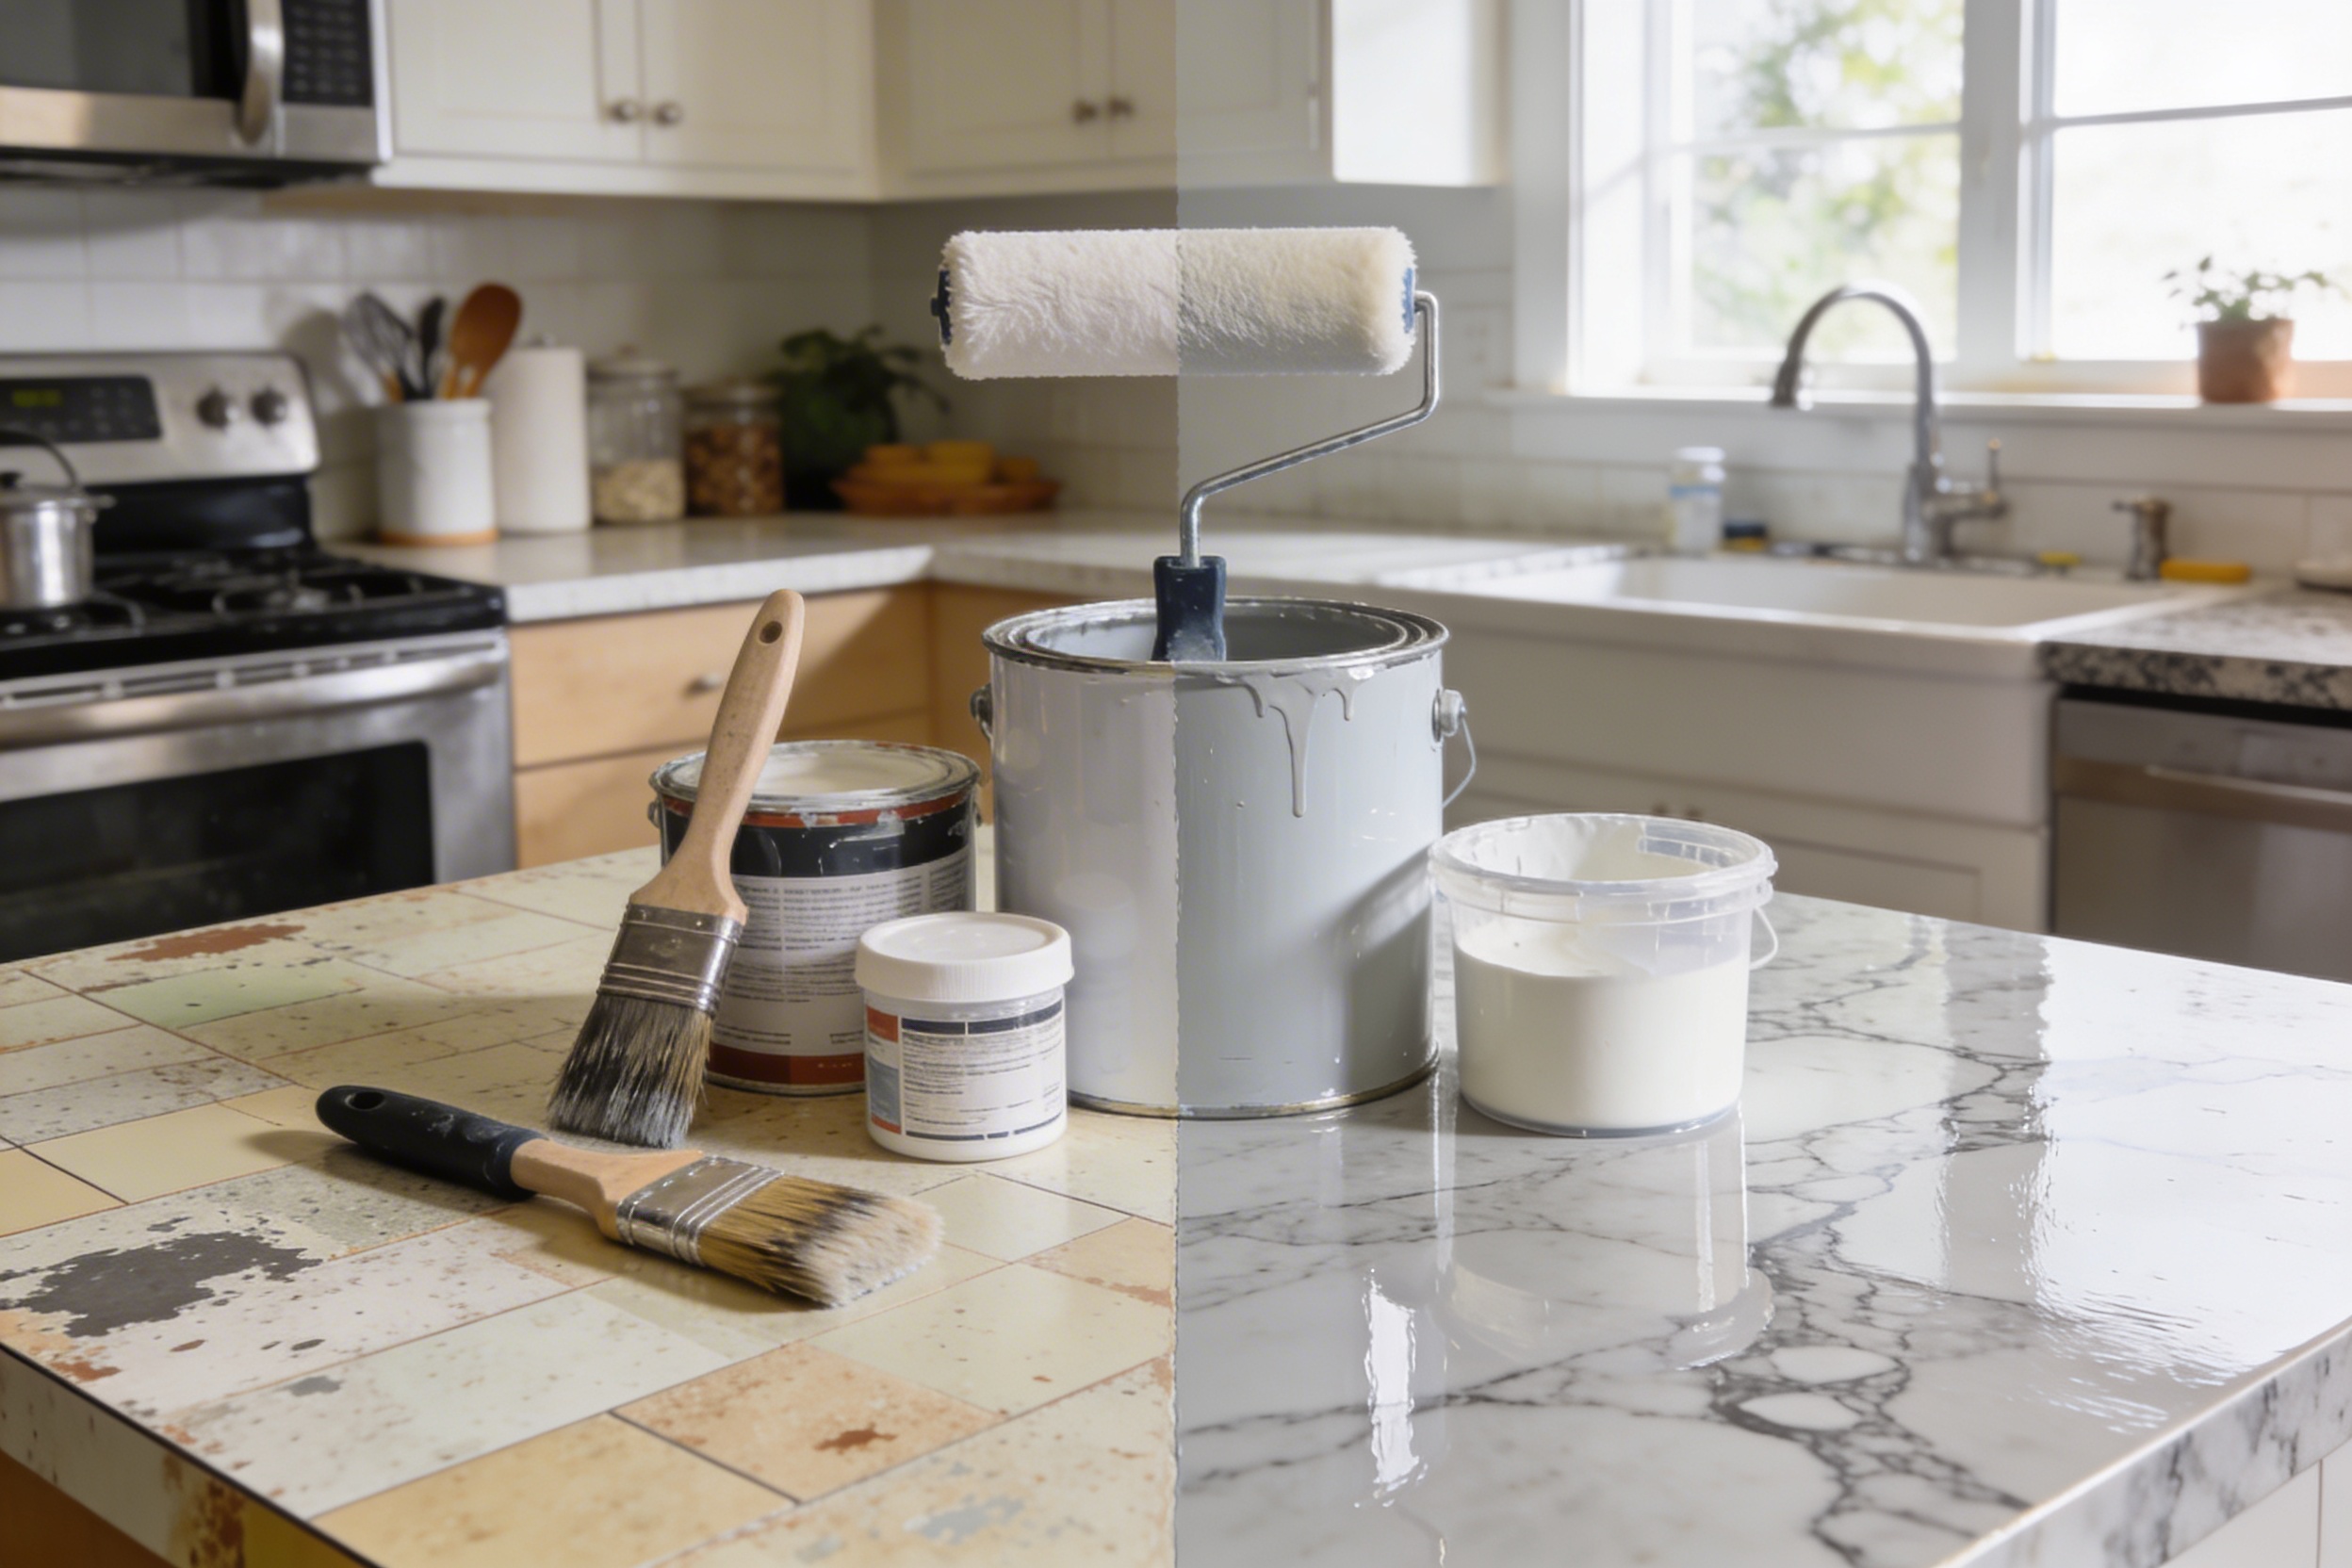
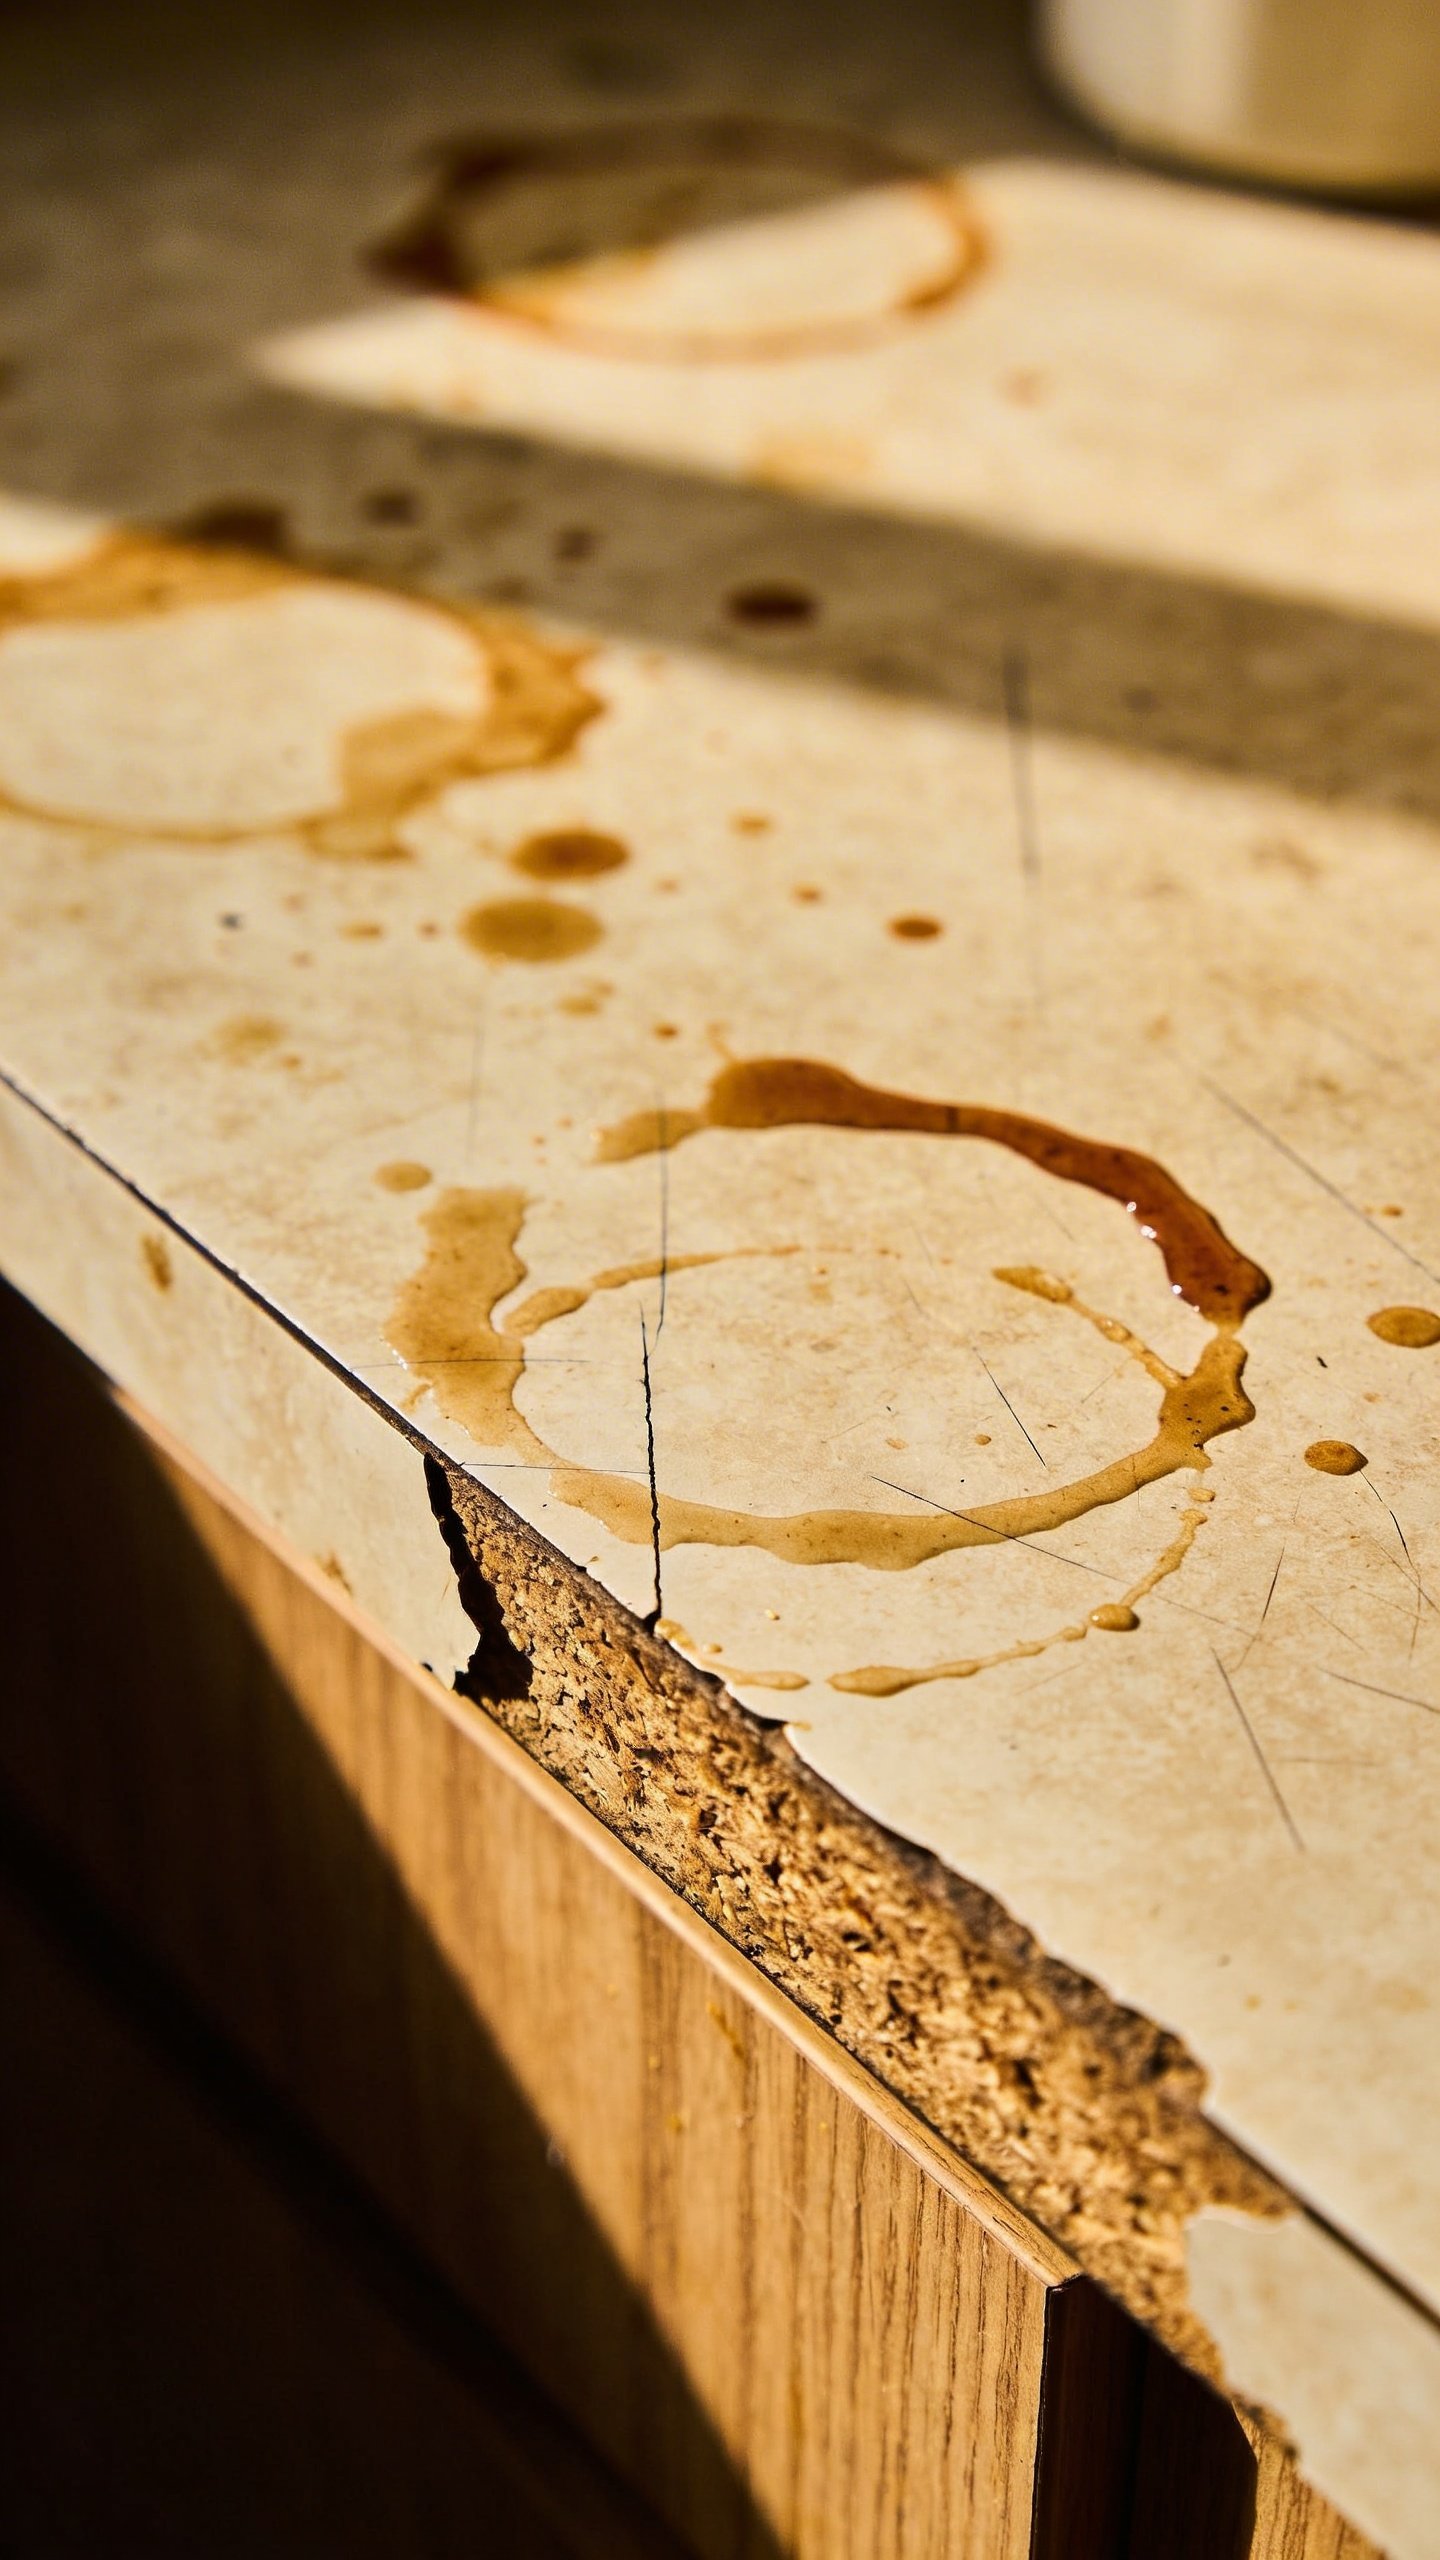
Let me be real with you: kitchen countertops take a beating, and after years of meal prep, coffee spills, and questionable cooking experiments, they can look pretty rough. But before you drain your savings on new counters, here’s a secret: you can paint those bad boys yourself. Seriously, with some elbow grease and the right approach, you can transform your tired countertops into something that’ll make your neighbors do a double-take.
Why You Should Actually Consider Painting Your Countertops
Look, I get it. Painting countertops sounds a bit sketchy at first. You’re literally painting a surface that’ll face hot pots, sharp knives, and the occasional wine spill (no judgment).
But here’s the thing: when done correctly, painted countertops can last for years. They’re perfect if you’re working with an ugly laminate situation or outdated tile that screams 1987. Plus, the cost difference between painting and replacing is absolutely wild. We’re talking hundreds instead of thousands.
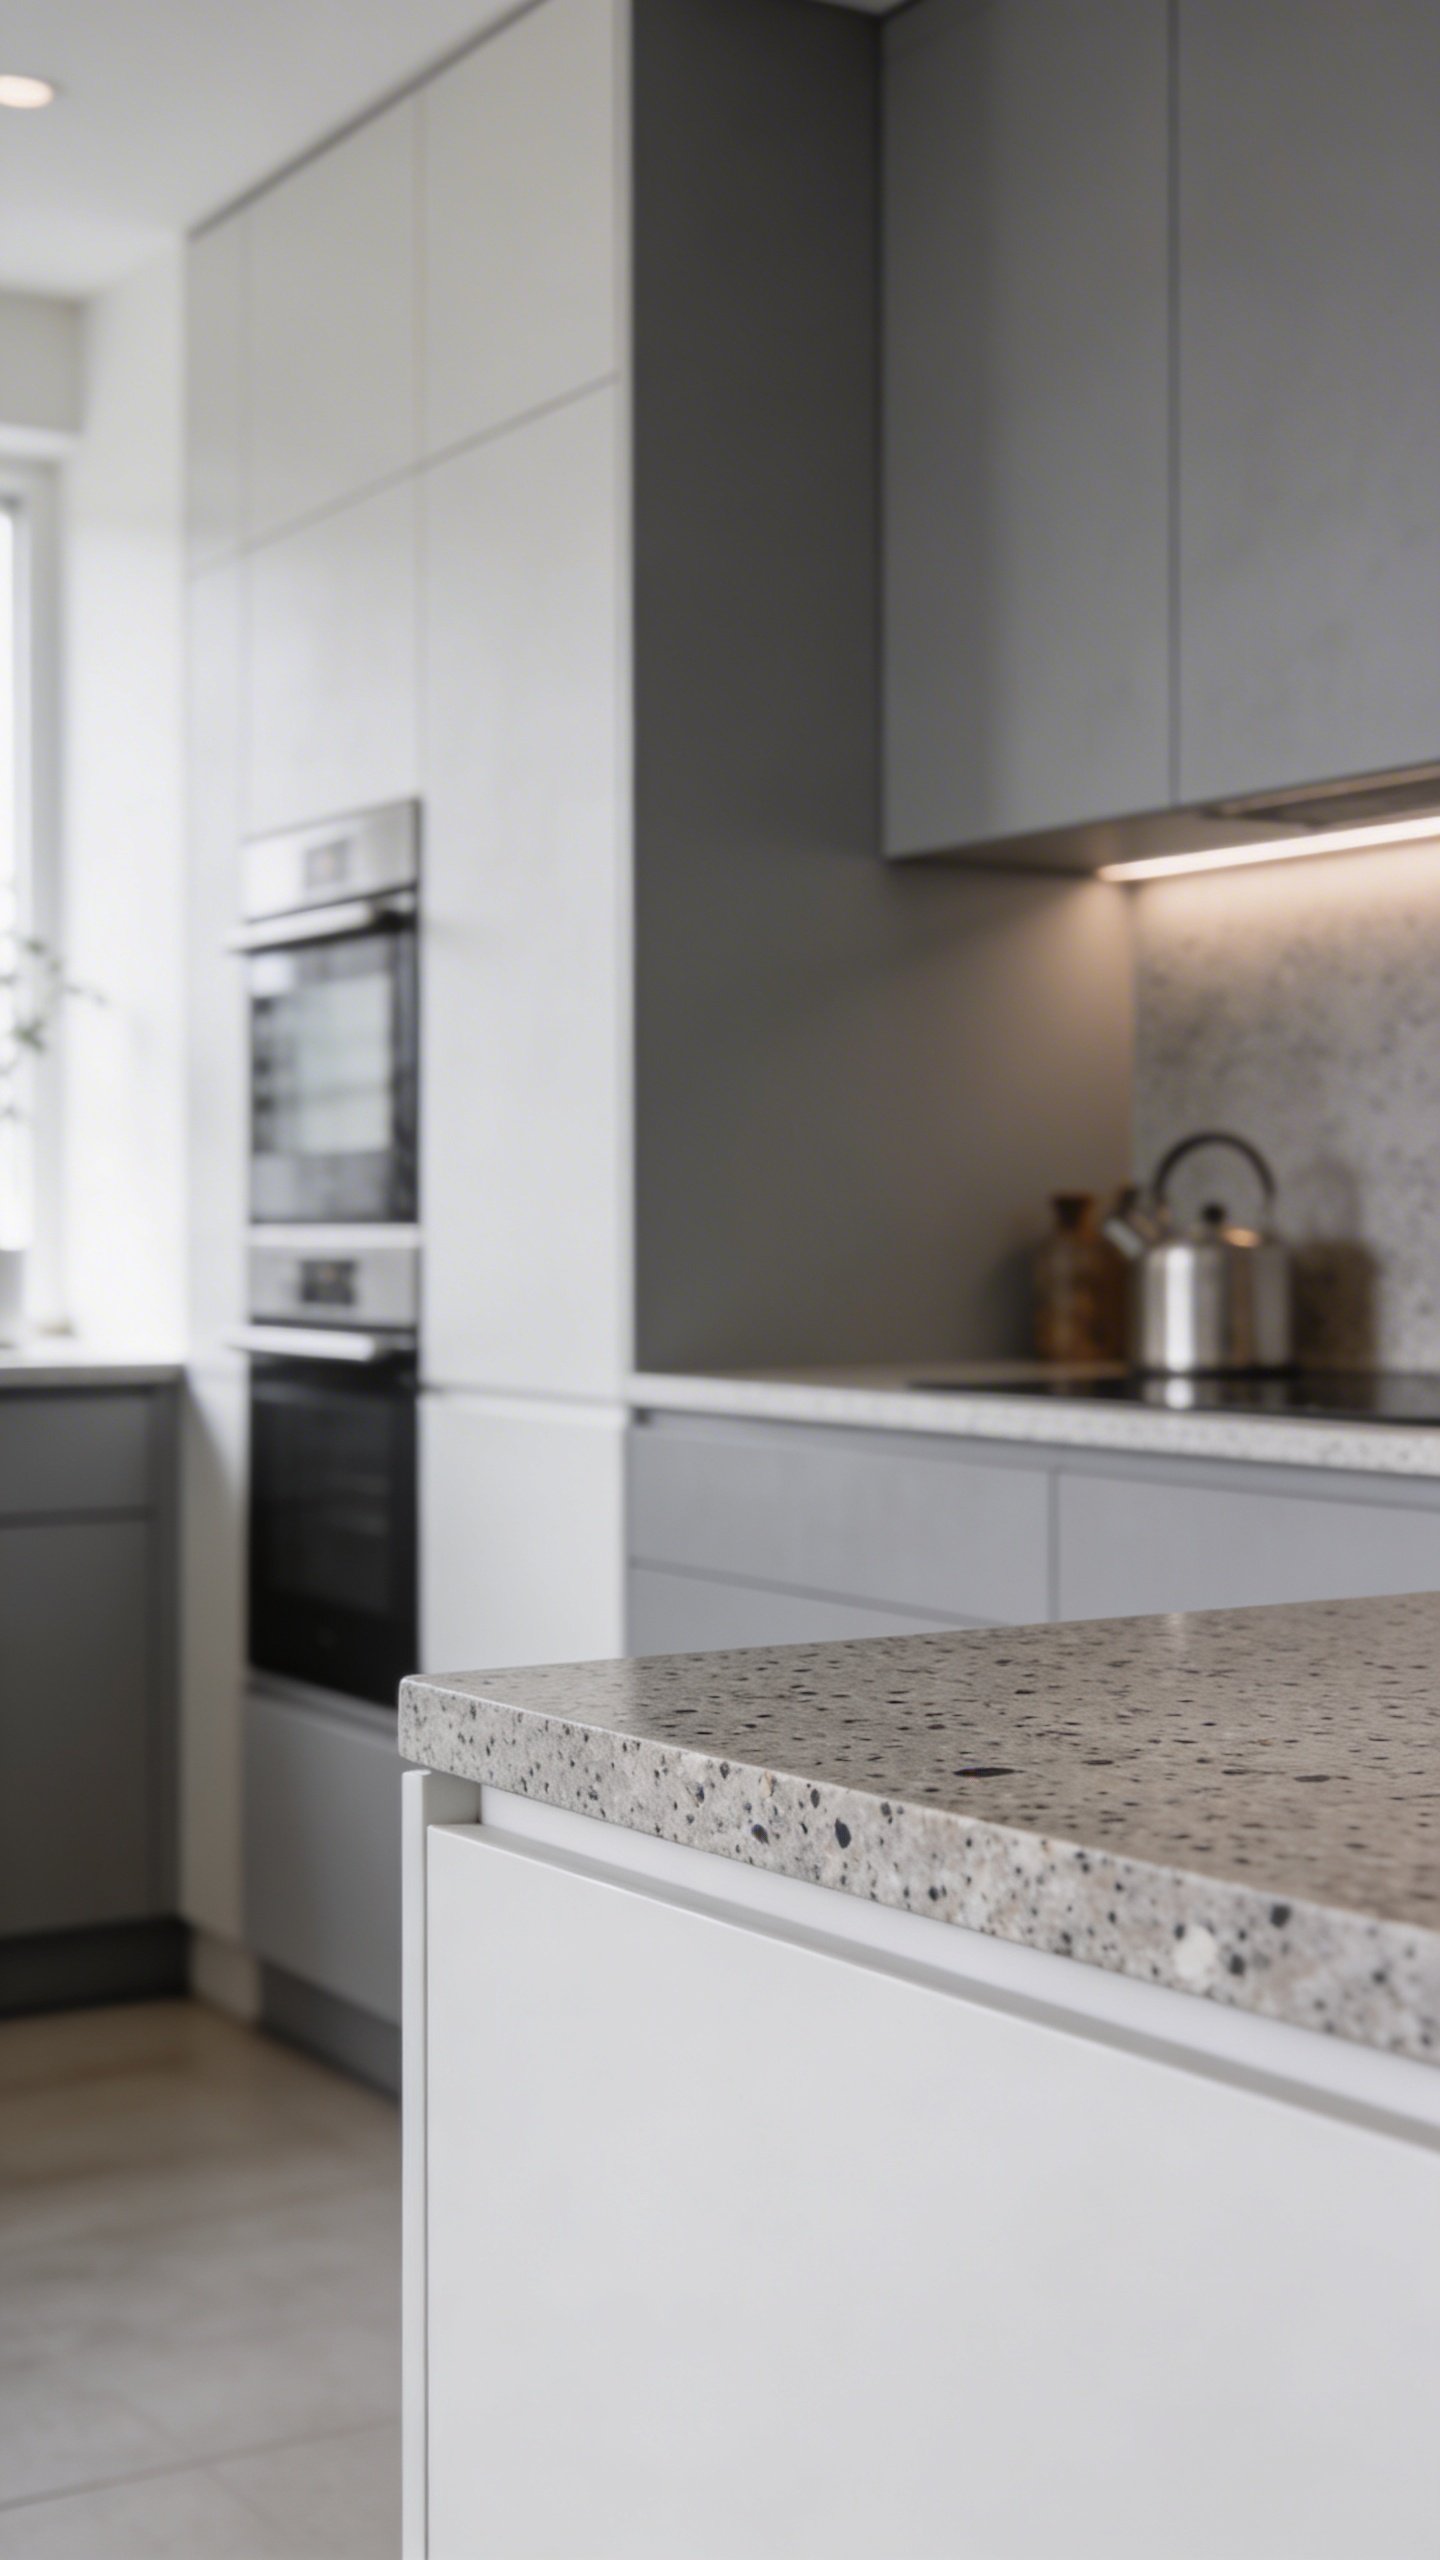
The best part? You can customize the look however you want. Marble effect? Check. Granite vibes? Totally doable. Solid modern matte? You got it.
Picking the Right Paint and Materials
Not all paints are created equal, and your countertops definitely aren’t the place to experiment with that leftover wall paint from your bedroom. You need products specifically designed to handle the kitchen chaos.
Paint Options That Actually Work
Epoxy paint is basically the gold standard for countertops. This stuff bonds like it means business and creates a super durable finish. It’s a bit tricky to work with (you’ll mix two parts together), but the results are worth the hassle.
Acrylic countertop paint kits are your user-friendly option. Companies make these specifically for DIYers who want decent results without the chemistry degree. They typically include everything you need in one box, which is pretty convenient.
Specialty countertop coatings like Giani or Rust-Oleum’s countertop transformations come with primers, paints, and sealers all designed to work together. Think of them as the training wheels of countertop painting.
Other Stuff You’ll Need
Beyond paint, grab these essentials:
- High-grit sandpaper (120 and 220 grit)
- TSP cleaner or degreaser
- Primer designed for slick surfaces
- Foam rollers and quality brushes
- Painter’s tape (the good stuff, not dollar store variety)
- Polyurethane or epoxy sealer
- Drop cloths to protect your floors
Prepping Your Countertops (The Most Important Step)
Real talk: if you skip the prep work, your paint job will look like garbage within a month. Sorry to be harsh, but that’s the truth. Prep is absolutely crucial for getting paint to stick.
First, clear everything off your counters. And I mean everything. That cute canister set? Gone. The knife block? Outta there. You need a completely clear workspace.
Next, give those counters a deep clean with TSP or a heavy-duty degreaser. You’d be shocked at how much invisible grease builds up from cooking. Scrub thoroughly, rinse well, and let everything dry completely.
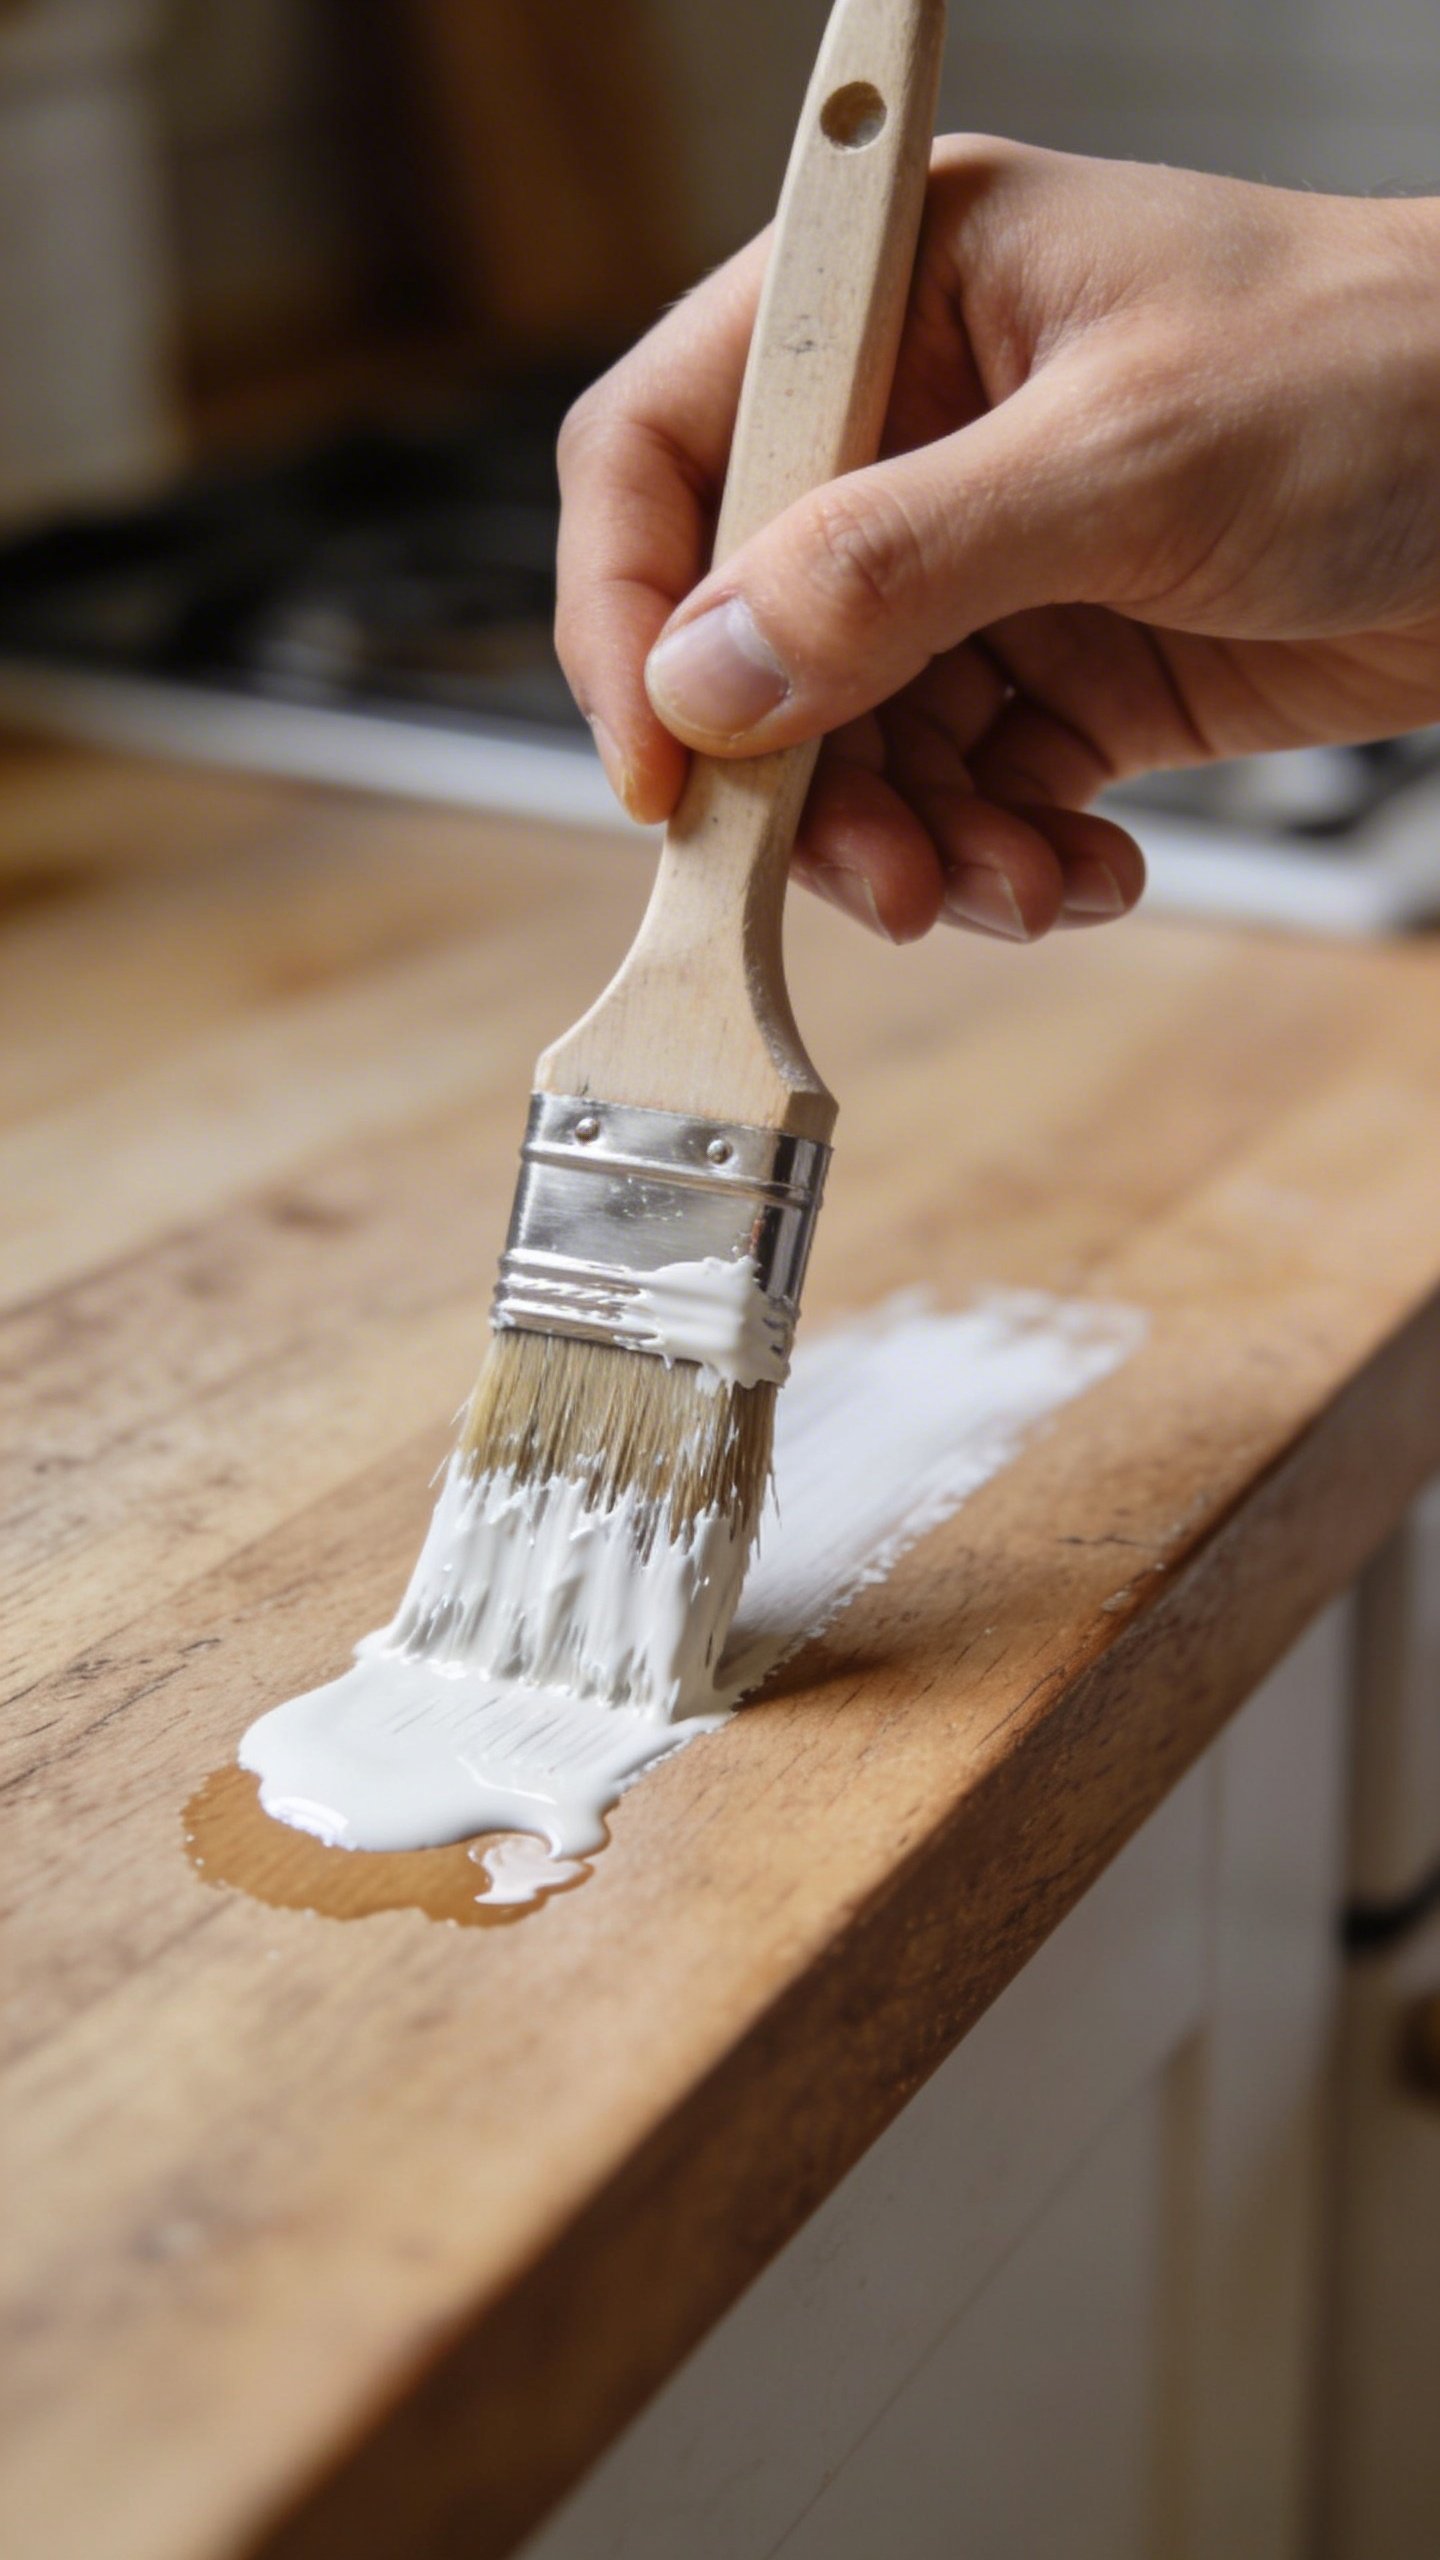
Now comes the fun part: sanding. You’re not trying to sand through the surface; you just want to rough it up enough that paint can grab on. Use 120-grit sandpaper and scuff the entire surface. Wipe away all the dust with a damp cloth afterward.
Dealing With Seams and Damage
Got chips, cracks, or annoying seams? Fill them now with a two-part epoxy filler or wood filler (depending on your countertop material). Sand these spots smooth once they’re dry. This is your chance to fix all those little imperfections that bug you.
The Actual Painting Process
Time for the main event. Take a deep breath—you’ve got this.
Start by taping off your backsplash, walls, and sink edges. Use quality painter’s tape and really press down those edges. Nothing kills your vibe faster than paint bleeding where it shouldn’t.
Apply your primer first. A bonding primer is non-negotiable for laminate or tile surfaces. Use a foam roller for smooth coverage and a brush for edges. Let it dry completely according to the manufacturer’s directions.
Layering Your Paint
Now for the actual paint. Most projects need at least two to three thin coats. I cannot stress this enough: thin coats are better than one thick coat. Thick coats look goopy, take forever to dry, and can peel.
Roll each coat on smoothly, working in sections. Don’t go back and fuss with areas that are starting to dry—you’ll just make marks. Trust the process and let each coat dry fully before adding the next one.
If you’re using a kit with decorative techniques (like sponging or veining for a stone look), follow those instructions carefully. FYI, these effects look way better when you don’t overthink them. Random imperfection actually makes it look more realistic.
Sealing for Protection
Your painted countertop isn’t done until you seal it. This is what protects your hard work from heat, moisture, and daily wear.
Polyurethane sealer works well and is relatively affordable. You’ll want at least three coats, sanding lightly between each with 220-grit sandpaper. Water-based poly won’t yellow over time, which is a nice bonus.
Epoxy topcoat is the heavy-duty option. This stuff creates a thick, glass-like finish that’s incredibly durable. It’s messier to apply and you need to work in a well-ventilated area, but the protection level is unmatched.
Apply your sealer carefully and evenly. Bubbles are the enemy here, so work methodically and use a foam brush or roller designed for smooth finishes.
Curing Time and Care
Here’s where patience becomes your best friend. Just because your countertops feel dry doesn’t mean they’re ready for action.
Most painted countertops need at least 48-72 hours before light use. But the full cure time? That can take up to a month, especially with epoxy. During this time, baby your counters. No hot pots directly on the surface, no aggressive scrubbing, and definitely no knife work without a cutting board.
Once fully cured, treat your painted countertops with respect. Always use cutting boards, trivets for hot items, and clean up spills quickly. Think of them like nice furniture—durable, but not indestructible.
Frequently Asked Questions
How long do painted countertops actually last?
With proper prep, quality materials, and decent care, painted countertops can last anywhere from three to seven years. Some people report even longer. The sealer quality and your daily habits make the biggest difference. If you’re rough on your counters or skip the sealer, expect the lower end of that range.
Can I paint over tile countertops?
Absolutely! Tile is actually a great candidate for painting. The key is filling those grout lines with epoxy filler to create a smooth surface first. Sand everything well, use a bonding primer, and seal thoroughly. The texture of grout lines can even add character if you don’t mind a slightly textured finish.
What if I hate the results?
The beauty of paint is that it’s not permanent. If you really hate how it turns out, you can sand it off and try again, or just live with it until you can afford new counters. IMO, even a mediocre paint job usually looks better than beat-up old laminate. Worst case scenario, you’re out a couple hundred bucks and a weekend.
Is painting cheaper than countertop overlays or new counters?
Way cheaper. New countertops run anywhere from $1,500 to $5,000+ for an average kitchen. Overlays cost $500-$2,000. Painting? You’re looking at $100-$300 for materials. It’s not even a competition budget-wise.
Can I paint butcher block or wood countertops?
You can, but honestly, why would you? Wood countertops are gorgeous and can be refinished by sanding and re-oiling. Painting covers up all that natural beauty. If your wood counters are damaged beyond repair, painting works, but consider refinishing first.
Do I really need to seal painted countertops?
Yes, absolutely, 100%, without question. Unsealed painted countertops will chip, stain, and wear through faster than you can say “I should’ve listened.” The sealer is what makes the whole project worthwhile. Don’t skip it just because you’re tired of the project.
Wrapping It Up
Painting your kitchen countertops isn’t some crazy Pinterest fantasy that only works in theory. It’s a legitimate way to transform your kitchen without taking out a loan. Sure, it requires some effort and patience, but the payoff can be absolutely worth it.
The keys to success? Thorough prep work, quality materials, proper sealing, and realistic expectations. You’re not creating actual granite or marble—you’re creating a durable, attractive painted surface that mimics the look. And honestly? Most people can’t tell the difference from a few feet away.
So grab your supplies, clear a weekend, and give those sad countertops a new lease on life. Your kitchen (and your wallet) will thank you.