
How to Repaint Kitchen Cabinets Without Losing Your Mind
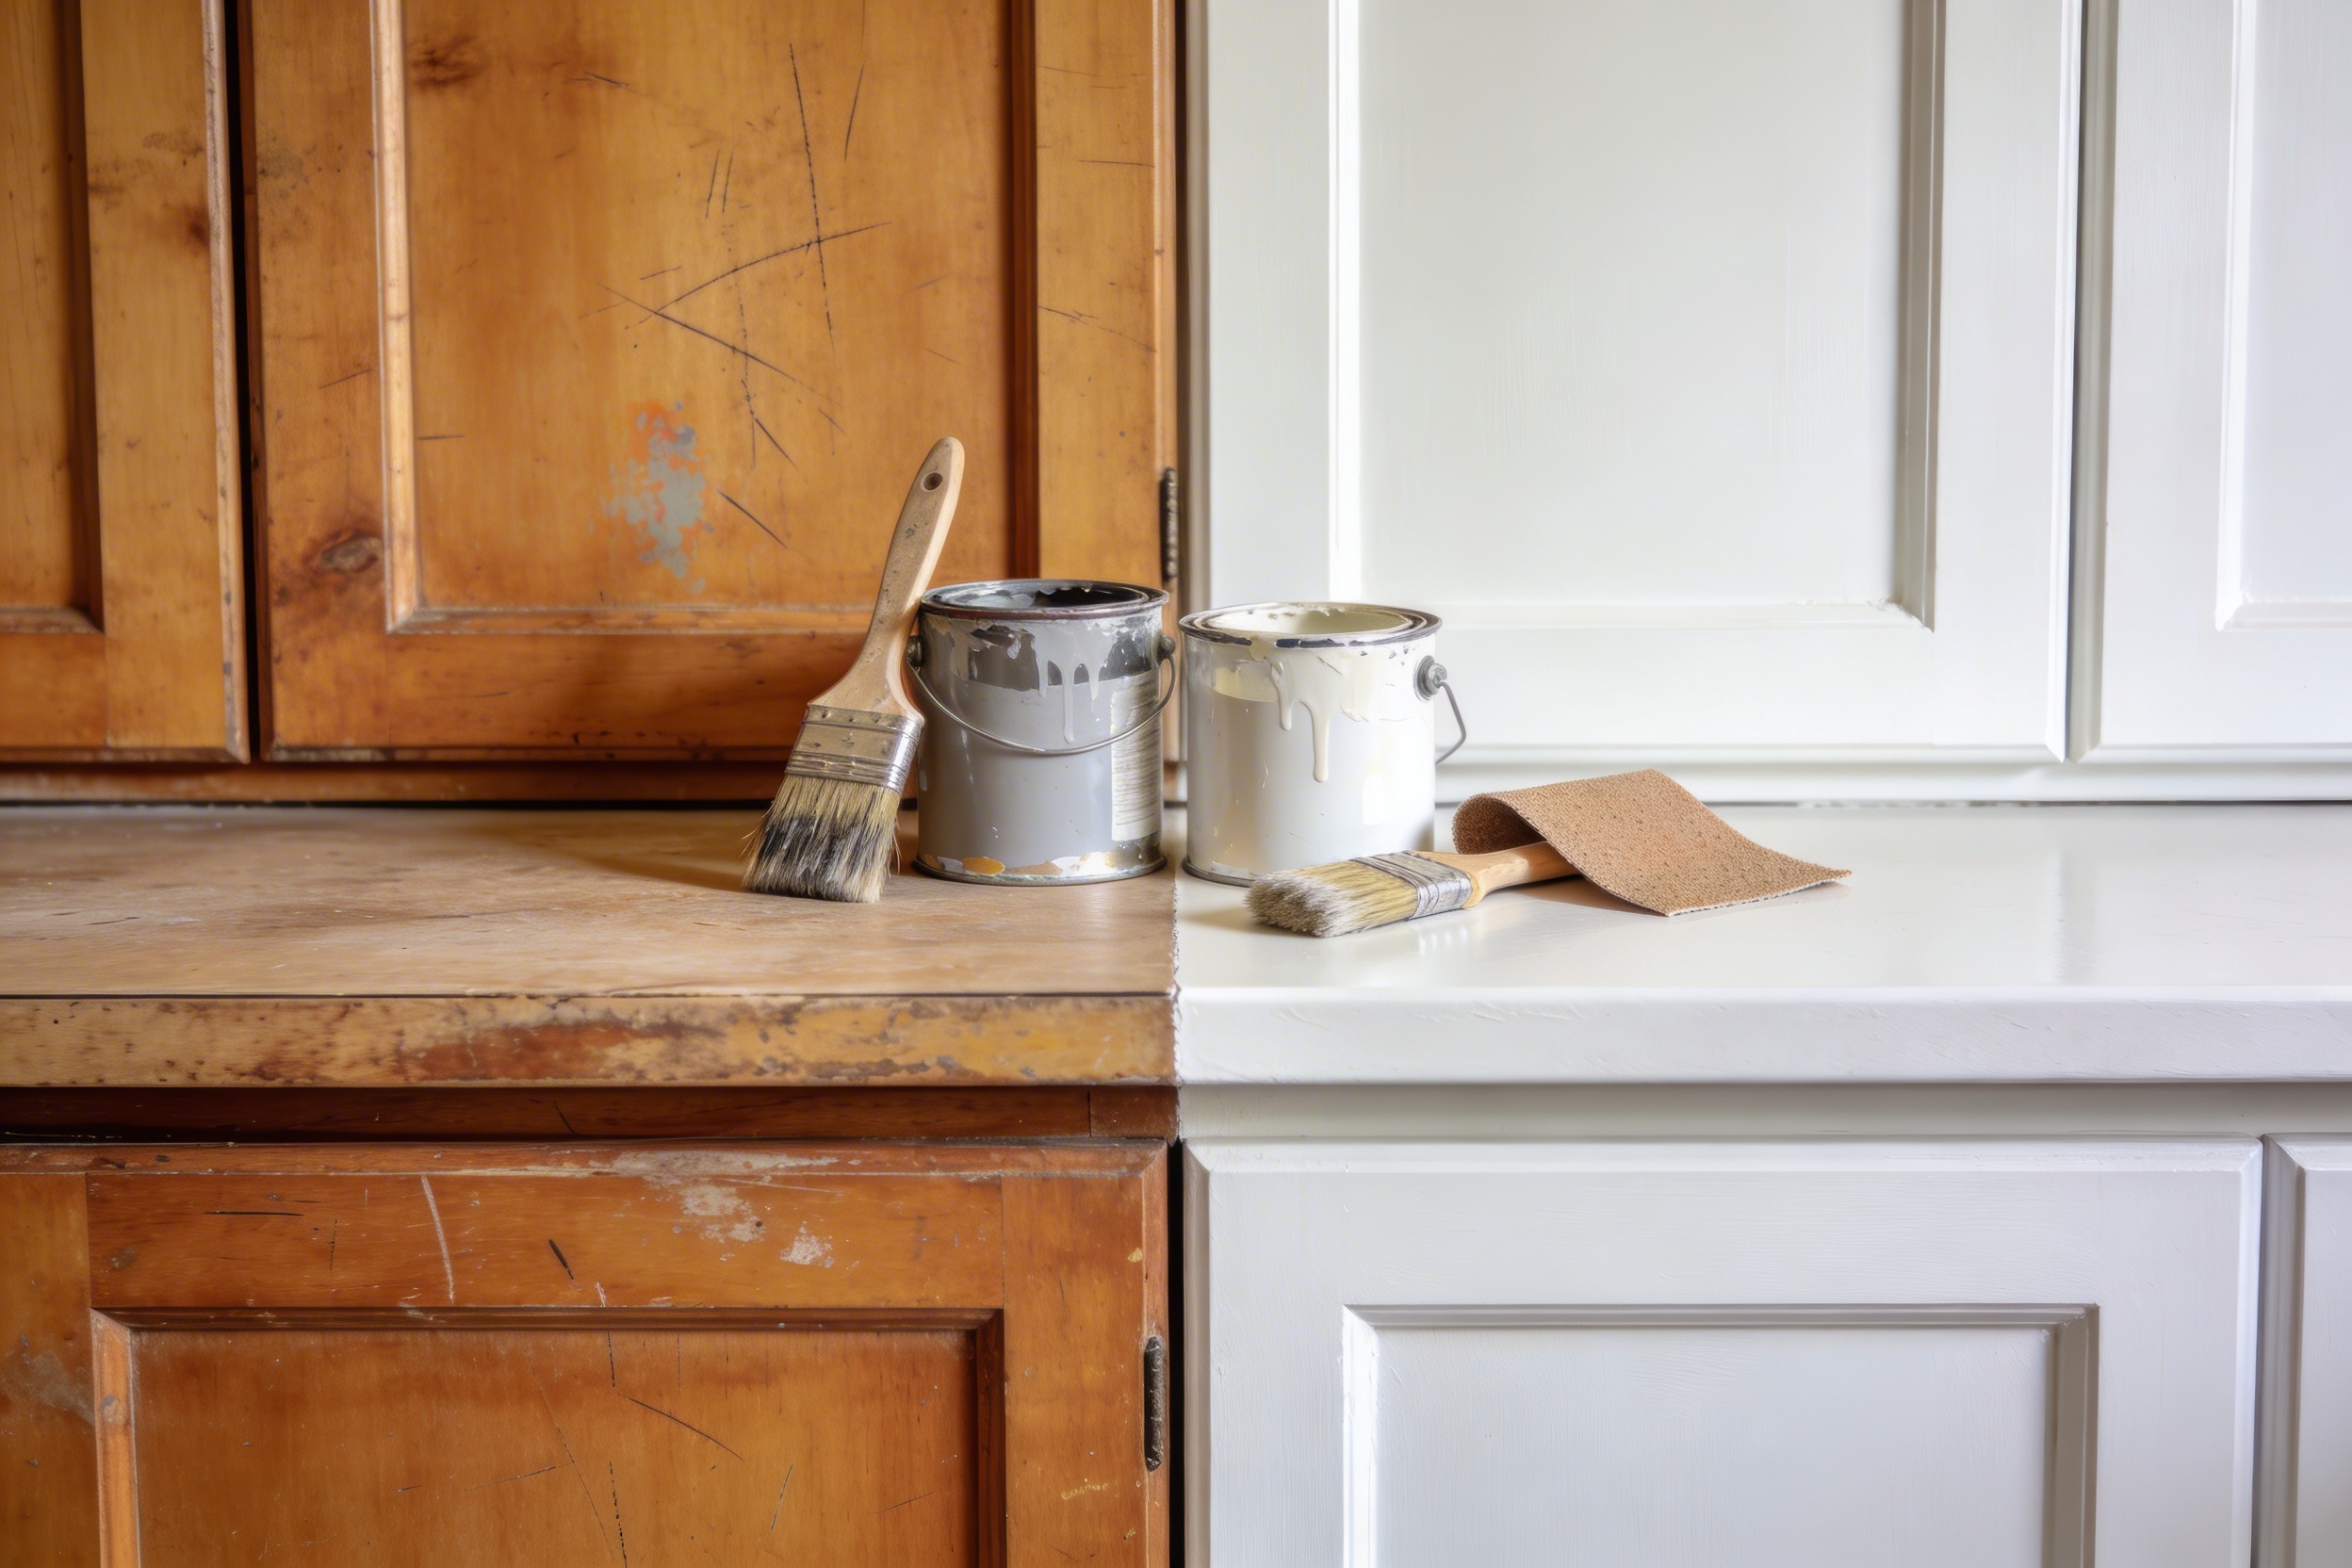
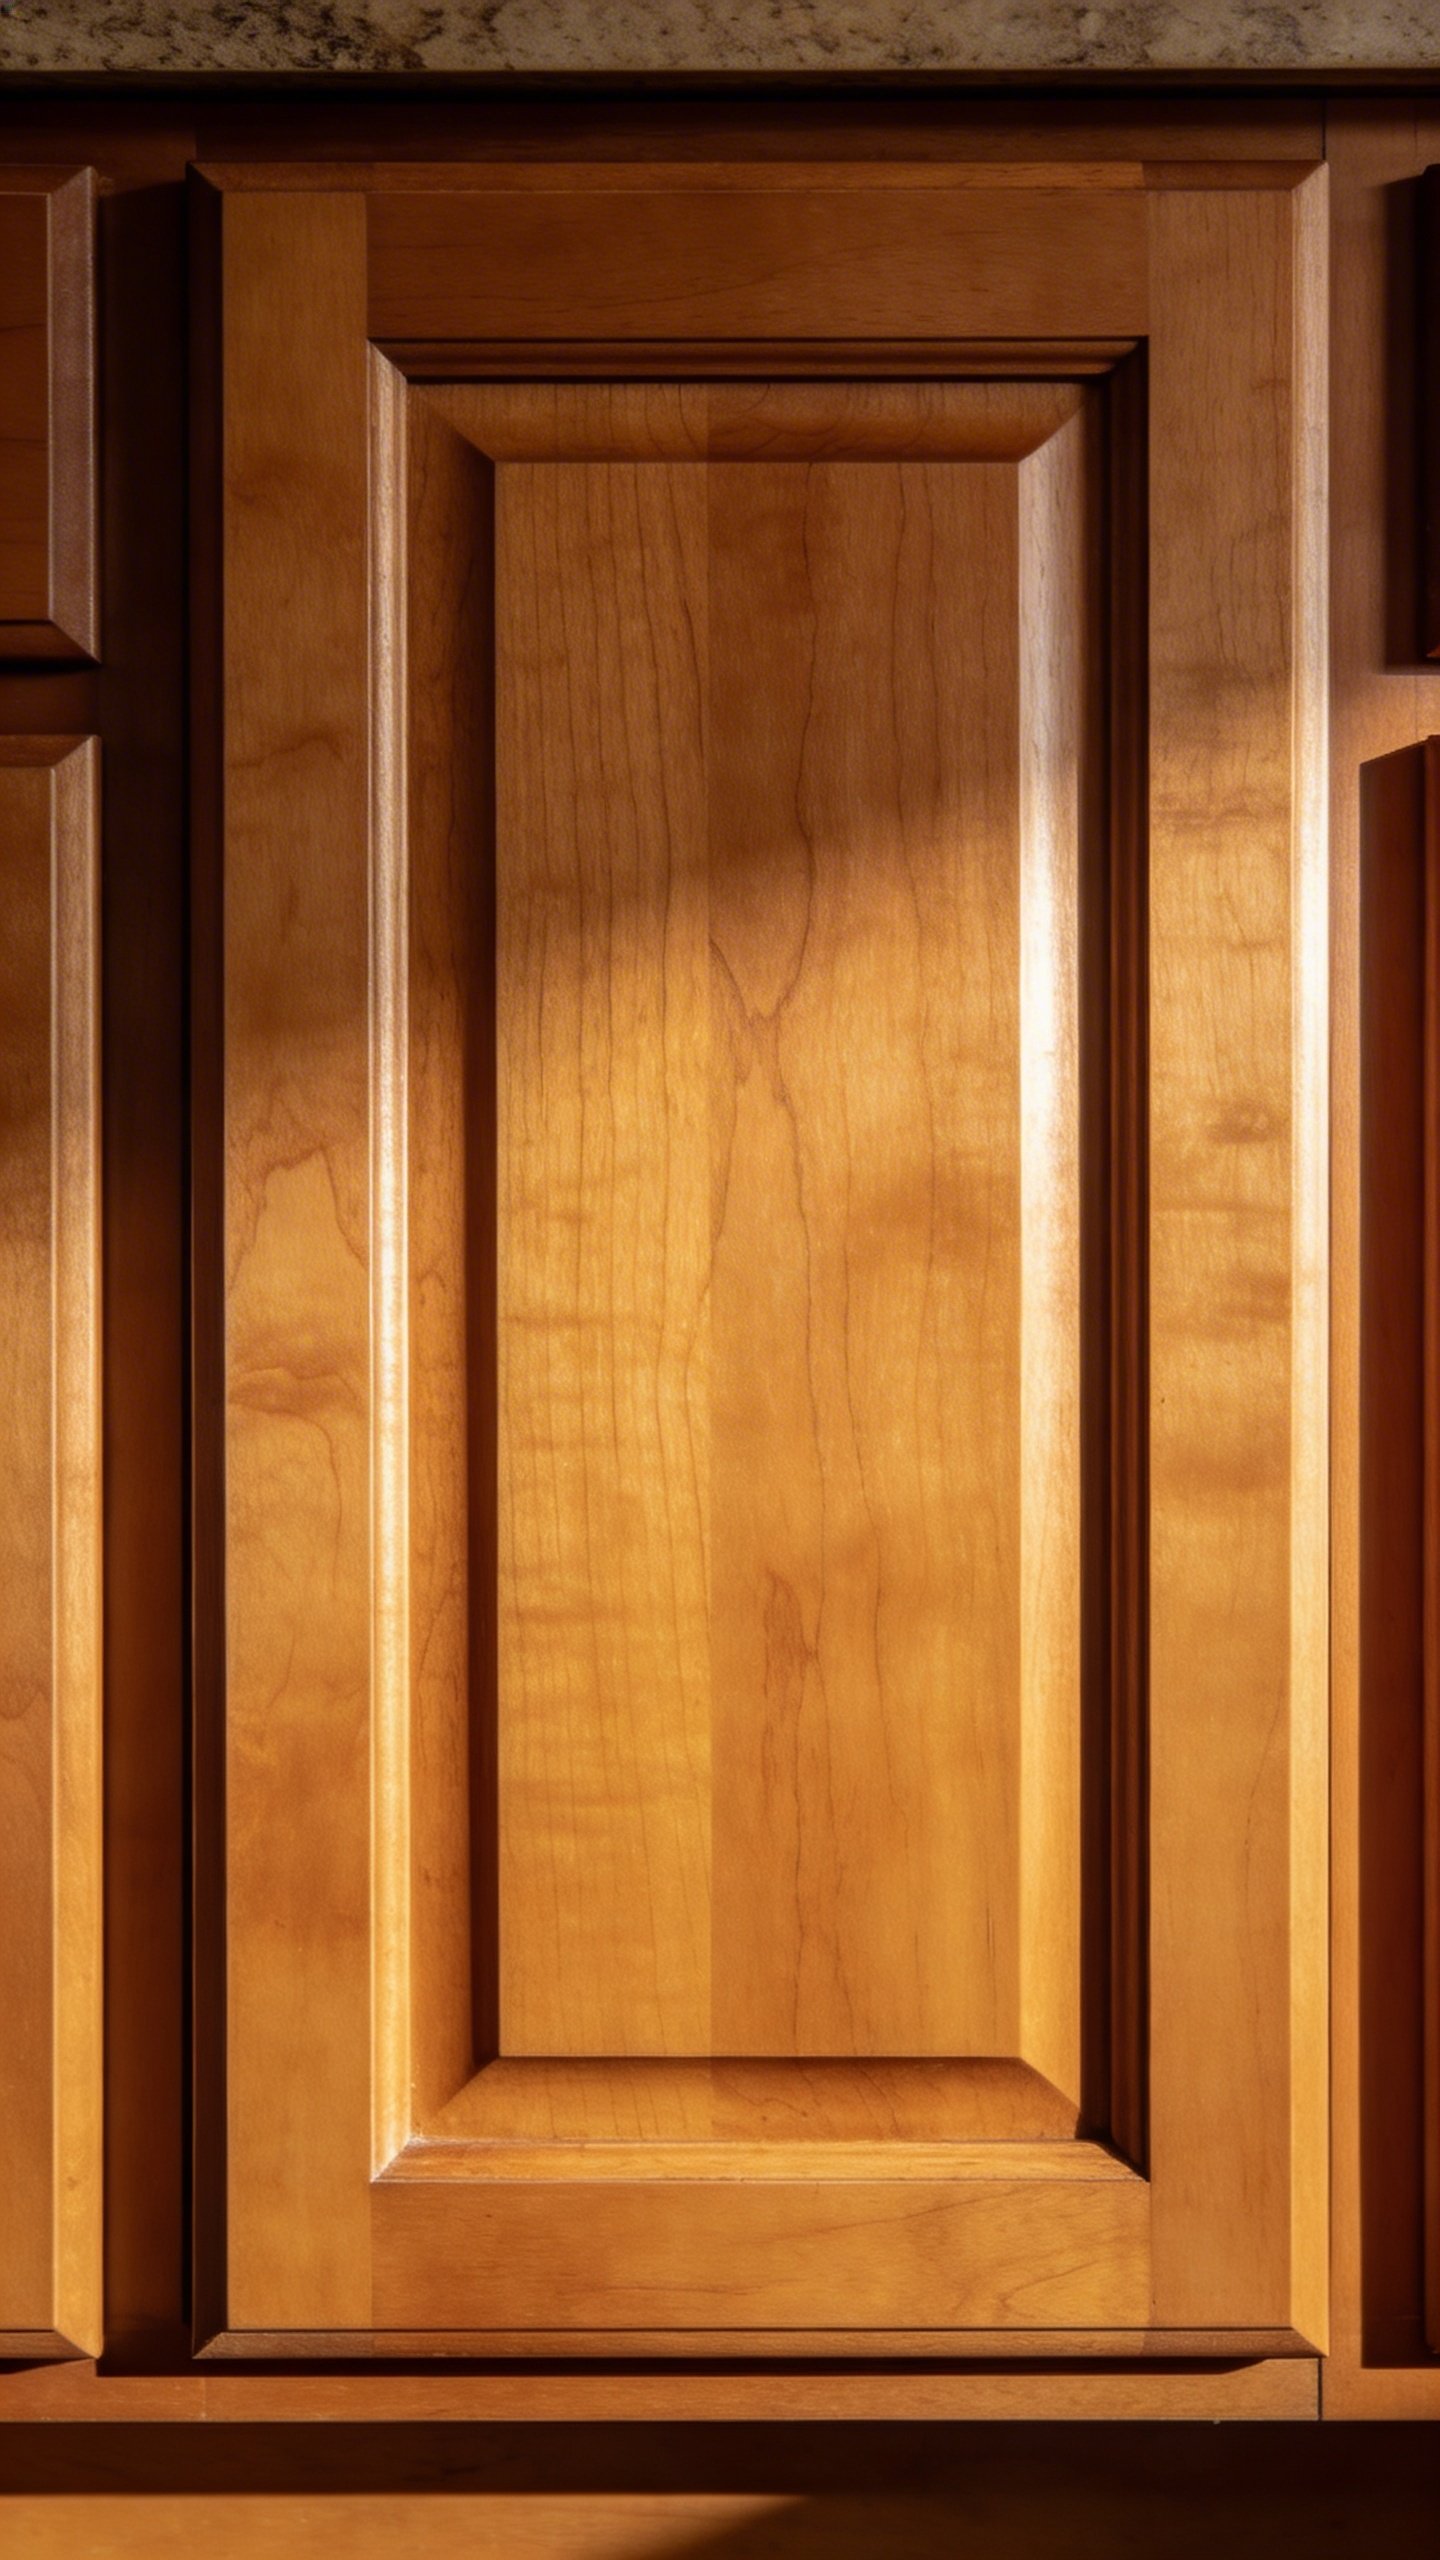
Look, I get it. Your kitchen cabinets are looking rough. Maybe they’re sporting that honey oak finish from 1987, or perhaps they’re just dingy and sad. The good news? You don’t need to drop five figures on a full replacement when some paint and elbow grease can completely transform your kitchen.
Why You Should Actually Consider This Project
Before we dive into the how-to, let’s talk about why repainting cabinets is honestly one of the best bang-for-your-buck home improvements you can tackle. We’re talking dramatic impact for a fraction of what new cabinets cost.
Professional cabinet replacement can easily run $10,000-$30,000 depending on your kitchen size. Repainting? You’re looking at maybe $200-500 if you DIY it. Yeah, it’s labor-intensive and you’ll question your life choices around hour six of sanding, but the savings are absolutely wild.
Plus, if your cabinet boxes are solid wood and structurally sound, there’s literally no reason to rip them out. You’re just giving them a facelift, not plastic surgery.
Gear Up: What You Actually Need
Let’s talk supplies. Don’t cheap out here—using proper materials makes the difference between a finish that lasts ten years versus one that chips off in six months.
The Essential Shopping List
- TSP cleaner or degreaser – Your cabinets are greasier than you think
- Sandpaper – 120-grit and 220-grit at minimum
- Deglosser (optional but helpful for skipping some sanding)
- Quality primer – Oil-based or shellac-based works best
- Cabinet paint – Alkyd or acrylic enamel, not regular wall paint
- Foam rollers and brushes – Get the good ones, seriously
- Painter’s tape and drop cloths
- Screwdriver and bags for hardware
Here’s the thing about paint: do not use regular latex wall paint. I don’t care how good the salesperson says it is. You need actual cabinet paint or furniture paint that’s designed to withstand the constant touching, grease, and abuse that kitchen cabinets endure.
Prep Work: The Boring Part You Can’t Skip
Okay, real talk? The prep work takes longer than the actual painting. If that makes you want to quit already, maybe just hire someone. Still here? Great, let’s do this.
Remove Everything
Take off all the cabinet doors and drawer fronts. Number them with painter’s tape so you know where they go back—trust me on this. Your brain will not remember which door goes where, even though you swear it will.
Remove all hardware too. Toss it if you’re upgrading to new pulls and knobs, or save it if you’re reusing. Label the bags if you’re keeping them.
Clean Like You’ve Never Cleaned Before
This step separates the amateurs from the people who end up with a finish that actually sticks. Kitchen cabinets accumulate this invisible layer of cooking grease that’s basically paint repellent.
Mix up some TSP (trisodium phosphate) according to package directions and scrub every surface you plan to paint. Wear gloves because TSP is no joke. Rinse thoroughly and let everything dry completely—and I mean bone dry, not “eh, feels pretty dry.”
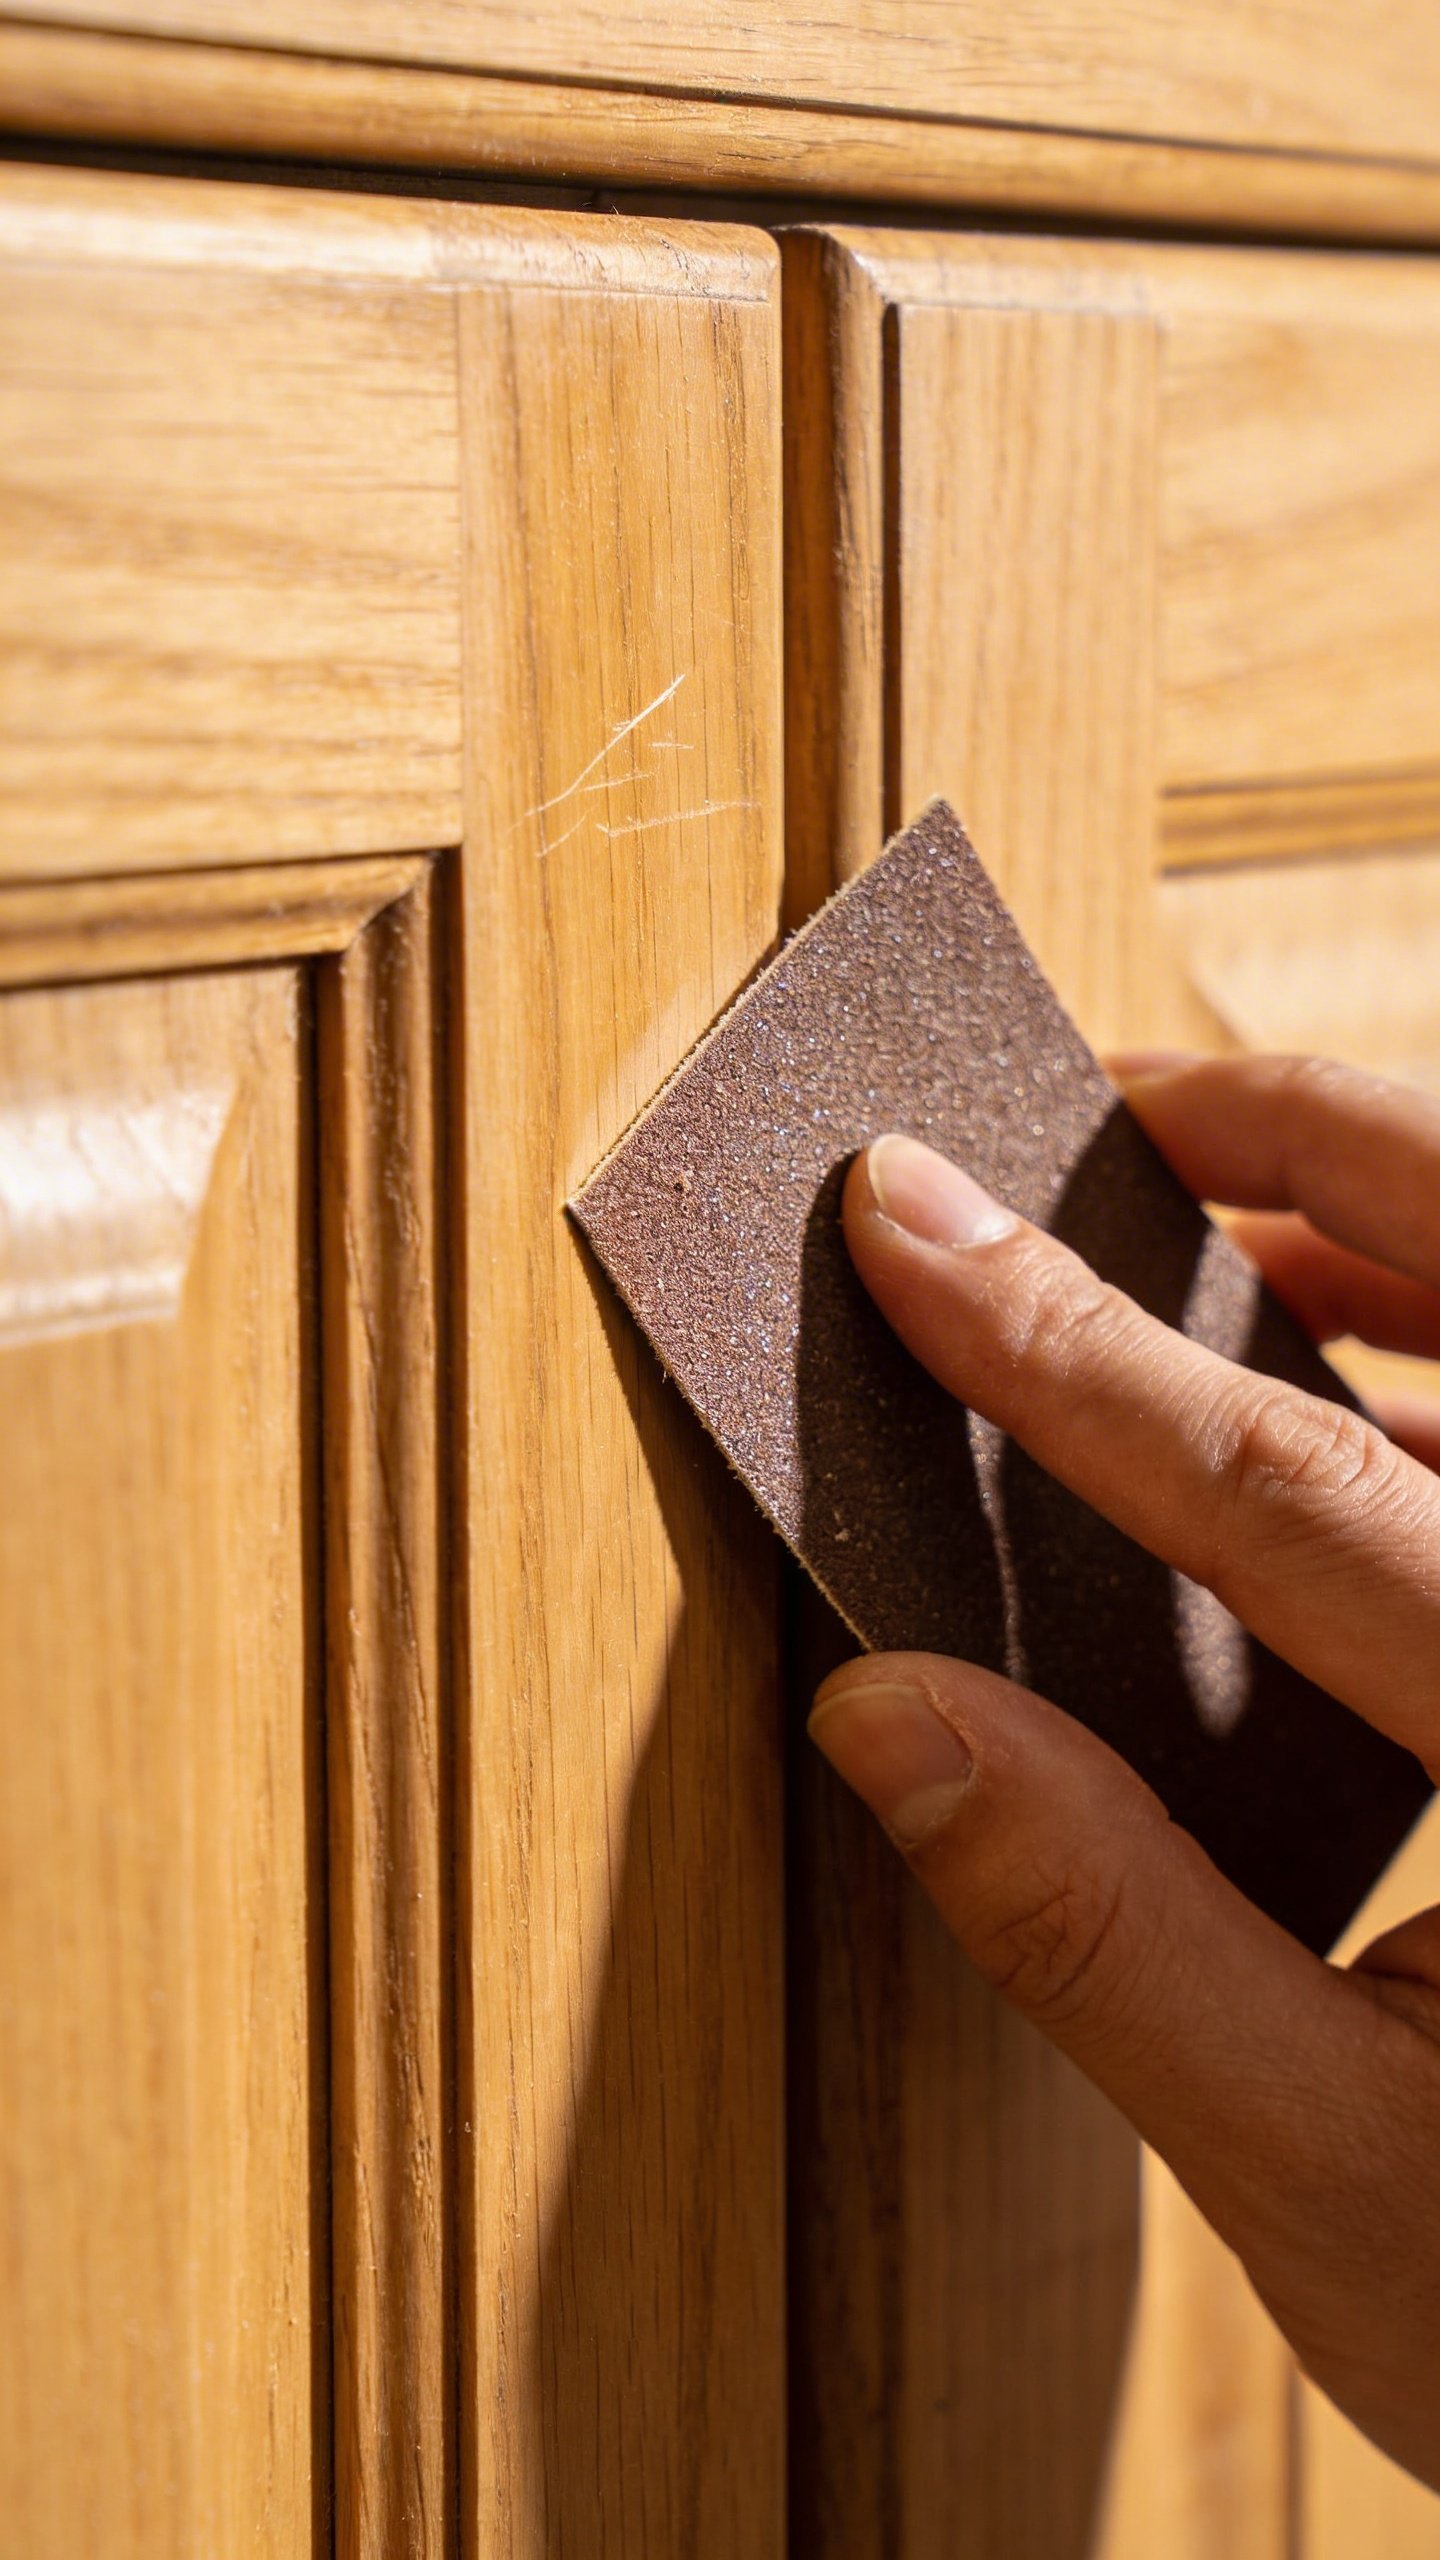
Sand Everything Down
Time to make some dust! You don’t need to sand down to bare wood unless the existing finish is flaking off. You just want to rough up the surface enough for primer to grab onto it.
Start with 120-grit sandpaper to scuff up the finish, then smooth it out with 220-grit. Sand in the direction of the wood grain when possible. Yes, this takes forever. No, you can’t skip it. Put on a podcast and embrace the monotony.
Prime Time: Don’t Even Think About Skipping This
Listen, I know primer seems like an unnecessary extra step. It’s not. Primer is what makes your paint job last and look professional instead of like you painted your cabinets with craft store acrylics.
Oil-based or shellac-based primers work best for cabinets because they block stains and stick to pretty much anything. They smell terrible and take longer to dry, but the results are worth it. If you absolutely must use water-based, get a high-quality bonding primer.
Apply thin, even coats. Fat coats look like they cover better in the moment but they’ll sag and drip and make you cry. Two thin coats beat one thick coat every time. Let the primer dry completely between coats—check the can for exact times.
The Main Event: Actually Painting
Finally! The fun part! Except it’s not actually that fun because you need to be super careful and patient. But at least you can see your color going on.
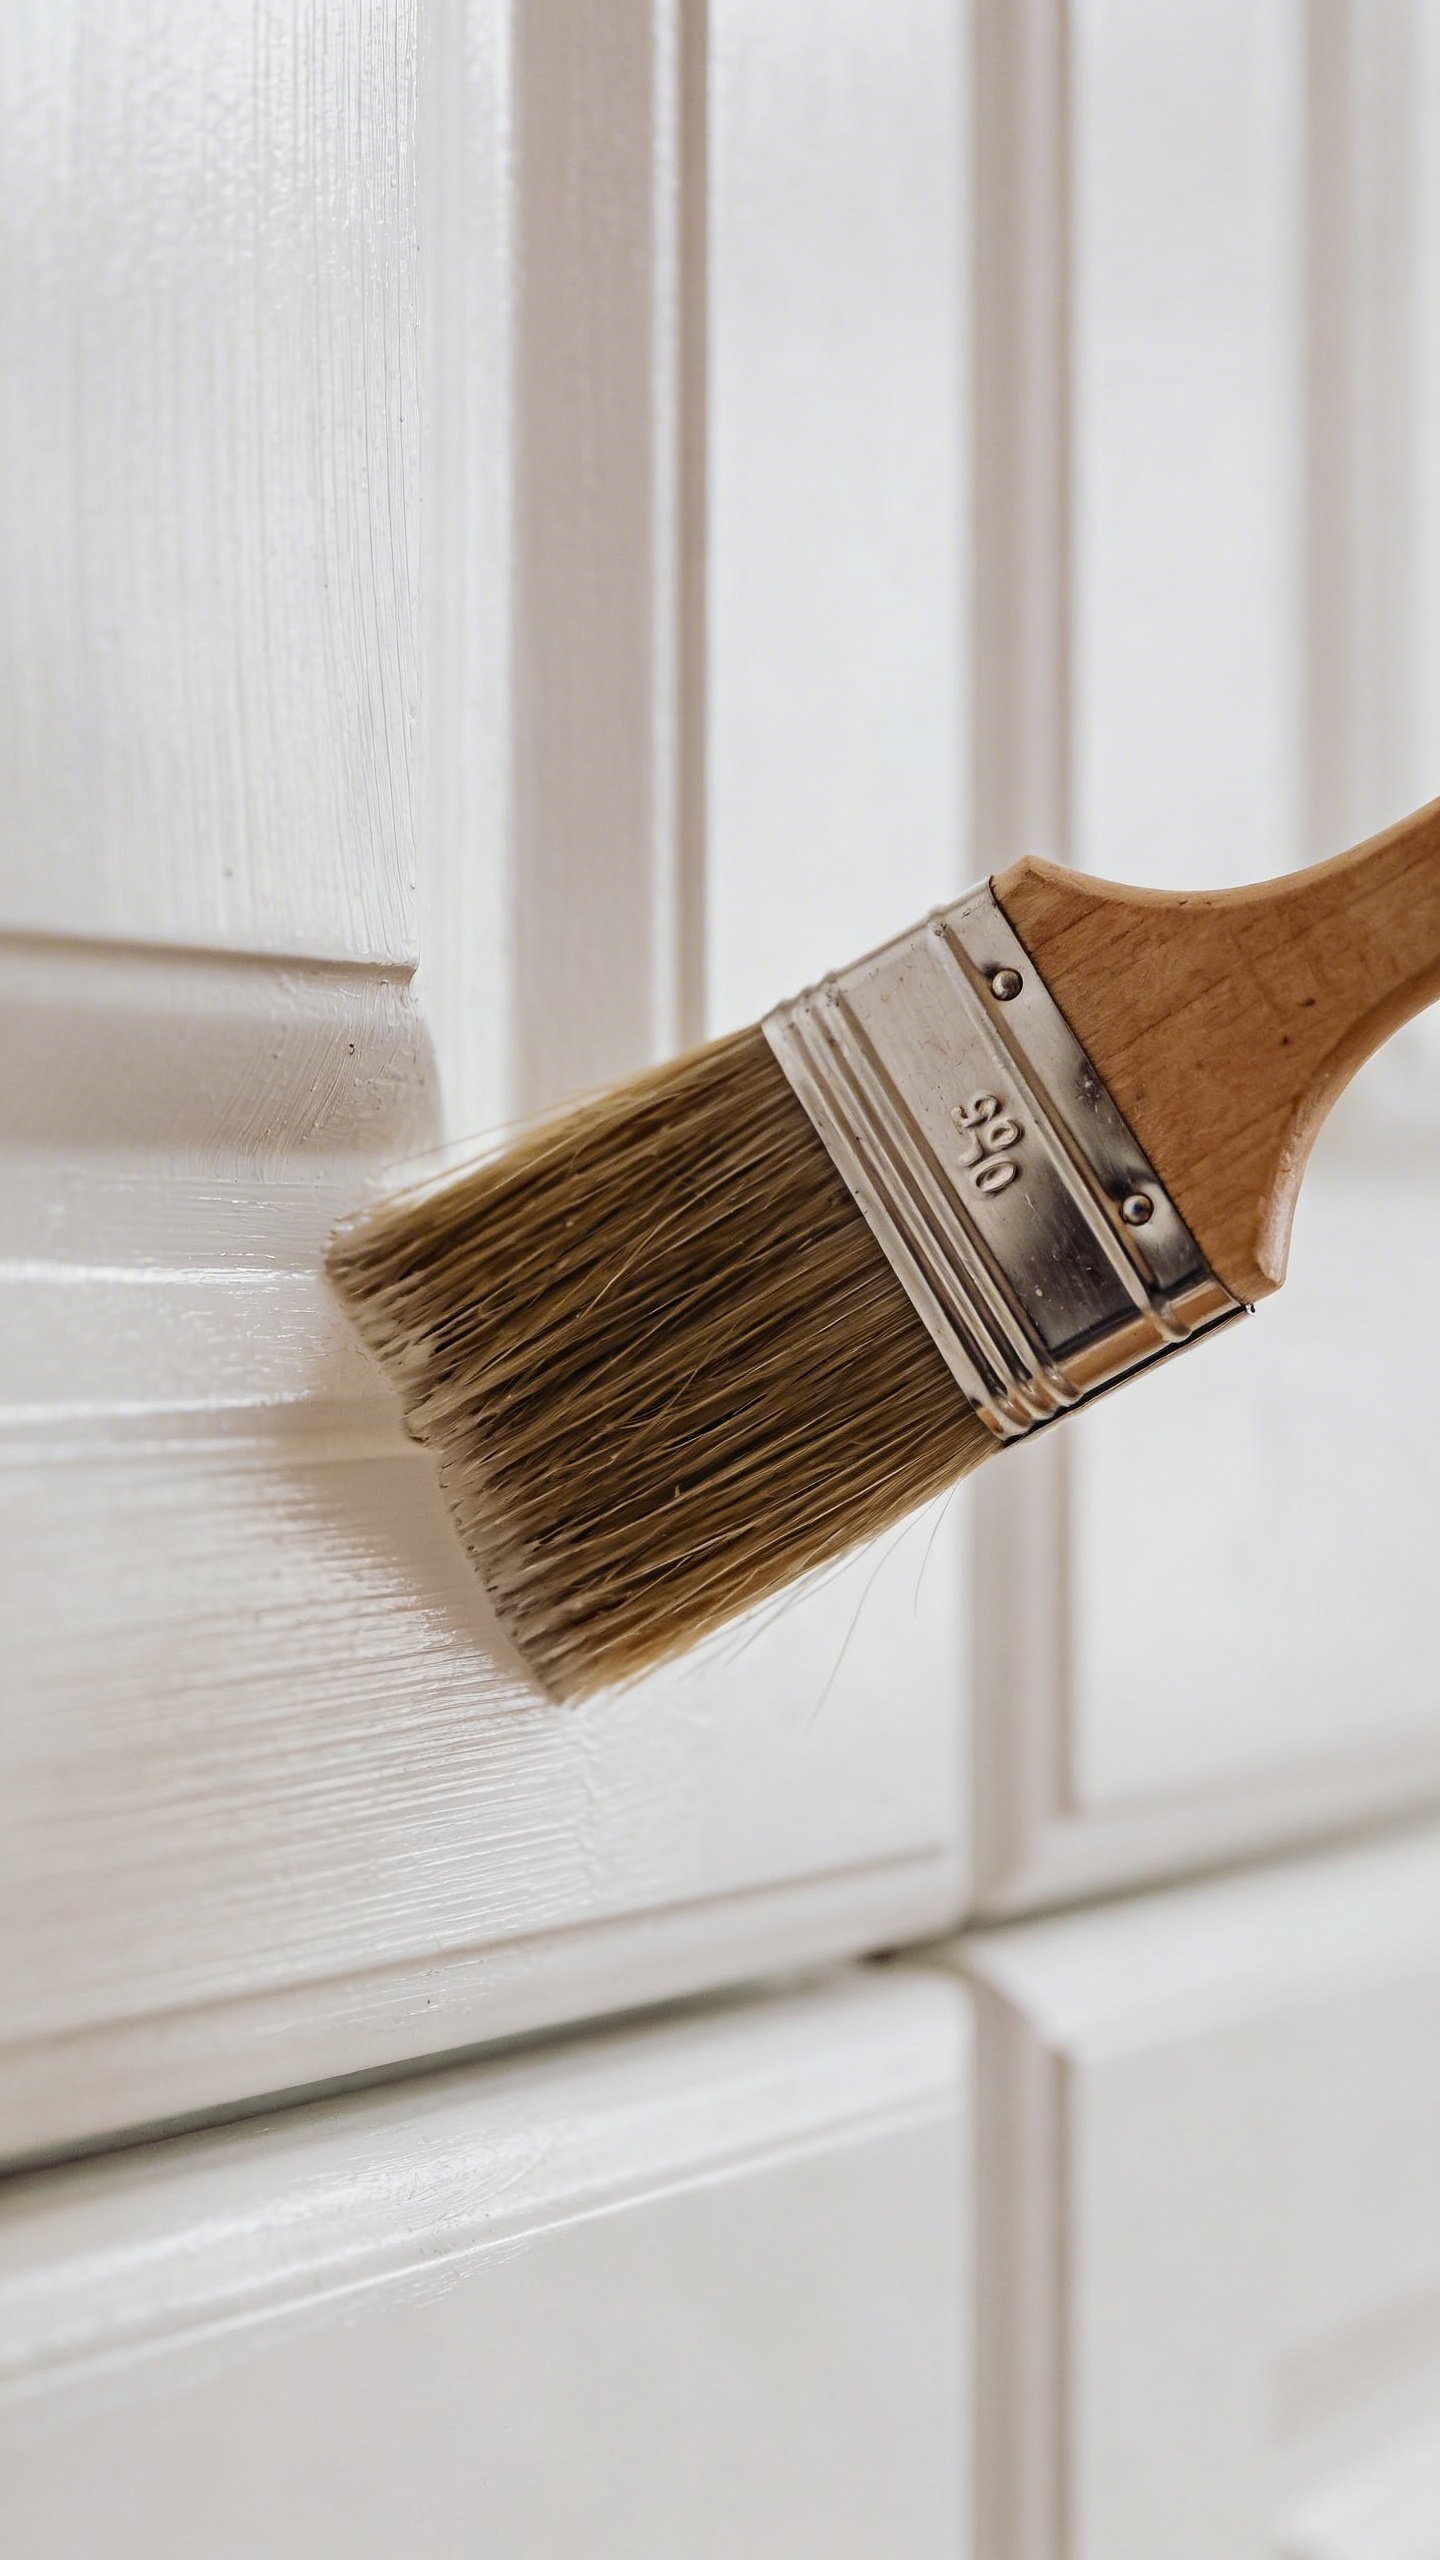
Technique Matters
For the flattest, smoothest finish, use a foam roller on large flat surfaces and a high-quality brush for edges and details. Some people swear by paint sprayers, and yeah, they give an amazing finish—but they’re messy, require practice, and you’ll spend ages taping off your entire kitchen.
Apply thin coats. Seriously, I cannot stress this enough. Thin coats are your best friend. They dry faster, level out better, and don’t show brush marks as much.
How Many Coats?
Plan on at least two coats of paint, possibly three if you’re going from dark to light. Let each coat dry completely—and FYI, “dry to the touch” and “fully cured” are different things. Follow the recoat times on your paint can religiously.
Light sanding with 220-grit between coats (once dry) helps each layer adhere better and creates that silky-smooth finish you’re after. Just a light scuff, then wipe away the dust with a tack cloth.
Reassembly: The Home Stretch
Your paint is finally dry (give it at least 24 hours, preferably longer), and you’re ready to put your kitchen back together. This is where the numbering system you used earlier saves your sanity.
Install new hardware if you’re upgrading—new pulls and knobs are like jewelry for your freshly painted cabinets. Pre-drill holes if you’re changing the size or placement to avoid splitting the wood.
Hang doors carefully. The paint might technically be dry, but it takes weeks to fully cure and harden. Handle everything gently for the first month and avoid putting heavy items in cabinets right away.
The Curing Process
Here’s something most people don’t realize: paint continues to harden for weeks after it feels dry. During this curing period, it’s more susceptible to damage, scratches, and sticking.
Don’t stack anything on painted surfaces for at least a week. If your doors stick when you close them, that’s normal initially—the paint just needs more curing time. Resist the urge to slam cabinets or load them up heavily right away.
Maintenance Tips to Keep Them Looking Fresh
Congrats! You now have gorgeous painted cabinets. Want to keep them that way? A little maintenance goes a long way.
Clean up spills and splatters immediately. That tomato sauce that sits overnight becomes a permanent feature, IMO. Use gentle cleaners—no abrasive scrubbers that’ll scratch your beautiful new finish.
Touch-ups will happen eventually. Save some paint for this purpose. Keep it sealed tightly and stored properly, and it’ll last for years.
Avoid hanging wet dish towels on cabinet doors. The constant moisture can eventually damage even the best paint job. Also, be mindful of steam from cooking—vent hoods are your friend.
Frequently Asked Questions
How long does the whole project take?
For an average-sized kitchen, plan on a solid week if you’re working on it full-time, or 2-3 weeks if you’re doing evenings and weekends. The actual hands-on work might only be 20-30 hours, but drying times between coats mean lots of waiting around. You basically can’t use your kitchen during this time, so meal prep accordingly.
Can I paint cabinets without removing the doors?
Technically yes, but your results won’t be nearly as good. Painting doors while they’re hanging means dealing with drips, awkward angles, and not being able to reach all the edges properly. Plus you’ll get paint on your hinges unless you’re extremely careful. Just take them off—it’s worth the extra effort.
What’s the best color for kitchen cabinets?
This totally depends on your style and kitchen, but white, off-white, and various grays remain super popular because they’re timeless and make kitchens feel brighter. Navy blue and dark green are trendy right now for a moodier look. Whatever you choose, get sample pots and paint large poster boards to see how the color looks in your lighting before committing.
Do I really need to sand between coats?
You don’t absolutely have to, but a light sanding between coats (once dry) helps create that professional, ultra-smooth finish. It removes any dust bumps that settled while drying and gives the next coat something to grip. Just use fine 220-grit paper and a gentle touch.
Can I paint over laminate or thermofoil cabinets?
Yes, but it’s trickier. Laminate and thermofoil are slick surfaces that paint doesn’t naturally want to stick to. You absolutely must use a bonding primer specifically designed for slick surfaces. Clean obsessively and consider using a deglosser. If the thermofoil is peeling, you’ll need to remove the loose parts first or your paint will eventually peel too.
How do I prevent brush marks?
Use high-quality brushes (cheap ones shed bristles and leave marks), apply thin coats, and use a “tipping off” technique where you lightly drag the brush in one direction as a final pass. Better yet, use a foam roller for flat surfaces—they leave almost no texture. Some paints are also self-leveling, which helps minimize brush marks as they dry.
Final Thoughts
Repainting kitchen cabinets isn’t a weekend project for the faint of heart, but it’s totally doable if you’re patient and don’t cut corners. The transformation is honestly incredible—people won’t believe it’s the same kitchen.
Will there be moments when you’re covered in primer dust, your back hurts from hunching over cabinet doors, and you wonder why you didn’t just hire a professional? Absolutely. But when you’re done and standing in your “new” kitchen that cost you a few hundred bucks instead of twenty thousand, you’ll feel pretty dang proud of yourself. Just maybe don’t commit to painting anything else for a while.