
How to Paint Countertops Kitchen for Under $300
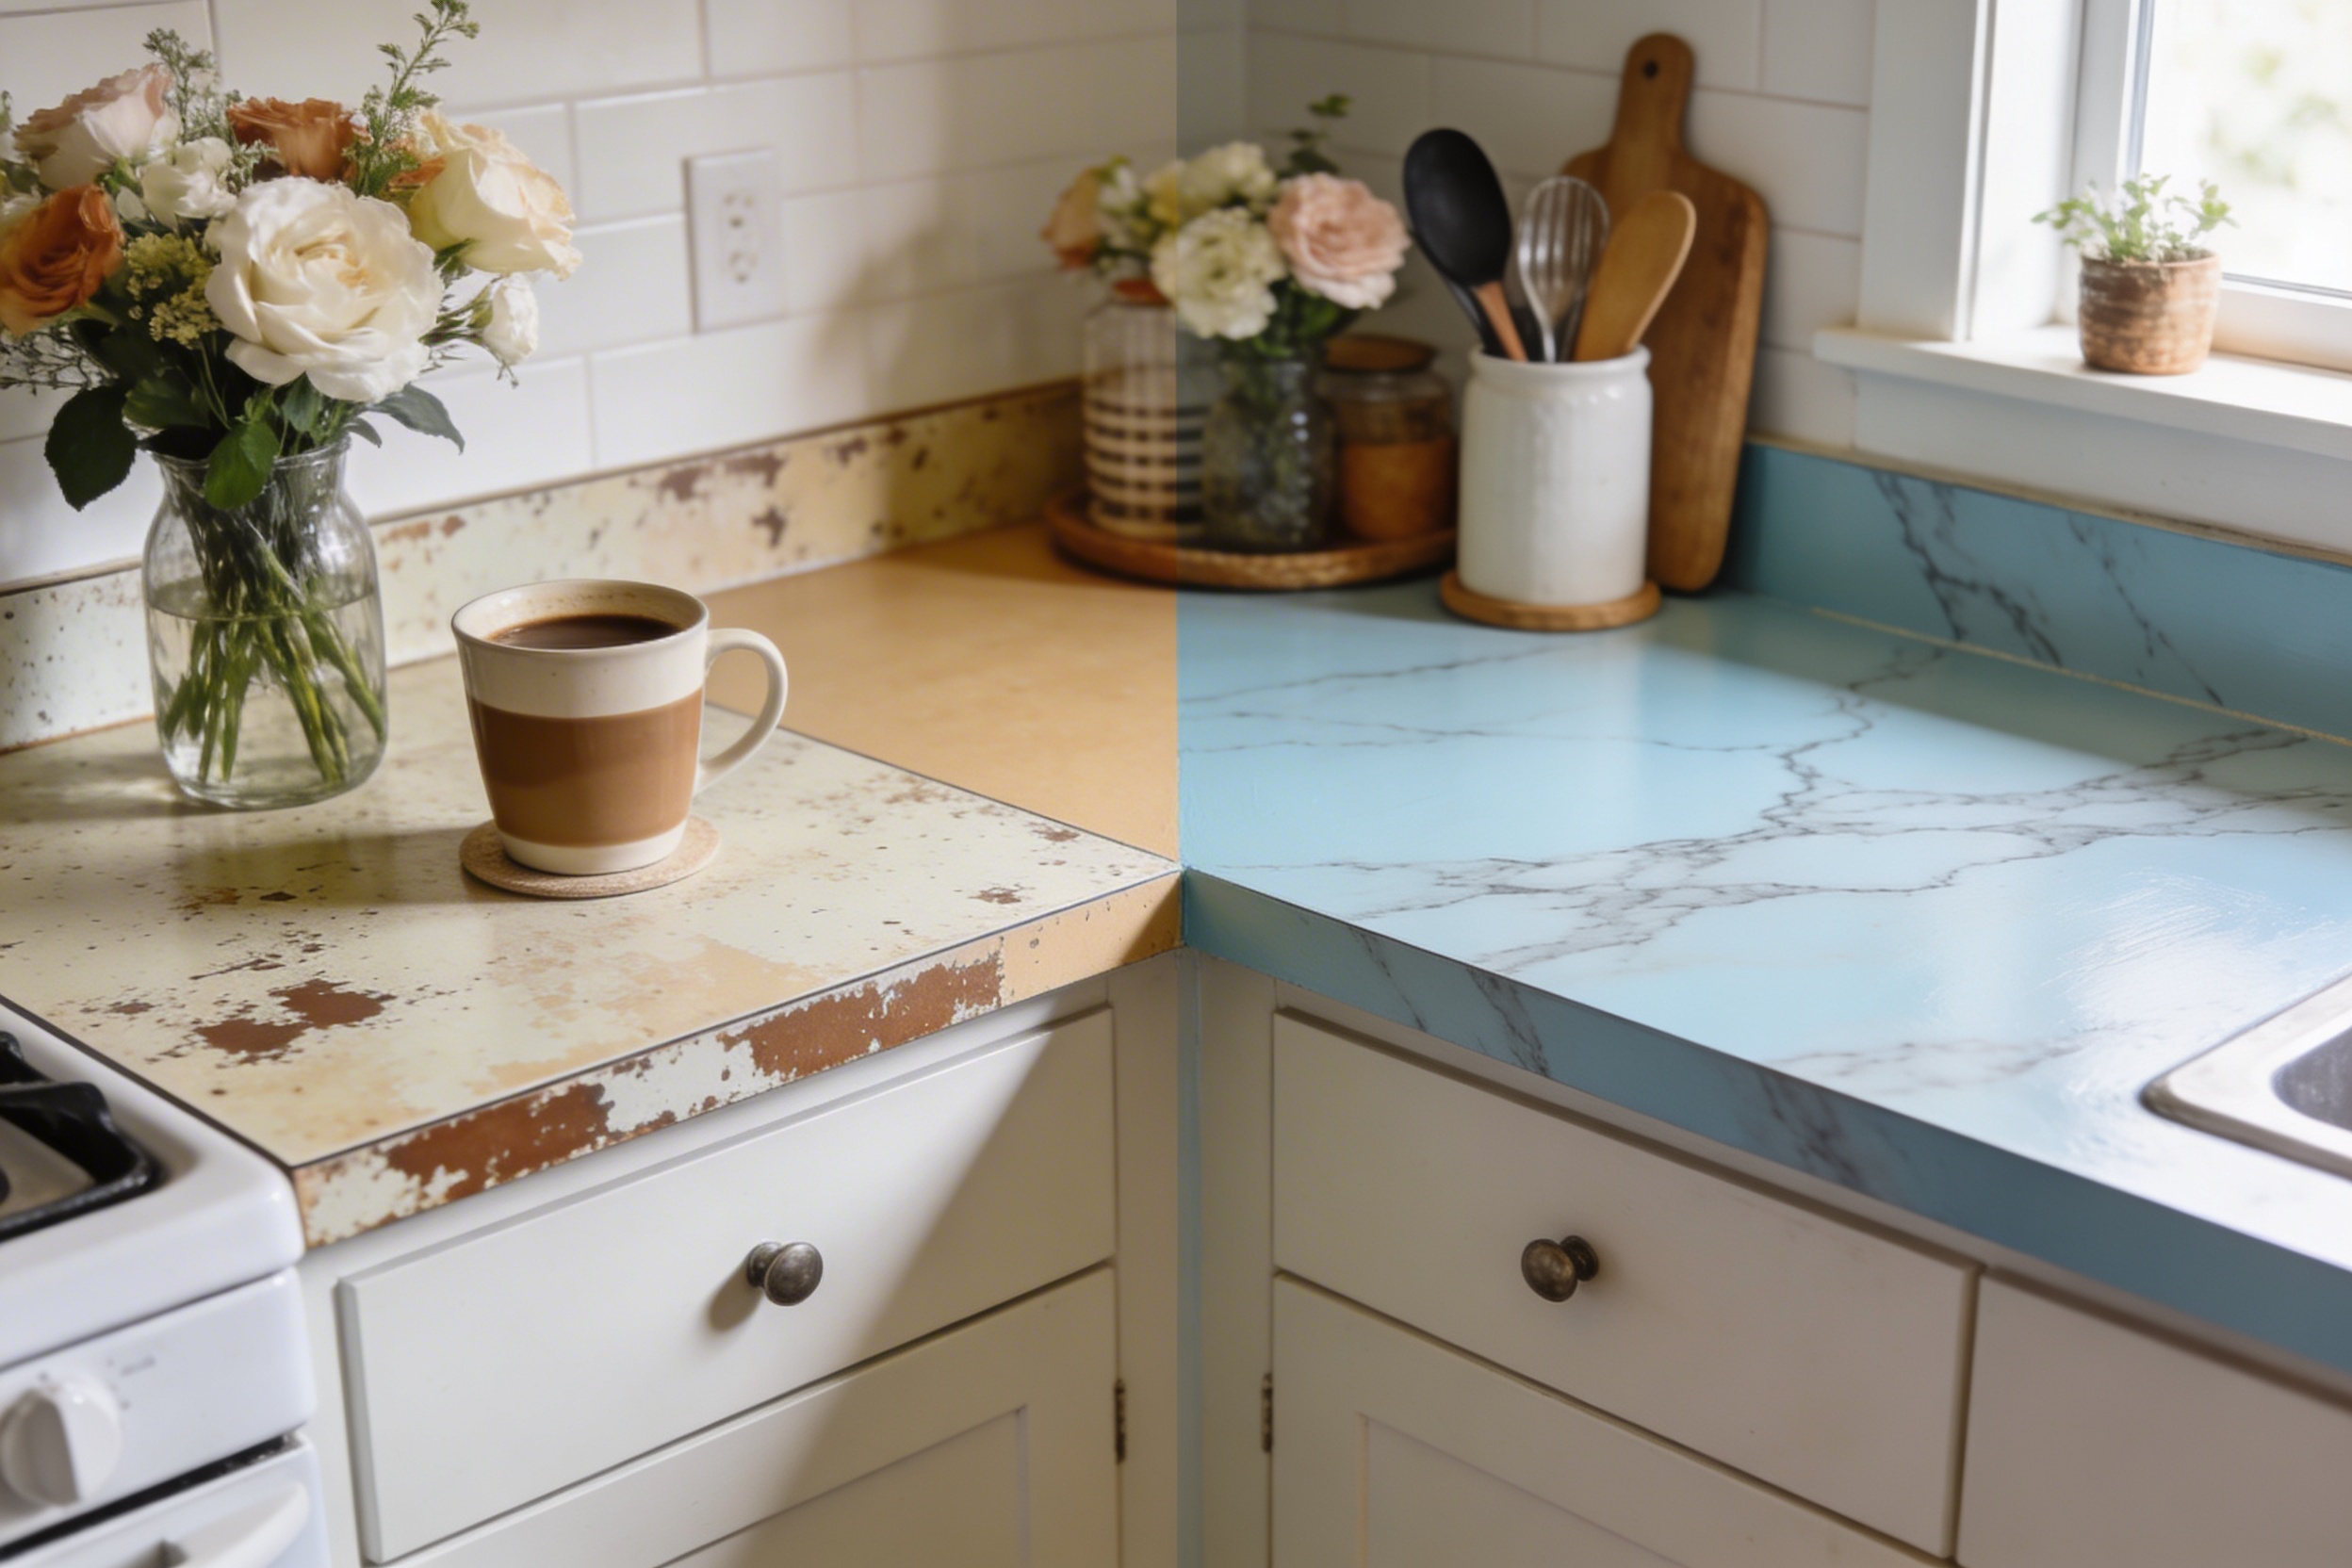
Look, I get it. Your kitchen countertops are looking rough, but replacing them costs about as much as a used car. Before you resign yourself to another decade of staring at those outdated surfaces while you eat your breakfast, let me tell you a secret: you can paint them yourself for a fraction of the cost, and they’ll actually look pretty darn good.
Why Paint Your Countertops Instead of Replacing Them?
Let’s talk money first because that’s probably why you’re here. Professional countertop replacement can run you anywhere from $2,000 to $10,000 depending on your kitchen size and material choice. Painting your countertops? You’re looking at maybe $100-300 in supplies. That’s not a typo.
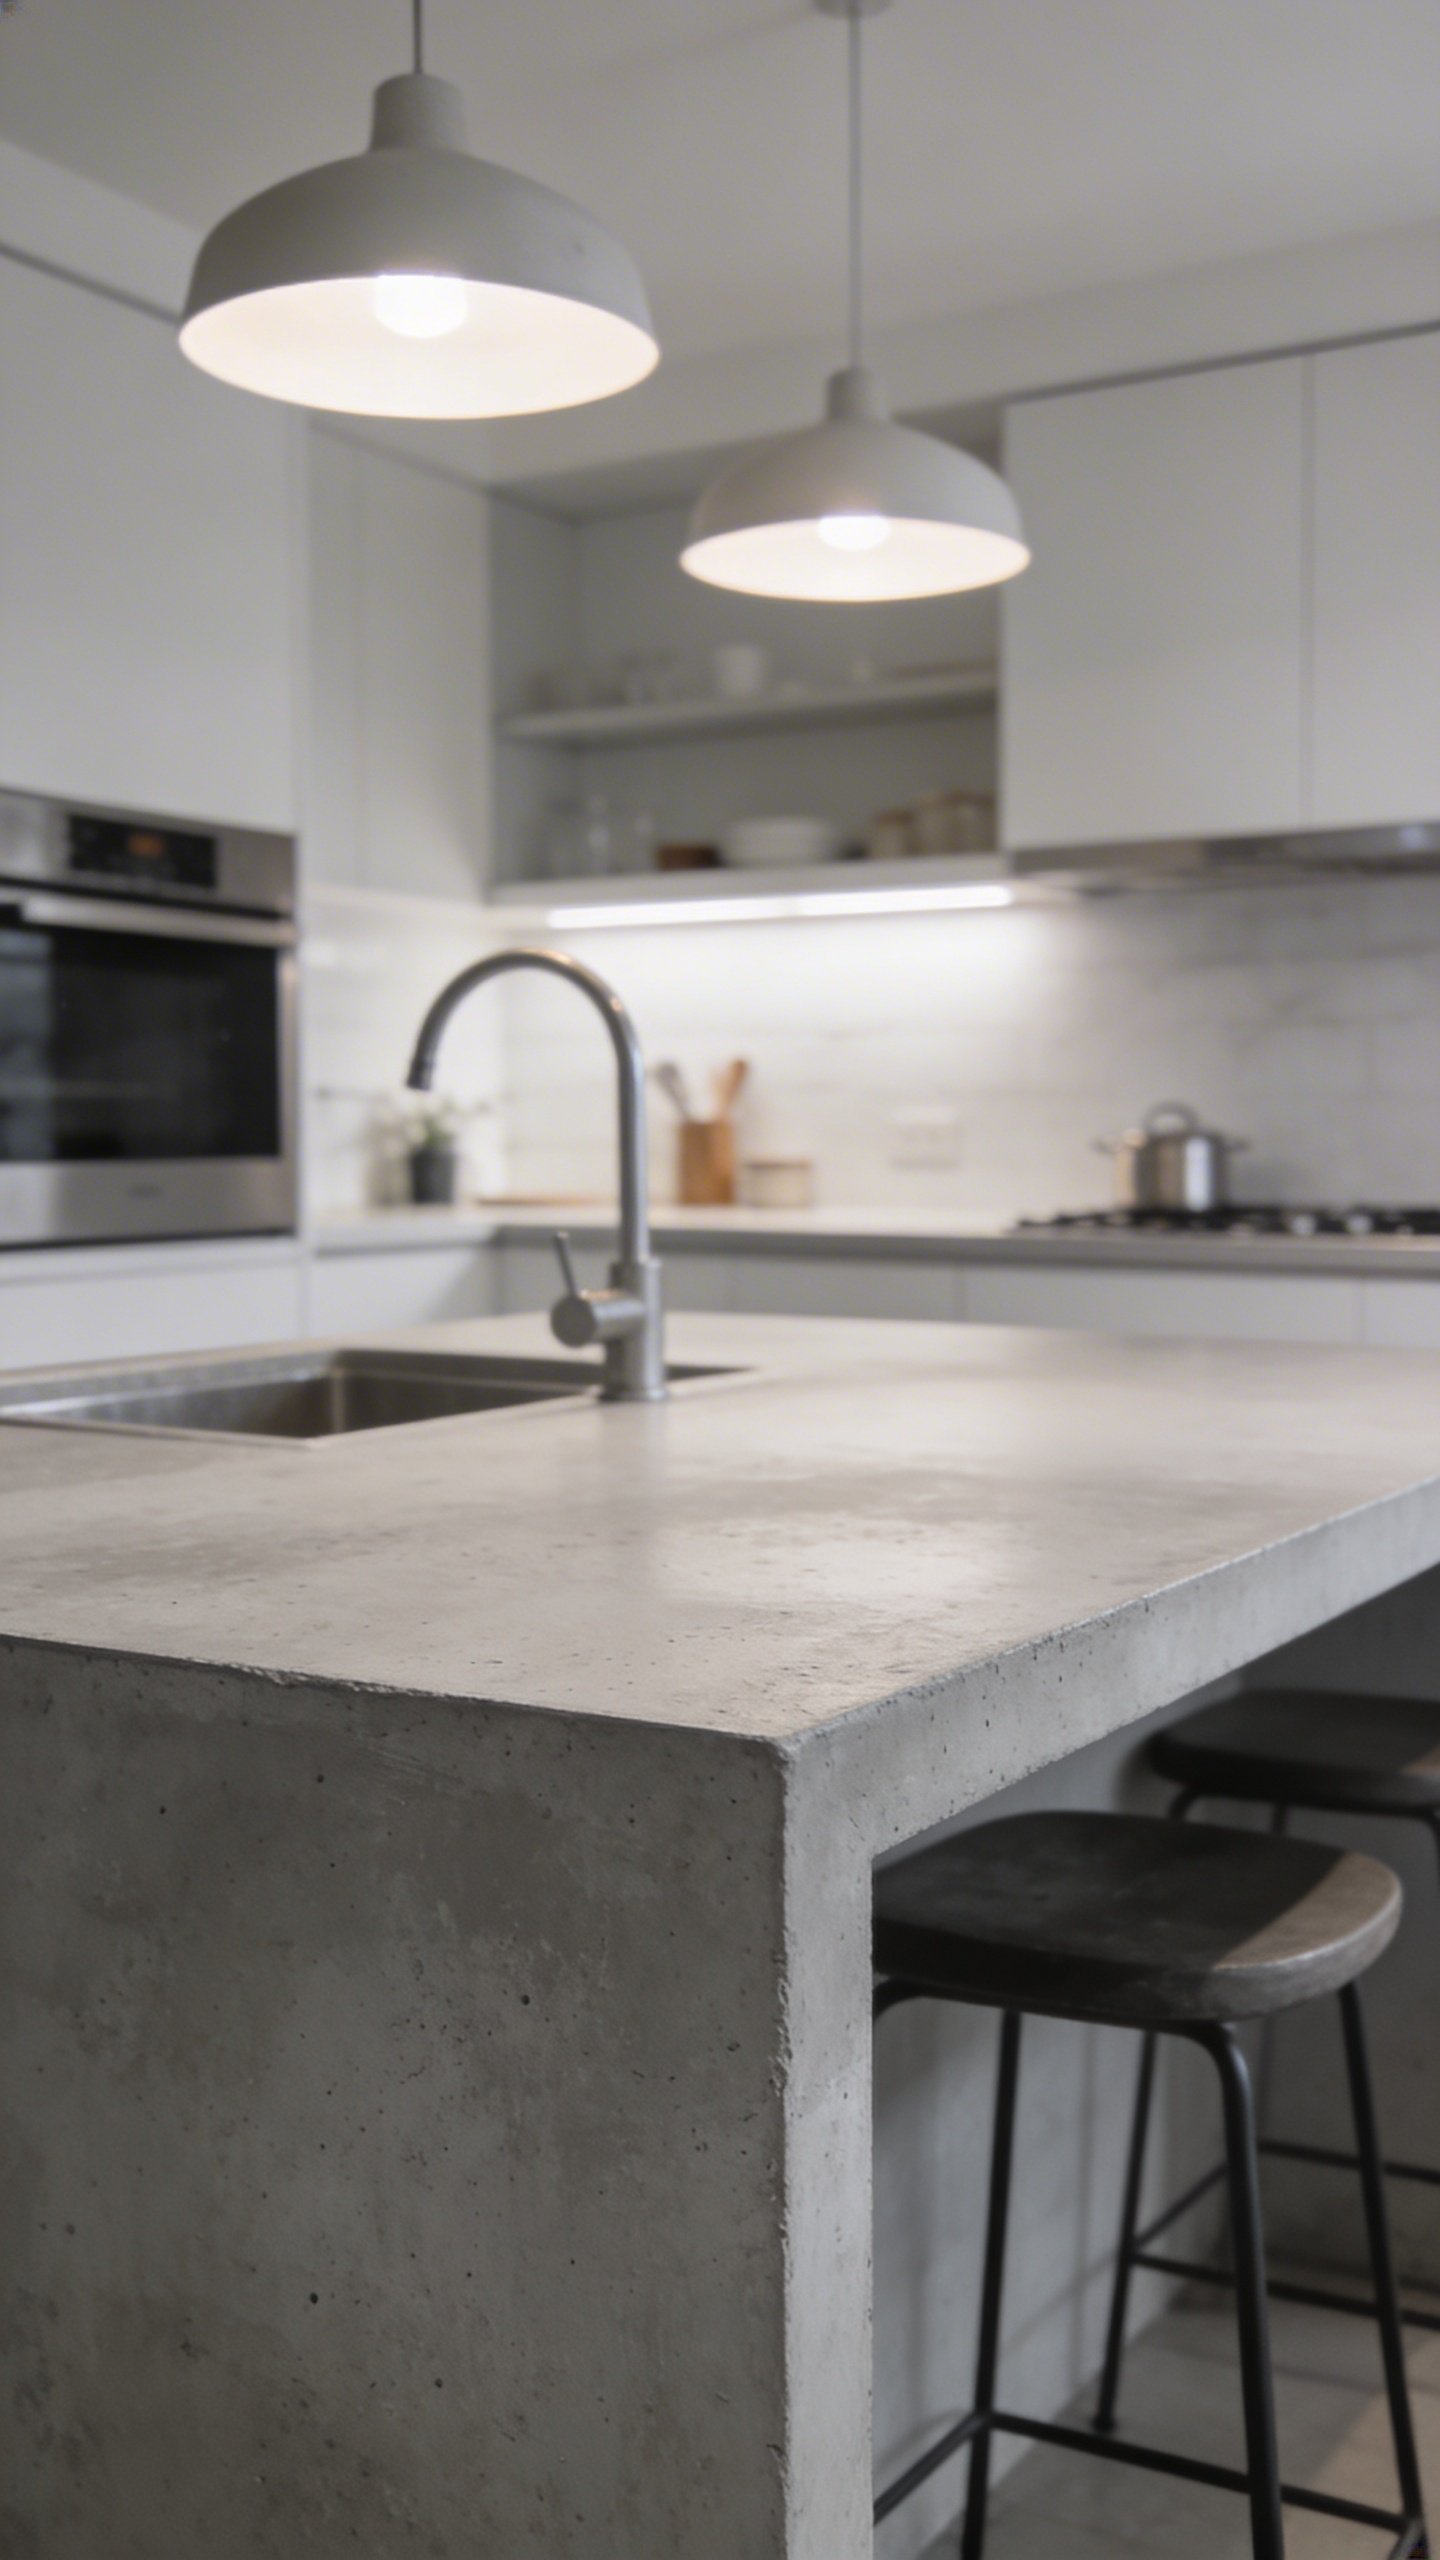
Beyond the obvious budget win, painting gives you complete creative control. Want a marble look without the marble price tag? Done. Prefer a sleek concrete finish? Easy. You can customize colors and patterns to match your exact vision instead of settling for whatever’s in stock at the home improvement store.
Plus, it’s a weekend project. You won’t be eating takeout for three weeks while contractors demolish your kitchen. Most painted countertop projects take 2-4 days from start to finish, including drying time.
What Materials and Surfaces Can You Paint?

Here’s the good news: you can paint almost any countertop material. Laminate countertops are actually the ideal candidate for painting because the surface takes primer really well. Those old Formica counters from the ’90s? Perfect victims for a makeover.
Tile countertops also work great, though you’ll need to fill in those grout lines first if you want a smooth finish. Cultured marble, solid surface materials like Corian, and even wooden countertops can all handle paint with the right prep work.
The only surfaces I’d pump the brakes on are high-end granite or quartz. If you already have those, why are you painting them? Also, heavily damaged countertops with major chips, cracks, or warping might need repairs before you start slapping paint on them.
Gathering Your Supplies: The Shopping List
Time to hit the store. Don’t worry, the list isn’t crazy long, but you do need specific products to make this work.
Essential Materials
- Countertop paint kit or epoxy-based countertop coating (brands like Giani, Rust-Oleum, or Stone Coat are popular)
- High-quality primer designed for slick surfaces
- Sandpaper in various grits (120, 220, and 400)
- TSP (trisodium phosphate) cleaner or heavy-duty degreaser
- Painter’s tape and drop cloths
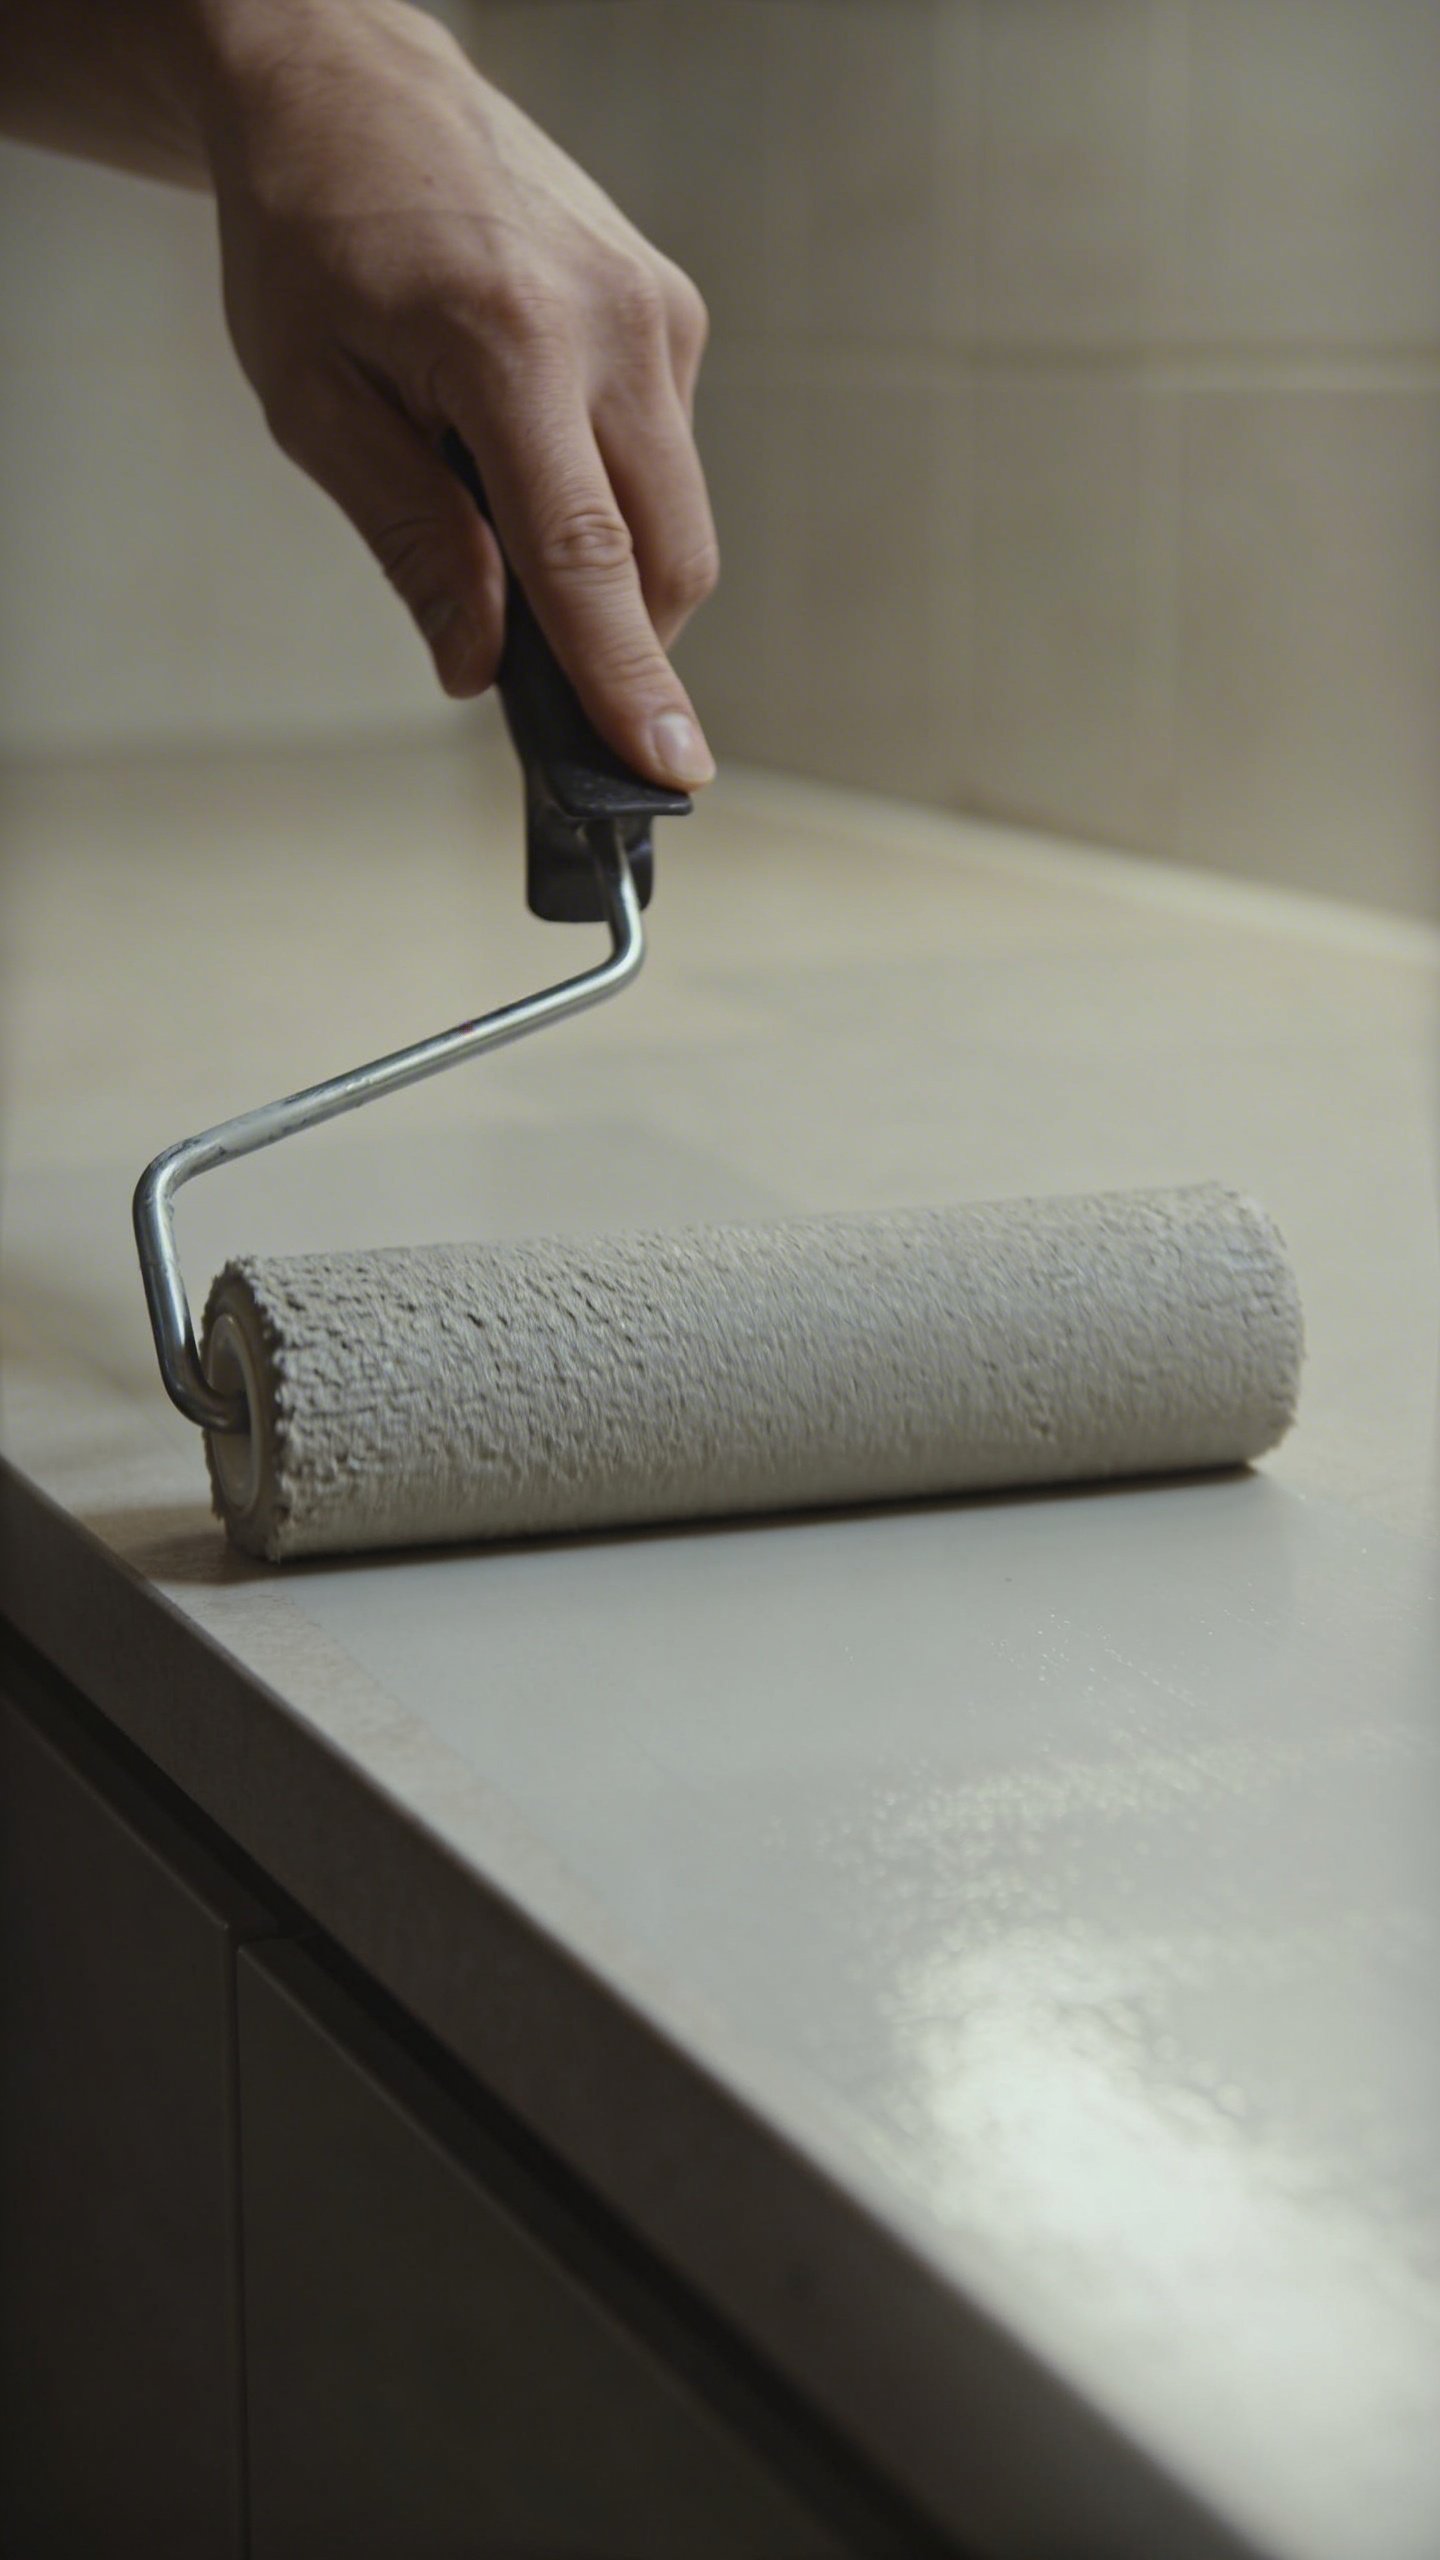
- Paint rollers (foam rollers work best for smooth finishes)
- Paintbrushes for edges and details
- Clear topcoat sealer (polyurethane or epoxy resin)
Optional But Helpful
- Sponges or feathers for creating faux finishes
- Tinted glazes if you’re going for a multi-color effect
- Respirator mask (some products get pretty fume-y)
- Plastic cups and stir sticks for mixing
Prep Work: The Boring But Crucial Part
I’m not going to sugarcoat this—prep work is tedious, but it’s literally 80% of what determines whether your project looks amazing or like a Pinterest fail. Skip these steps at your own peril.
First, remove everything from your countertops and disconnect the sink if possible. If you can’t remove the sink, tape around it really carefully. Same goes for the stove if you have a countertop range.
Clean those counters like you’ve never cleaned before. Use TSP or a heavy-duty degreaser and scrub every inch. All that cooking grease and coffee residue has to go, or your paint won’t stick. Let everything dry completely.
Next up: sanding. This step makes people groan, but you need to rough up that glossy surface so the primer has something to grip. Use 120-grit sandpaper and sand the entire surface until it feels slightly rough to the touch. You’re not trying to sand through the laminate, just scuff it up. Wipe away all the dust with a damp cloth when you’re done.
Finally, tape off everything you don’t want painted—backsplashes, walls, cabinets, appliances. Take your time here. Crisp edges make the difference between “wow” and “did you do this yourself?”
The Painting Process: Let’s Do This
Now for the fun part! Start with primer. Apply a thin, even coat using a foam roller, working in small sections. Two thin coats always beat one thick coat—this prevents drips and ensures better adhesion. Let each primer coat dry according to the manufacturer’s instructions (usually 4-6 hours).
Once your primer is bone dry, it’s time for the base coat. If you’re using a countertop paint kit, follow the instructions exactly. These kits are pretty foolproof if you don’t go rogue with the directions. Apply thin coats, let them dry, and repeat until you get full coverage. Most projects need 2-3 base coats.
Creating Faux Finishes (If You’re Feeling Fancy)
Want that granite or marble look? After your base coat dries, you’ll apply accent colors using sponges, feathers, or crumpled plastic bags to create texture and veining. This is where you can get creative, but FYI, it’s smart to practice on cardboard first.
Dab or drag your accent colors randomly across the surface. Don’t overthink it—natural stone is random and imperfect. Step back frequently to check your work from different angles. You can always add more, but taking it away is harder.
Sealing and Protecting Your New Surface
You’re almost done, but don’t skip the sealer! This is what protects your beautiful new countertops from water, scratches, heat, and daily wear. Without it, your paint job won’t last past the first spill.
Most people choose either polyurethane or epoxy resin for sealing. Polyurethane is easier to apply but slightly less durable. Epoxy creates an incredibly tough, glass-like finish but requires more careful mixing and application.
Apply at least 3-4 coats of sealer, letting each coat dry completely. Sand lightly between coats with 400-grit sandpaper for the smoothest finish. The final coat should cure for a full week before you subject it to heavy use.
Caring for Your Painted Countertops
Let’s manage expectations here: painted countertops won’t be as indestructible as granite. But with proper care, they’ll hold up surprisingly well for years.
Use cutting boards religiously—never cut directly on the surface. Hot pads are your friend; don’t set hot pots directly on the paint. Clean with gentle dish soap and water rather than harsh chemicals that might degrade the sealer over time.
IMO, the biggest threat to painted countertops is standing water around the sink. Wipe up spills and standing water quickly, especially in the first few weeks while everything fully cures. After that initial curing period, your counters will be much more water-resistant.
You might need to apply a fresh coat of sealer every year or two in high-traffic areas. Think of it like maintaining a wood floor—a little upkeep keeps everything looking fresh.
Frequently Asked Questions
How long do painted countertops last?
With proper sealing and care, painted countertops typically last 3-5 years before needing a refresh. Some people get even longer if they’re gentle with the surface. The best part? When they do start looking worn, you can just repaint them again for minimal cost.
Can I paint over tile countertops?
Absolutely! Tile actually paints really well. You can either embrace the grout lines for texture or fill them with spackle or epoxy filler first for a completely smooth surface. Just make sure to clean and sand the tile thoroughly—that glossy glaze needs roughing up.
Is countertop paint food-safe?
Once fully cured, most countertop paints and sealers are food-safe. However, you should still use cutting boards and plates rather than preparing food directly on the surface. Check your specific product’s documentation, but generally, after the recommended curing time (usually 7-30 days), the surface is safe for normal kitchen use.
What if I mess up?
The beauty of paint is that you can fix mistakes! If you hate how it turns out before sealing, you can sand it down and start over. Even after sealing, you can sand everything off and repaint. It’s just paint, not a permanent countertop installation. Take a deep breath—you’ve got this.
Can I paint bathroom countertops too?
Definitely! The same process works for bathroom vanities. Just be extra diligent about sealing around the sink area since bathrooms deal with constant moisture. You might want to add an extra coat or two of sealer in a bathroom setting.
Do I really need to sand between coats?
For the smoothest, most professional finish? Yes. Light sanding between coats removes any dust particles or imperfections and helps the next coat adhere better. It only takes a few minutes and makes a noticeable difference in the final result. Use fine-grit sandpaper (400-grit) and a gentle touch—you’re just smoothing, not stripping.
Conclusion
Painting your kitchen countertops isn’t rocket science, but it does require patience and attention to detail. The prep work might feel excessive, but it’s what separates a finish that lasts from one that peels off in six months. Take your time, follow the steps, and don’t rush the drying process.
Will your painted countertops fool everyone into thinking you installed real marble? Probably not under close inspection. But from a few feet away, with proper technique, they’ll look genuinely impressive. Plus, you’ll save thousands of dollars and get exactly the look you want. That’s a win in my book.