
How to Install Kitchen Cabinets Without Losing Your Mind
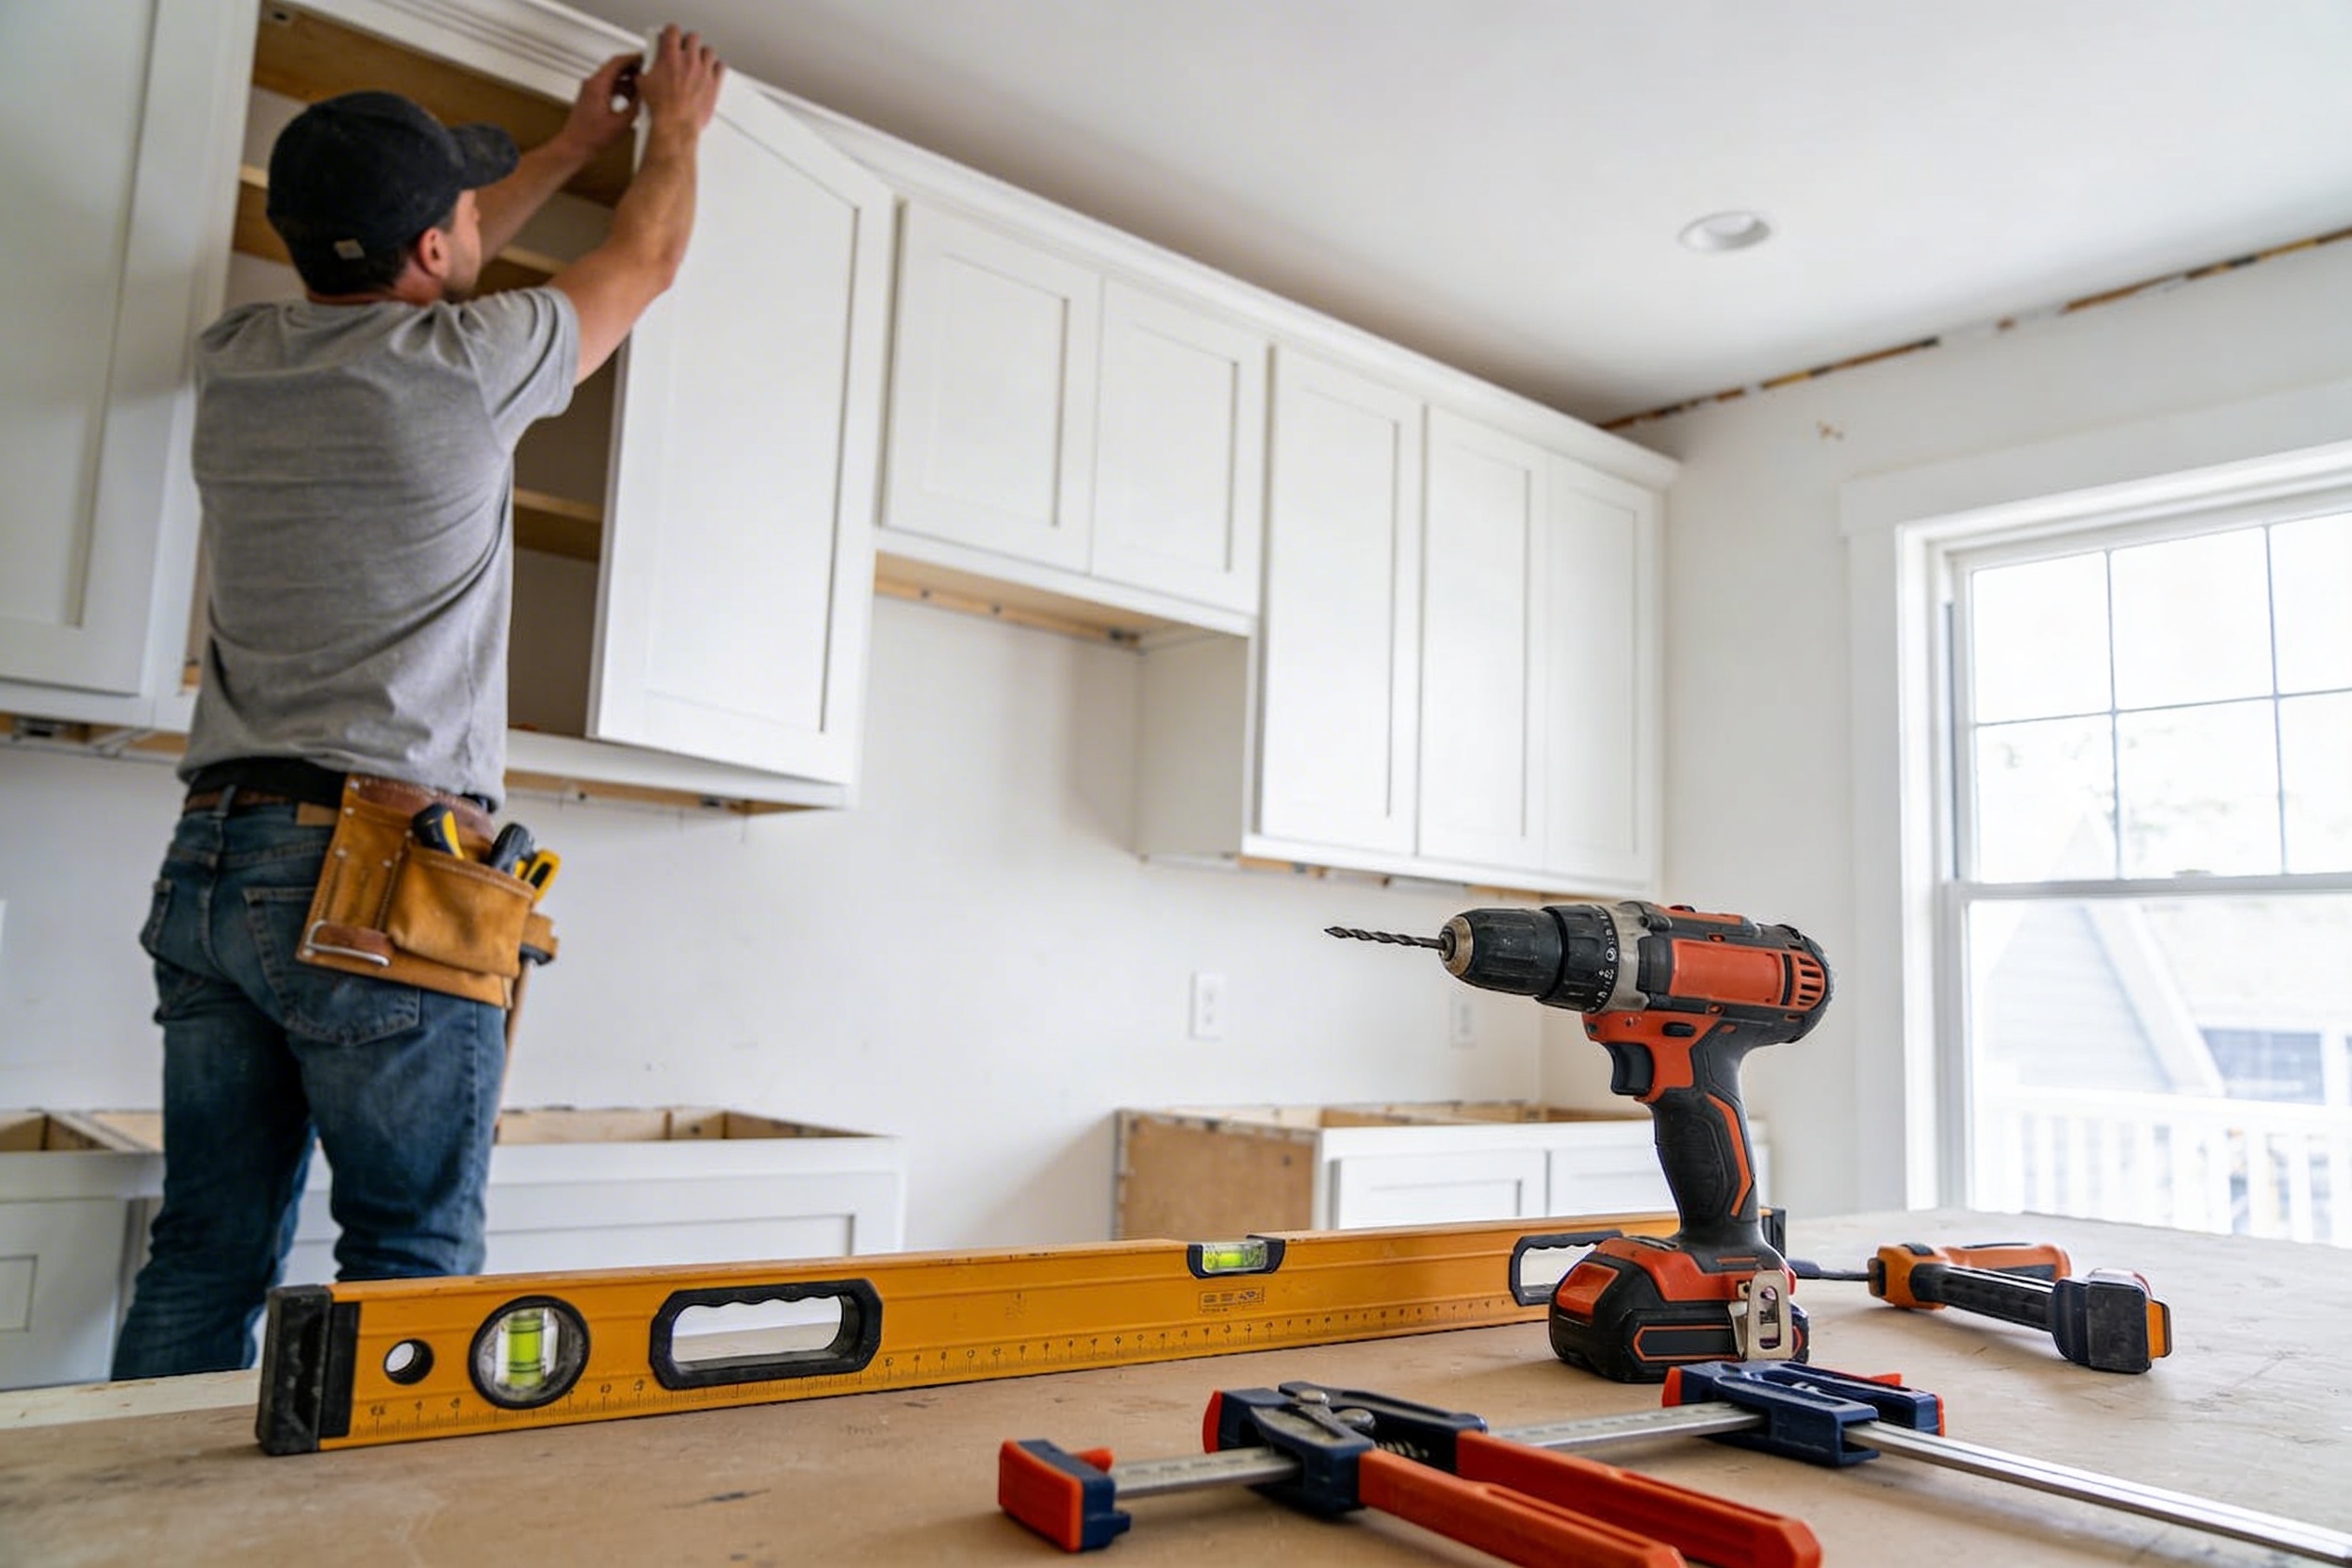
So you’ve decided to tackle kitchen cabinet installation yourself? Bold move! While it’s definitely not the easiest weekend project you’ll ever take on, it’s also not rocket science. With the right tools, a solid plan, and maybe a friend who owes you a favor, you can totally pull this off and save yourself a chunk of money in the process.
What You’ll Need Before You Start
Let’s talk tools and materials first, because showing up unprepared is a recipe for disaster (and multiple trips to the hardware store, which nobody wants).
Here’s your essential toolkit:
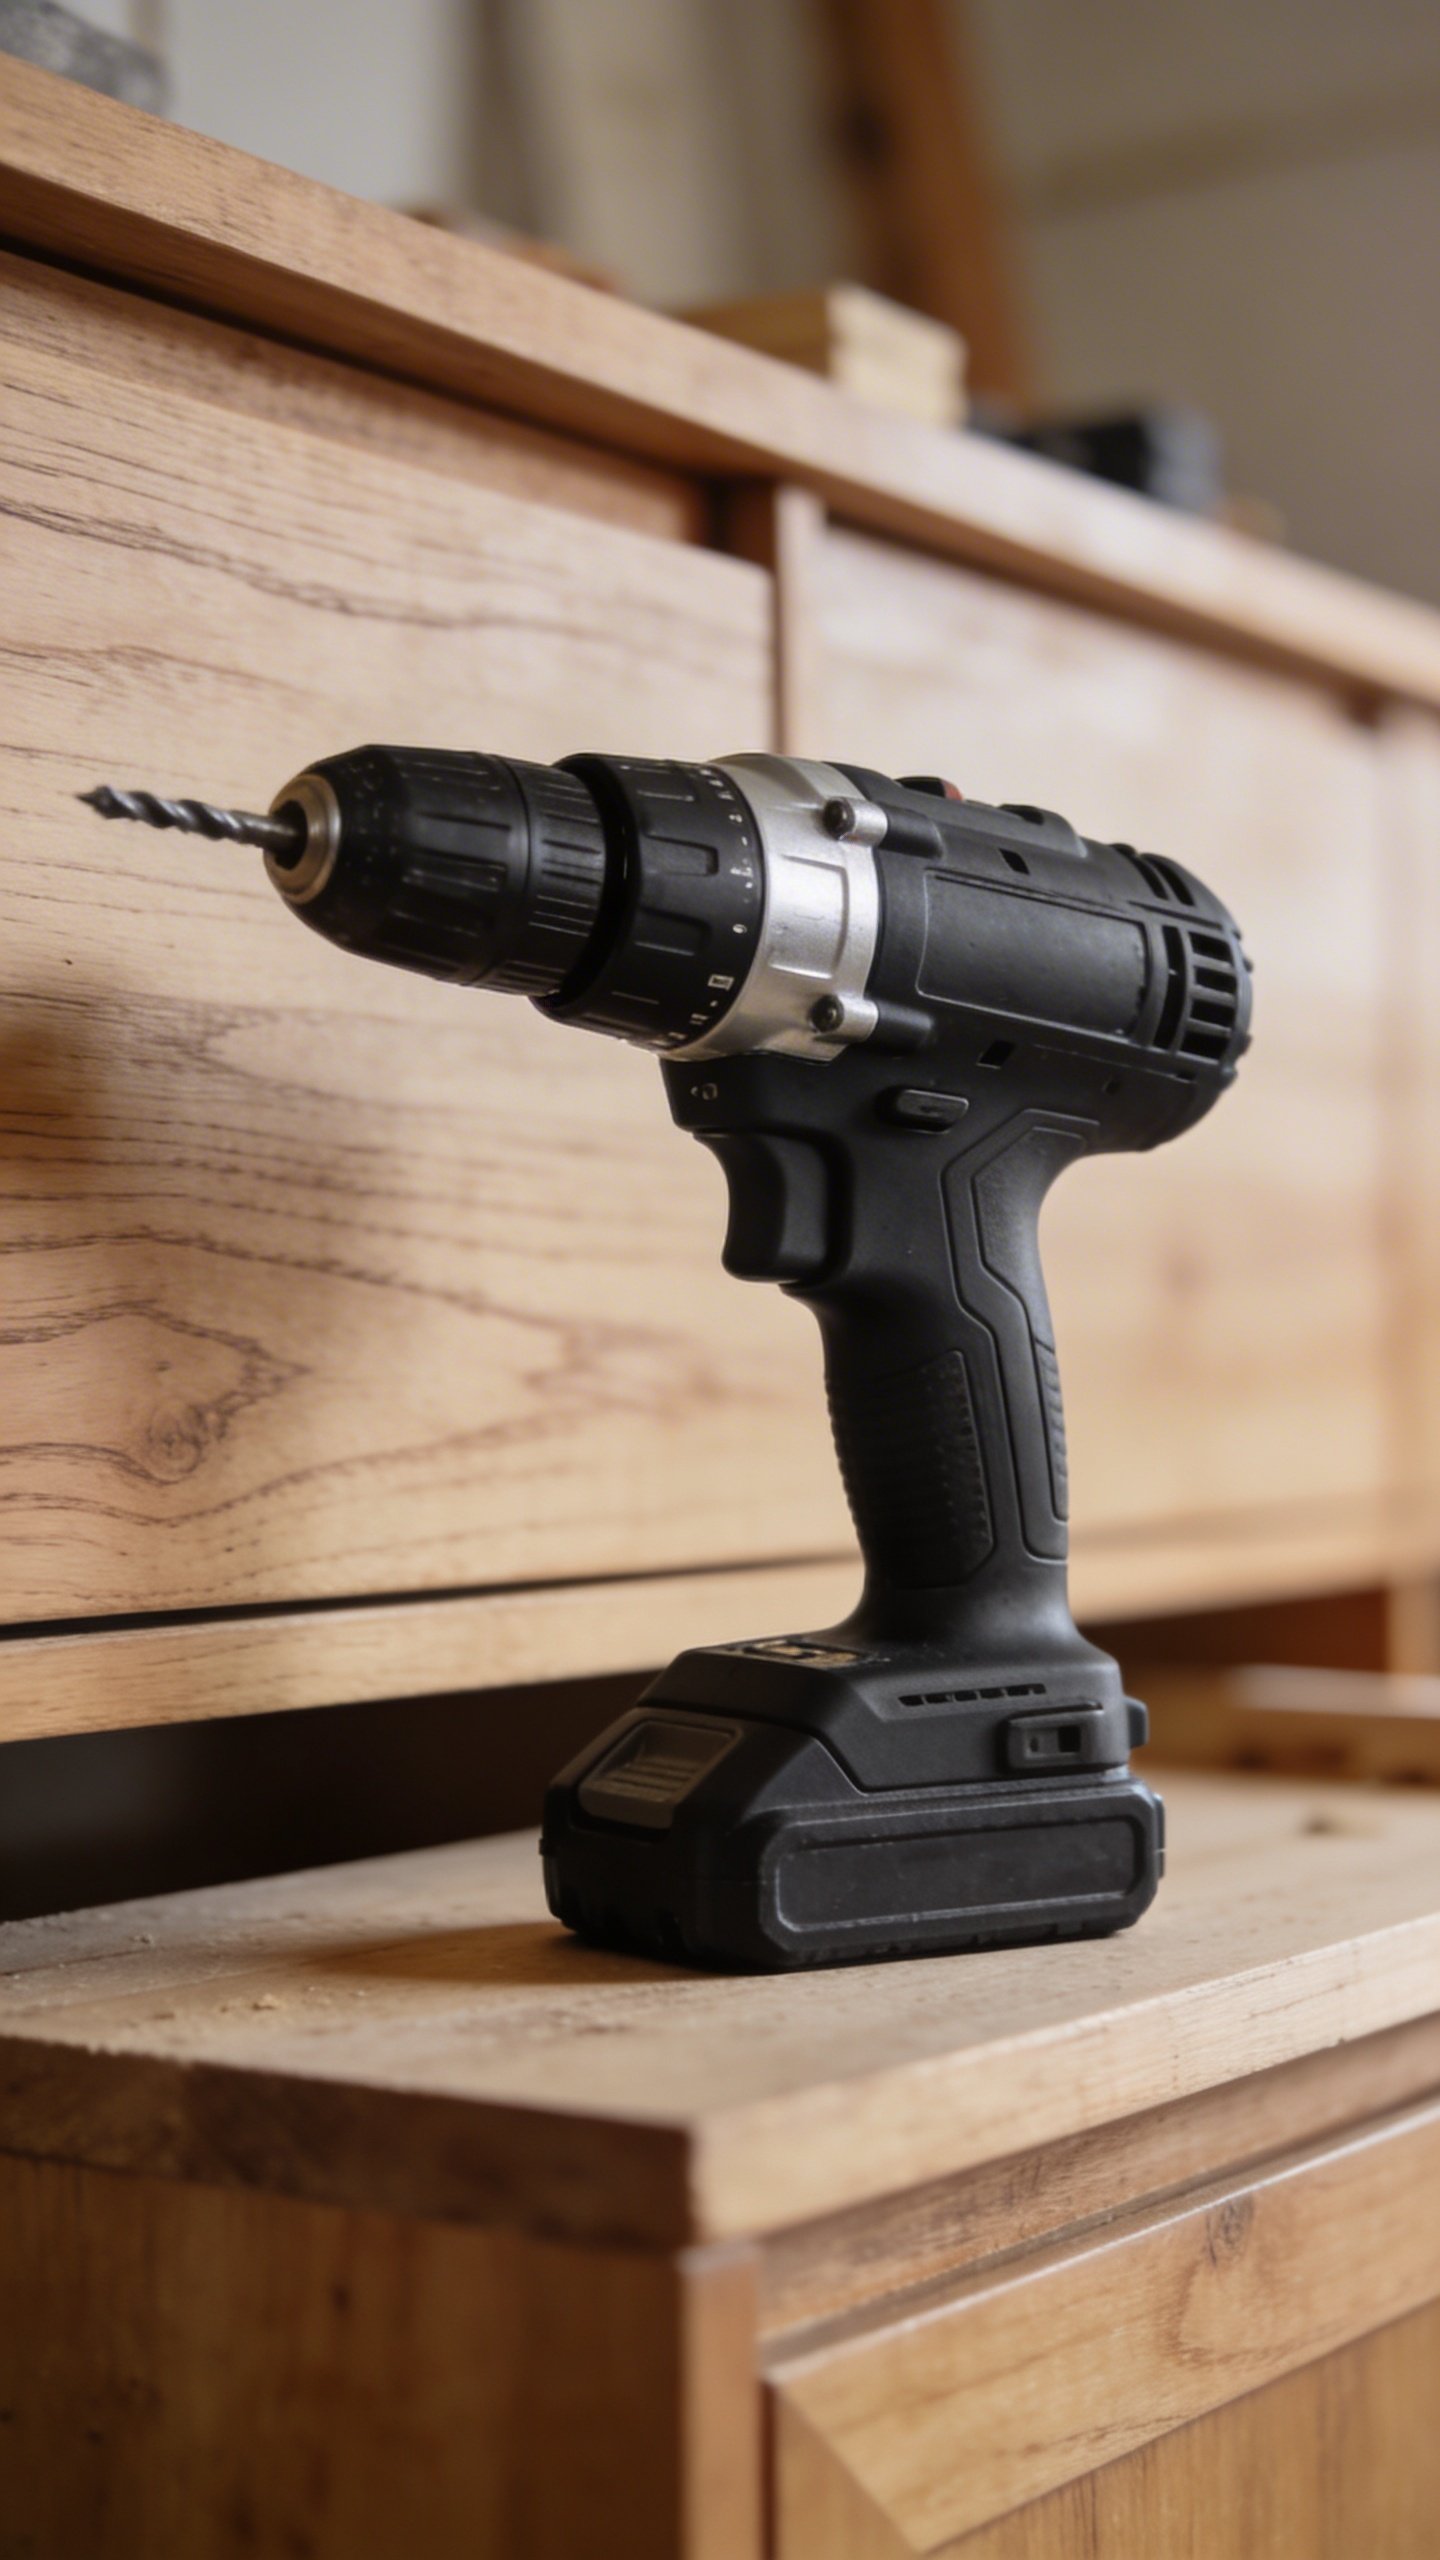
- A good drill/driver – and I mean a decent one, not that thing you got free with a purchase five years ago
- Level (preferably 4-6 feet long) – this is non-negotiable unless you enjoy crooked cabinets
- Stud finder – unless you have X-ray vision
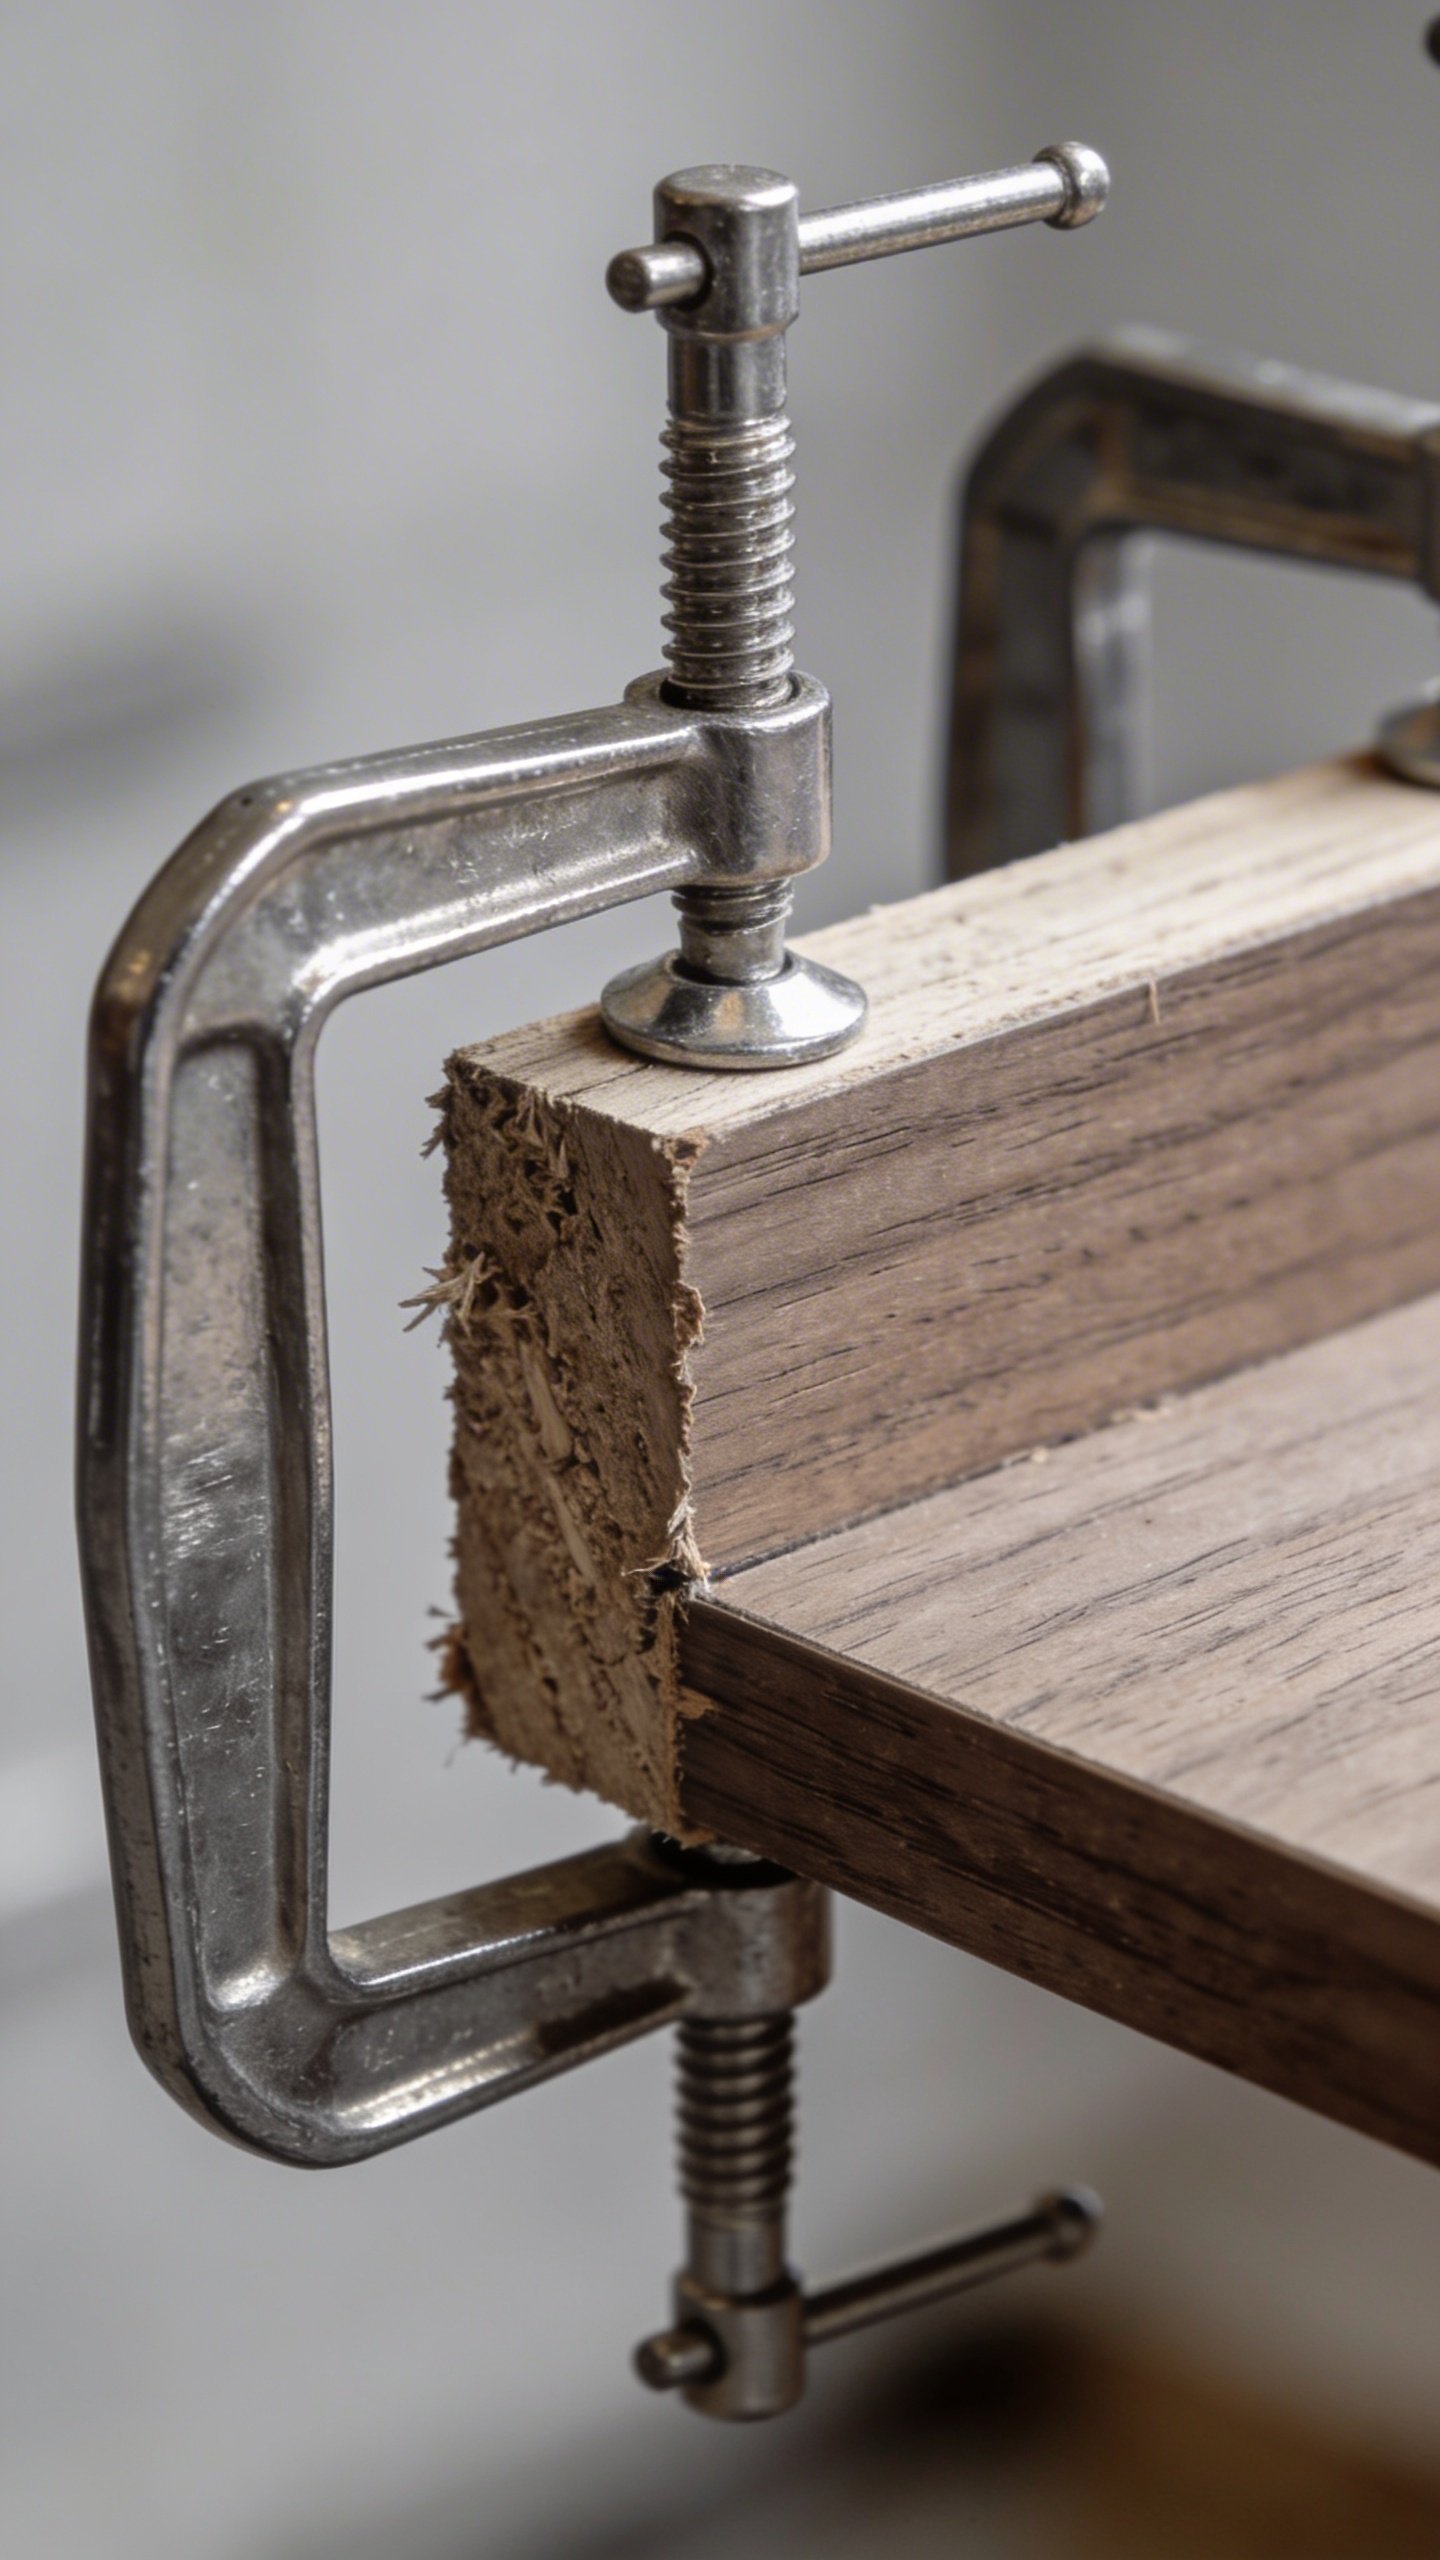
- Clamps – at least 4-6 of them
- Cabinet screws (2.5 to 3 inches usually work)
- Shims – buy way more than you think you need
- Pencil and measuring tape – obviously
You’ll also want a helper. Seriously, don’t be a hero here. Kitchen cabinets are awkward and heavy, and holding them in place while you screw them in requires more hands than you’ve got.
Finding Your High Point (No, Not That Kind)
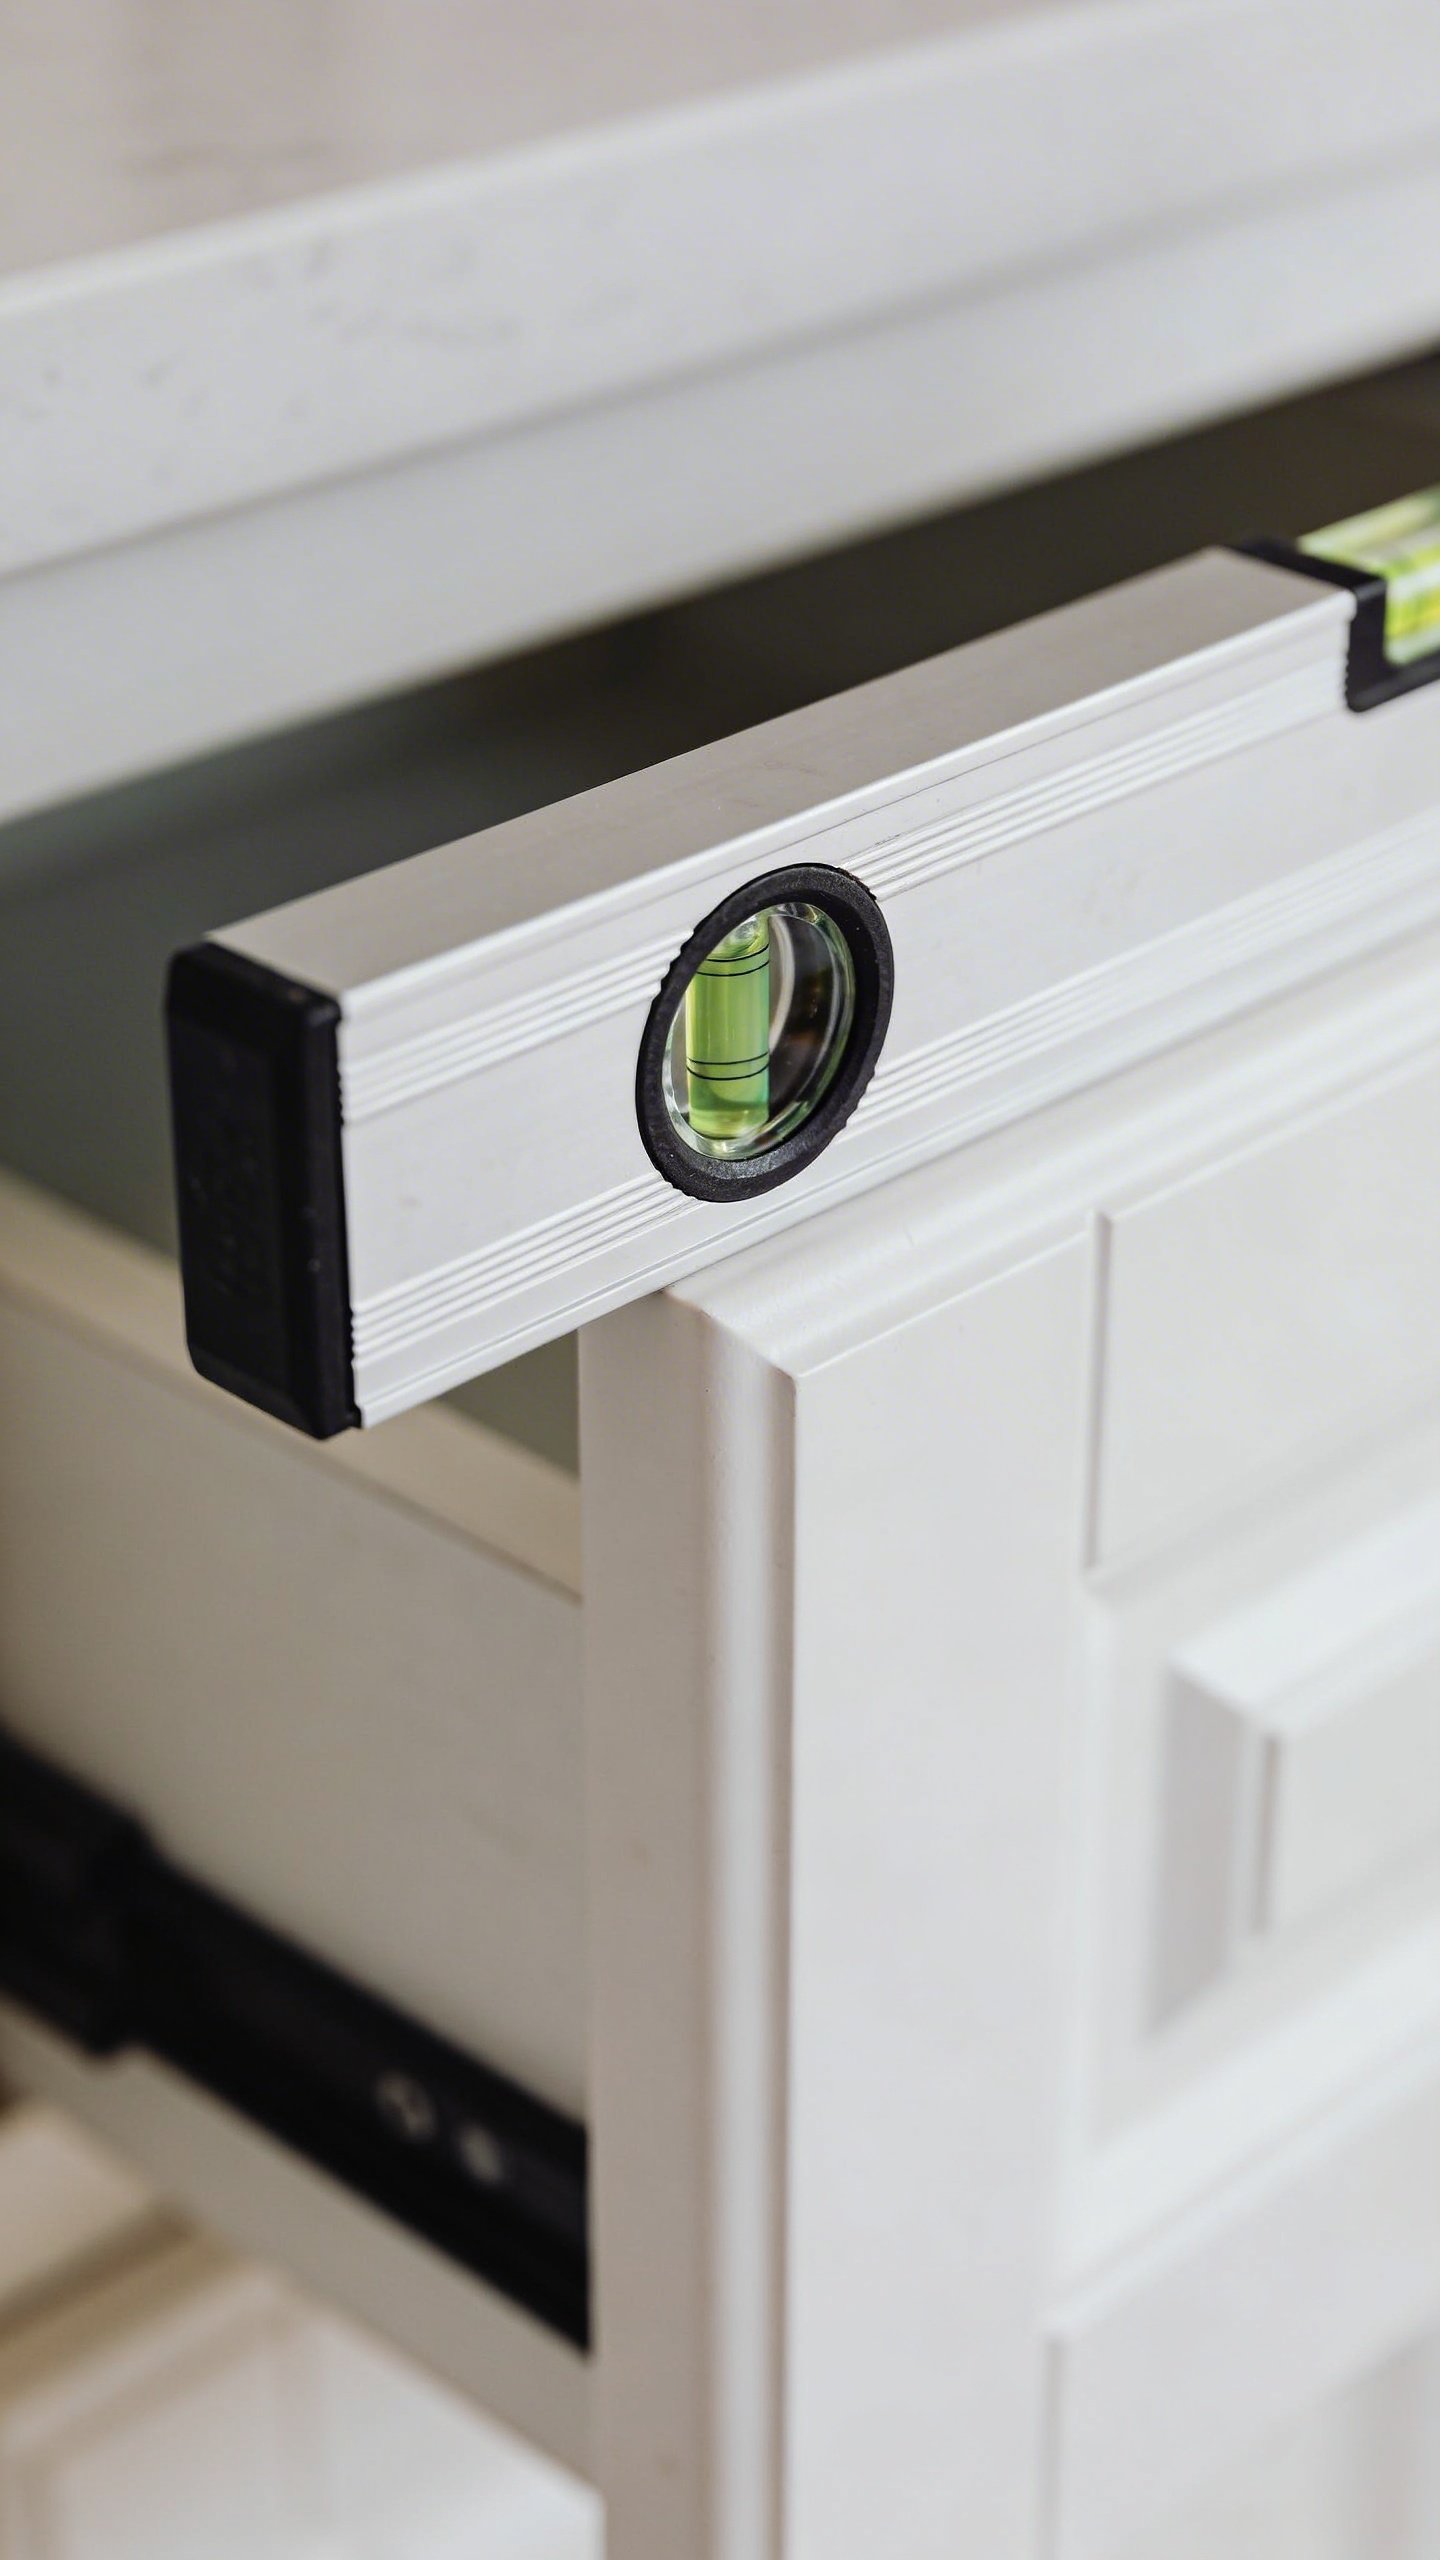
Before you hang a single cabinet, you need to find the high point of your floor. This step separates the amateurs from the people who actually know what they’re doing.
Walk around your kitchen floor and use your level to identify where it’s highest. Mark this spot because it’s going to be your reference point for everything else. Why? Because you’ll build up the lower spots with shims to keep everything level. If you start from a low point, you’ll be chasing your tail trying to make things work.
Mark Your Layout Lines
Once you know your high point, measure up 34.5 inches from the floor (or 19.5 inches if you’re starting with upper cabinets). This is your baseline. Use your long level and draw a level line across the entire wall where cabinets will go. This line is your new best friend – you’ll reference it constantly.
Upper Cabinets Go First (Trust Me On This)
Here’s where people mess up: they install base cabinets first because it seems logical. Wrong! Start with the upper cabinets so you’re not leaning over base cabinets trying to install heavy boxes above your head.
Find your studs along the wall and mark them clearly with painter’s tape or light pencil marks. You’ll be screwing directly into these studs, so knowing exactly where they are saves you a ton of frustration.
The Ledger Board Trick
Want to make your life way easier? Install a temporary ledger board (just a straight 2×4) along your layout line. This gives your cabinets something to rest on while you secure them. It’s like having an extra set of hands that never gets tired or complains.
Start with a corner cabinet or your leftmost cabinet. Lift it onto the ledger board, make sure it’s level and plumb, then drill pilot holes through the back rail into the studs. Drive in your screws, but don’t fully tighten them yet – you’ll want some wiggle room to align adjacent cabinets.
Making Cabinets Play Nice Together
Once you’ve got your first upper cabinet loosely attached, it’s time to add its neighbor. This is where those clamps come in handy.
Position the next cabinet, clamp the face frames together (making sure they’re flush), then drill and screw them together through the stiles. Usually 3-4 screws per joint does the trick. Check that everything’s level and plumb before you tighten down the wall screws.
Continue this process down the line: hang, clamp, attach to neighbor, secure to wall, repeat until you hate everything. Just kidding – it’s actually pretty satisfying once you get in a rhythm.
Base Cabinets: The Home Stretch
Now that your uppers are done, you can tackle the base cabinets with all that lovely floor space to work in. The process is similar, but you’re working with shims a lot more.
Start again from a corner or end cabinet. Set it in position and check for level in both directions (front to back and side to side). Not level? This is where those shims earn their keep. Slide them under the cabinet until it’s perfectly level.
Shimming Without Going Crazy
Don’t just randomly shove shims everywhere. Place them at the corners and near the middle of each cabinet, then check your level. Add or adjust as needed. Once it’s level, attach the cabinet to the wall through the studs, just like you did with the uppers.
FYI, you can trim off the excess shim material later with a utility knife – nobody needs to see your shim situation.
Finishing Touches That Matter
You’re almost done! Now comes the detail work that makes everything look professional instead of “my uncle’s friend installed these.”
Fill any gaps between cabinets and walls with trim pieces or molding. Install your cabinet doors and drawer fronts if they weren’t already attached. Adjust all the hinges so doors close properly and align nicely – this takes patience, but it’s worth it.
Add your hardware (handles and knobs), and suddenly your DIY project looks like it cost way more than it did.
Common Questions People Ask
Do I really need to attach cabinets to studs?
Yes, absolutely, 100%. Toggle bolts and drywall anchors might seem tempting, but kitchen cabinets hold heavy dishes, canned goods, and that mixer you never use. Studs are the only safe option. If your studs don’t line up well with your cabinet layout, you might need to add blocking behind the drywall.
What if my walls aren’t straight?
Welcome to homeownership – no walls are perfectly straight! You’ll use shims between the cabinet and wall to fill gaps and keep everything plumb. Just make sure you’re shimming at stud locations so your screws have something solid to grab. A little caulk and paint can hide minor gaps at the top.
Should I install cabinets before or after flooring?
IMO, base cabinets should go in after the flooring for the cleanest look and easiest future replacement of flooring. However, if you’re doing tile, some people prefer to install bases first and tile up to them. There’s debate on this one, so do what makes sense for your situation.
How level is level enough?
Kitchen cabinets should be level within 1/16 of an inch or so. Any more than that and you’ll notice doors that swing open or closed on their own, which gets annoying fast. Take your time getting this right – it’s the foundation of everything else.
Can I install cabinets by myself?
Can you? Maybe. Should you? Probably not. Upper cabinets especially are tough to manage solo. Even if you’re strong enough to lift them, you need to hold them in place, keep them level, and drill screws – that’s at least three hands worth of work. Hire a helper, bribe a friend, or call in a favor.
What’s the biggest mistake beginners make?
Not taking enough time to get the first cabinet perfect. That first one sets the standard for everything else. If it’s off, every subsequent cabinet will be off too, and you’ll compound the error as you go. Slow down, double-check everything, and don’t rush this part.
Wrapping It Up
Installing kitchen cabinets yourself is totally doable if you’re patient, detail-oriented, and willing to measure approximately seven thousand times. You’ll save money, gain some serious DIY cred, and probably learn a few new curse words along the way.
The key is taking your time with the prep work – finding that high point, marking accurate level lines, locating studs properly. Rush through these steps and you’ll pay for it later. Get them right, and the actual installation becomes way more straightforward. Now get out there and make your kitchen look amazing!