
How to Hang Vines in Bedroom Without Killing Your Plants
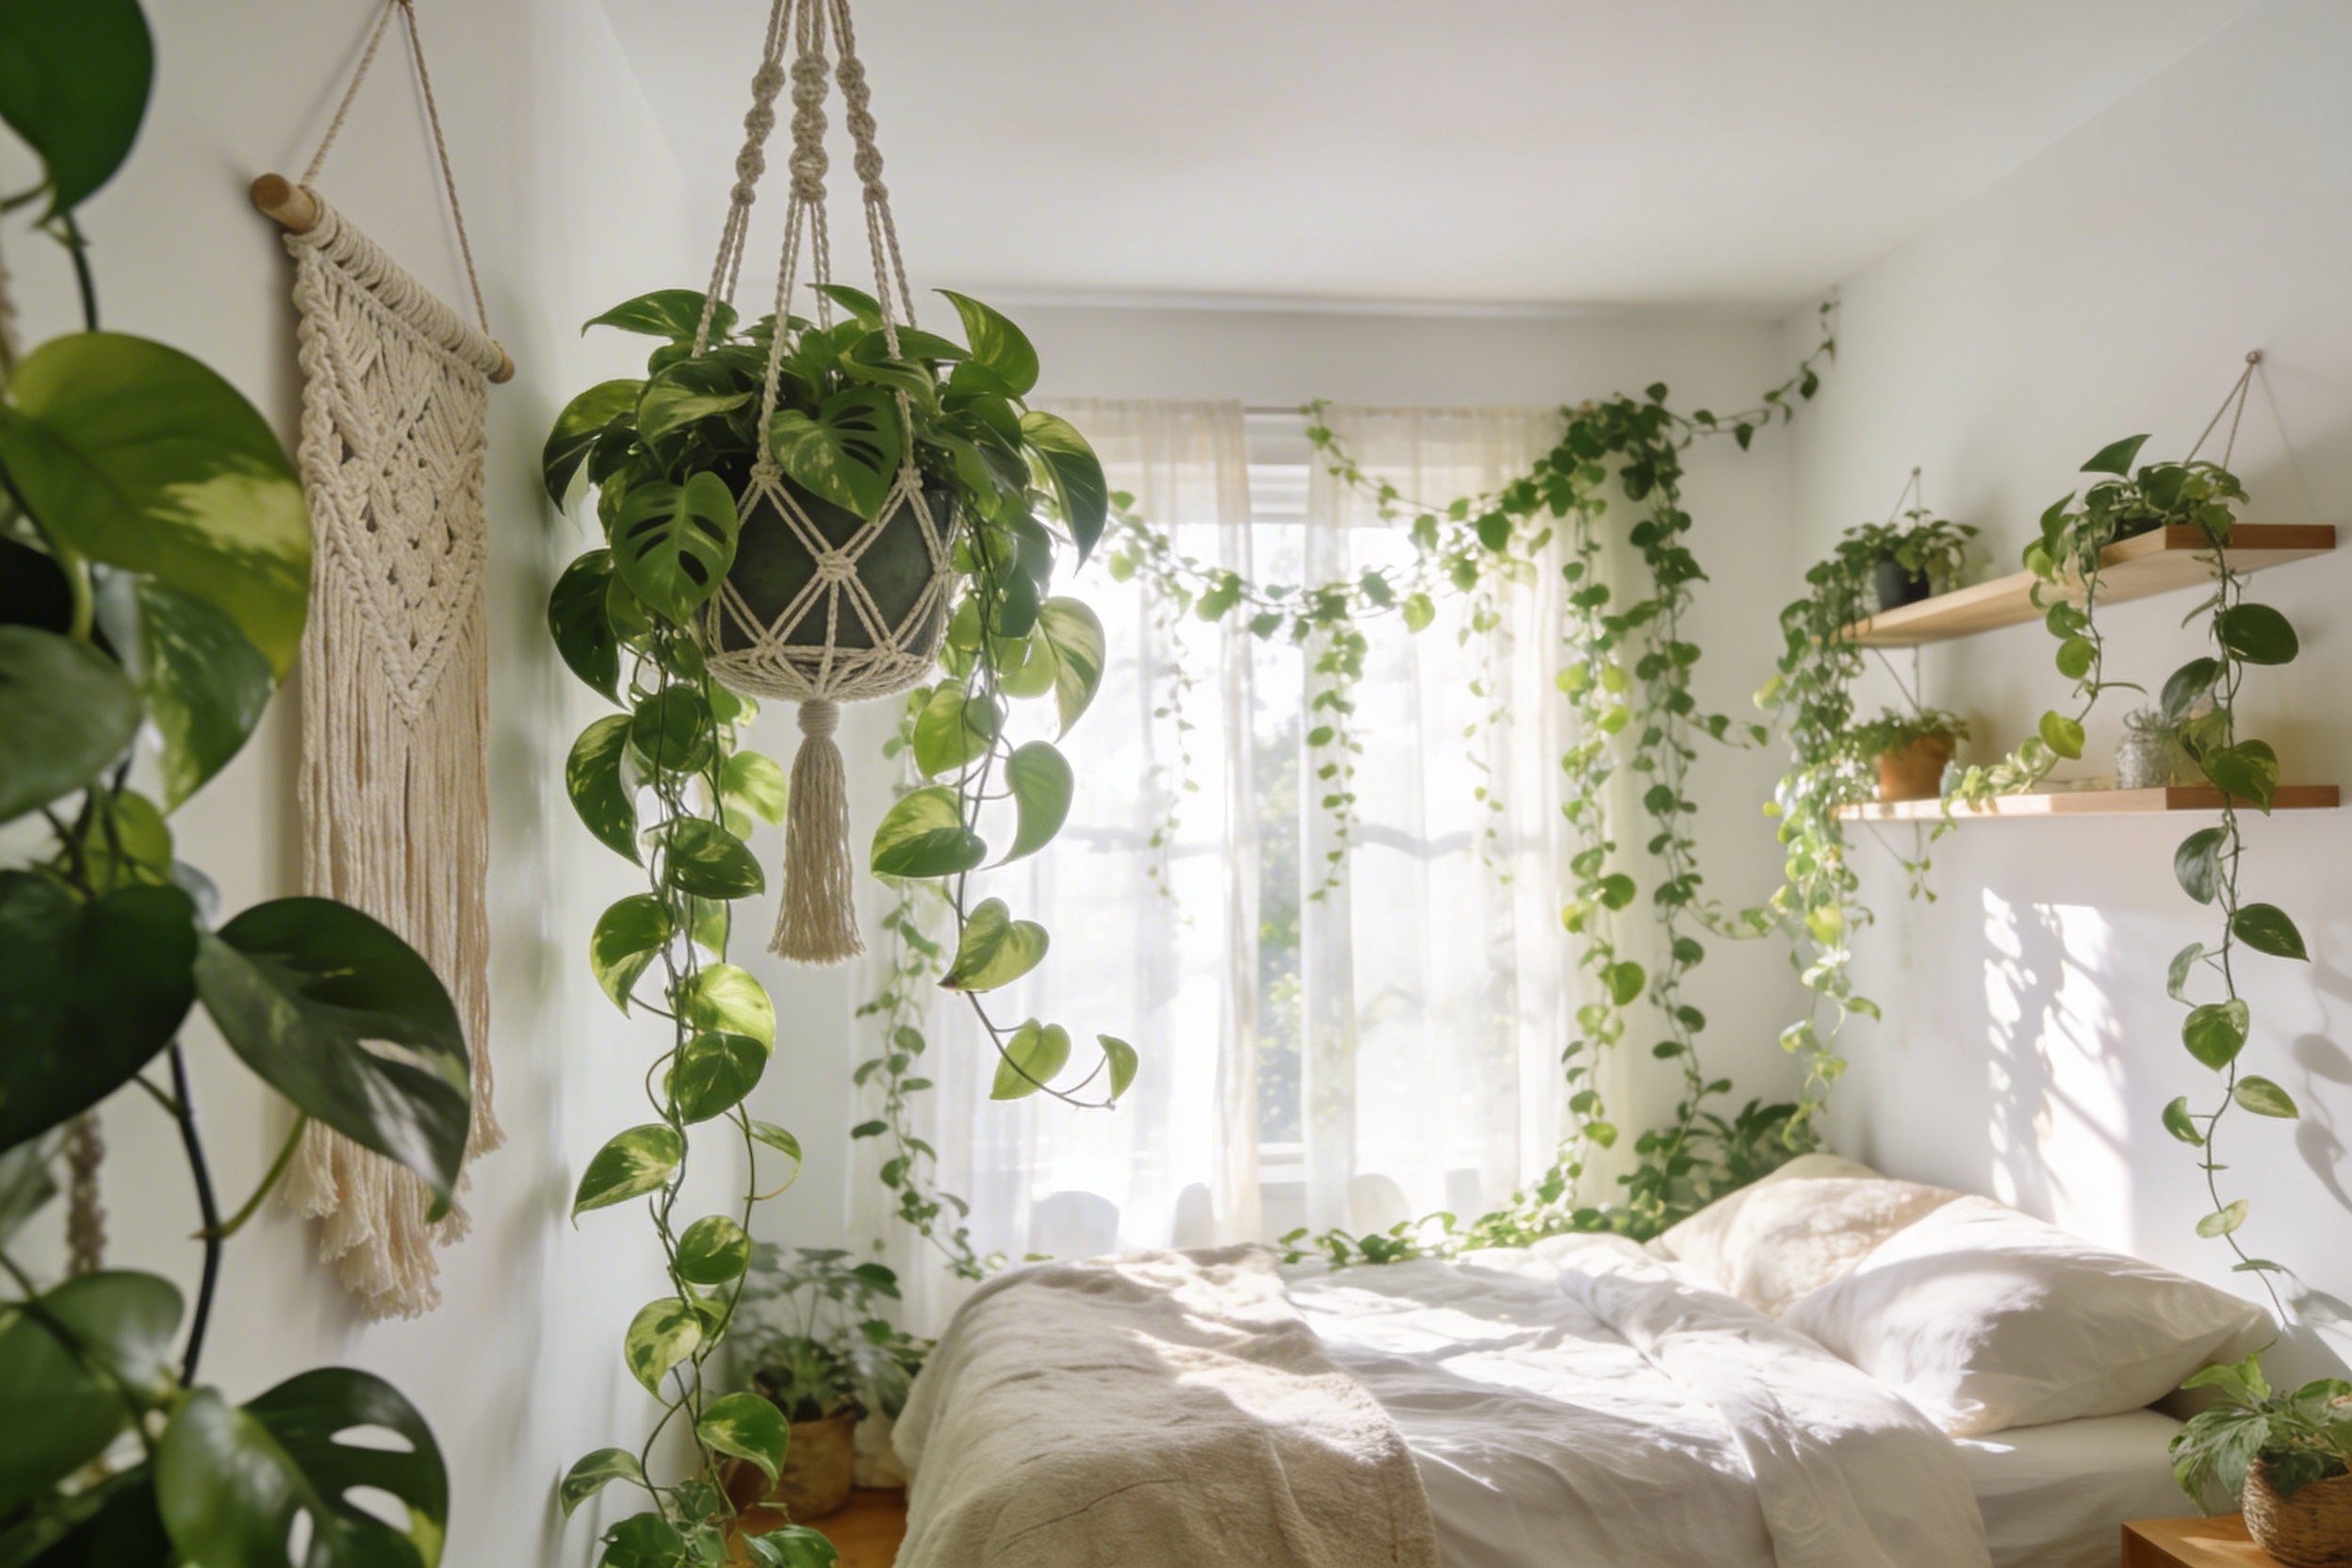
Want to turn your bedroom into a dreamy indoor jungle? Hanging vines might be exactly what you need. Whether you’re going for bohemian vibes or just trying to add some life to those boring walls, trailing plants can completely transform your space. Let me walk you through everything you need to know to make it happen without destroying your security deposit.
Choosing the Right Vines for Your Bedroom
Before you start poking holes in your walls, let’s talk about which plants actually make sense for bedroom hanging. Not all vines are created equal, and some will thrive while others will slowly die a sad death in the corner.
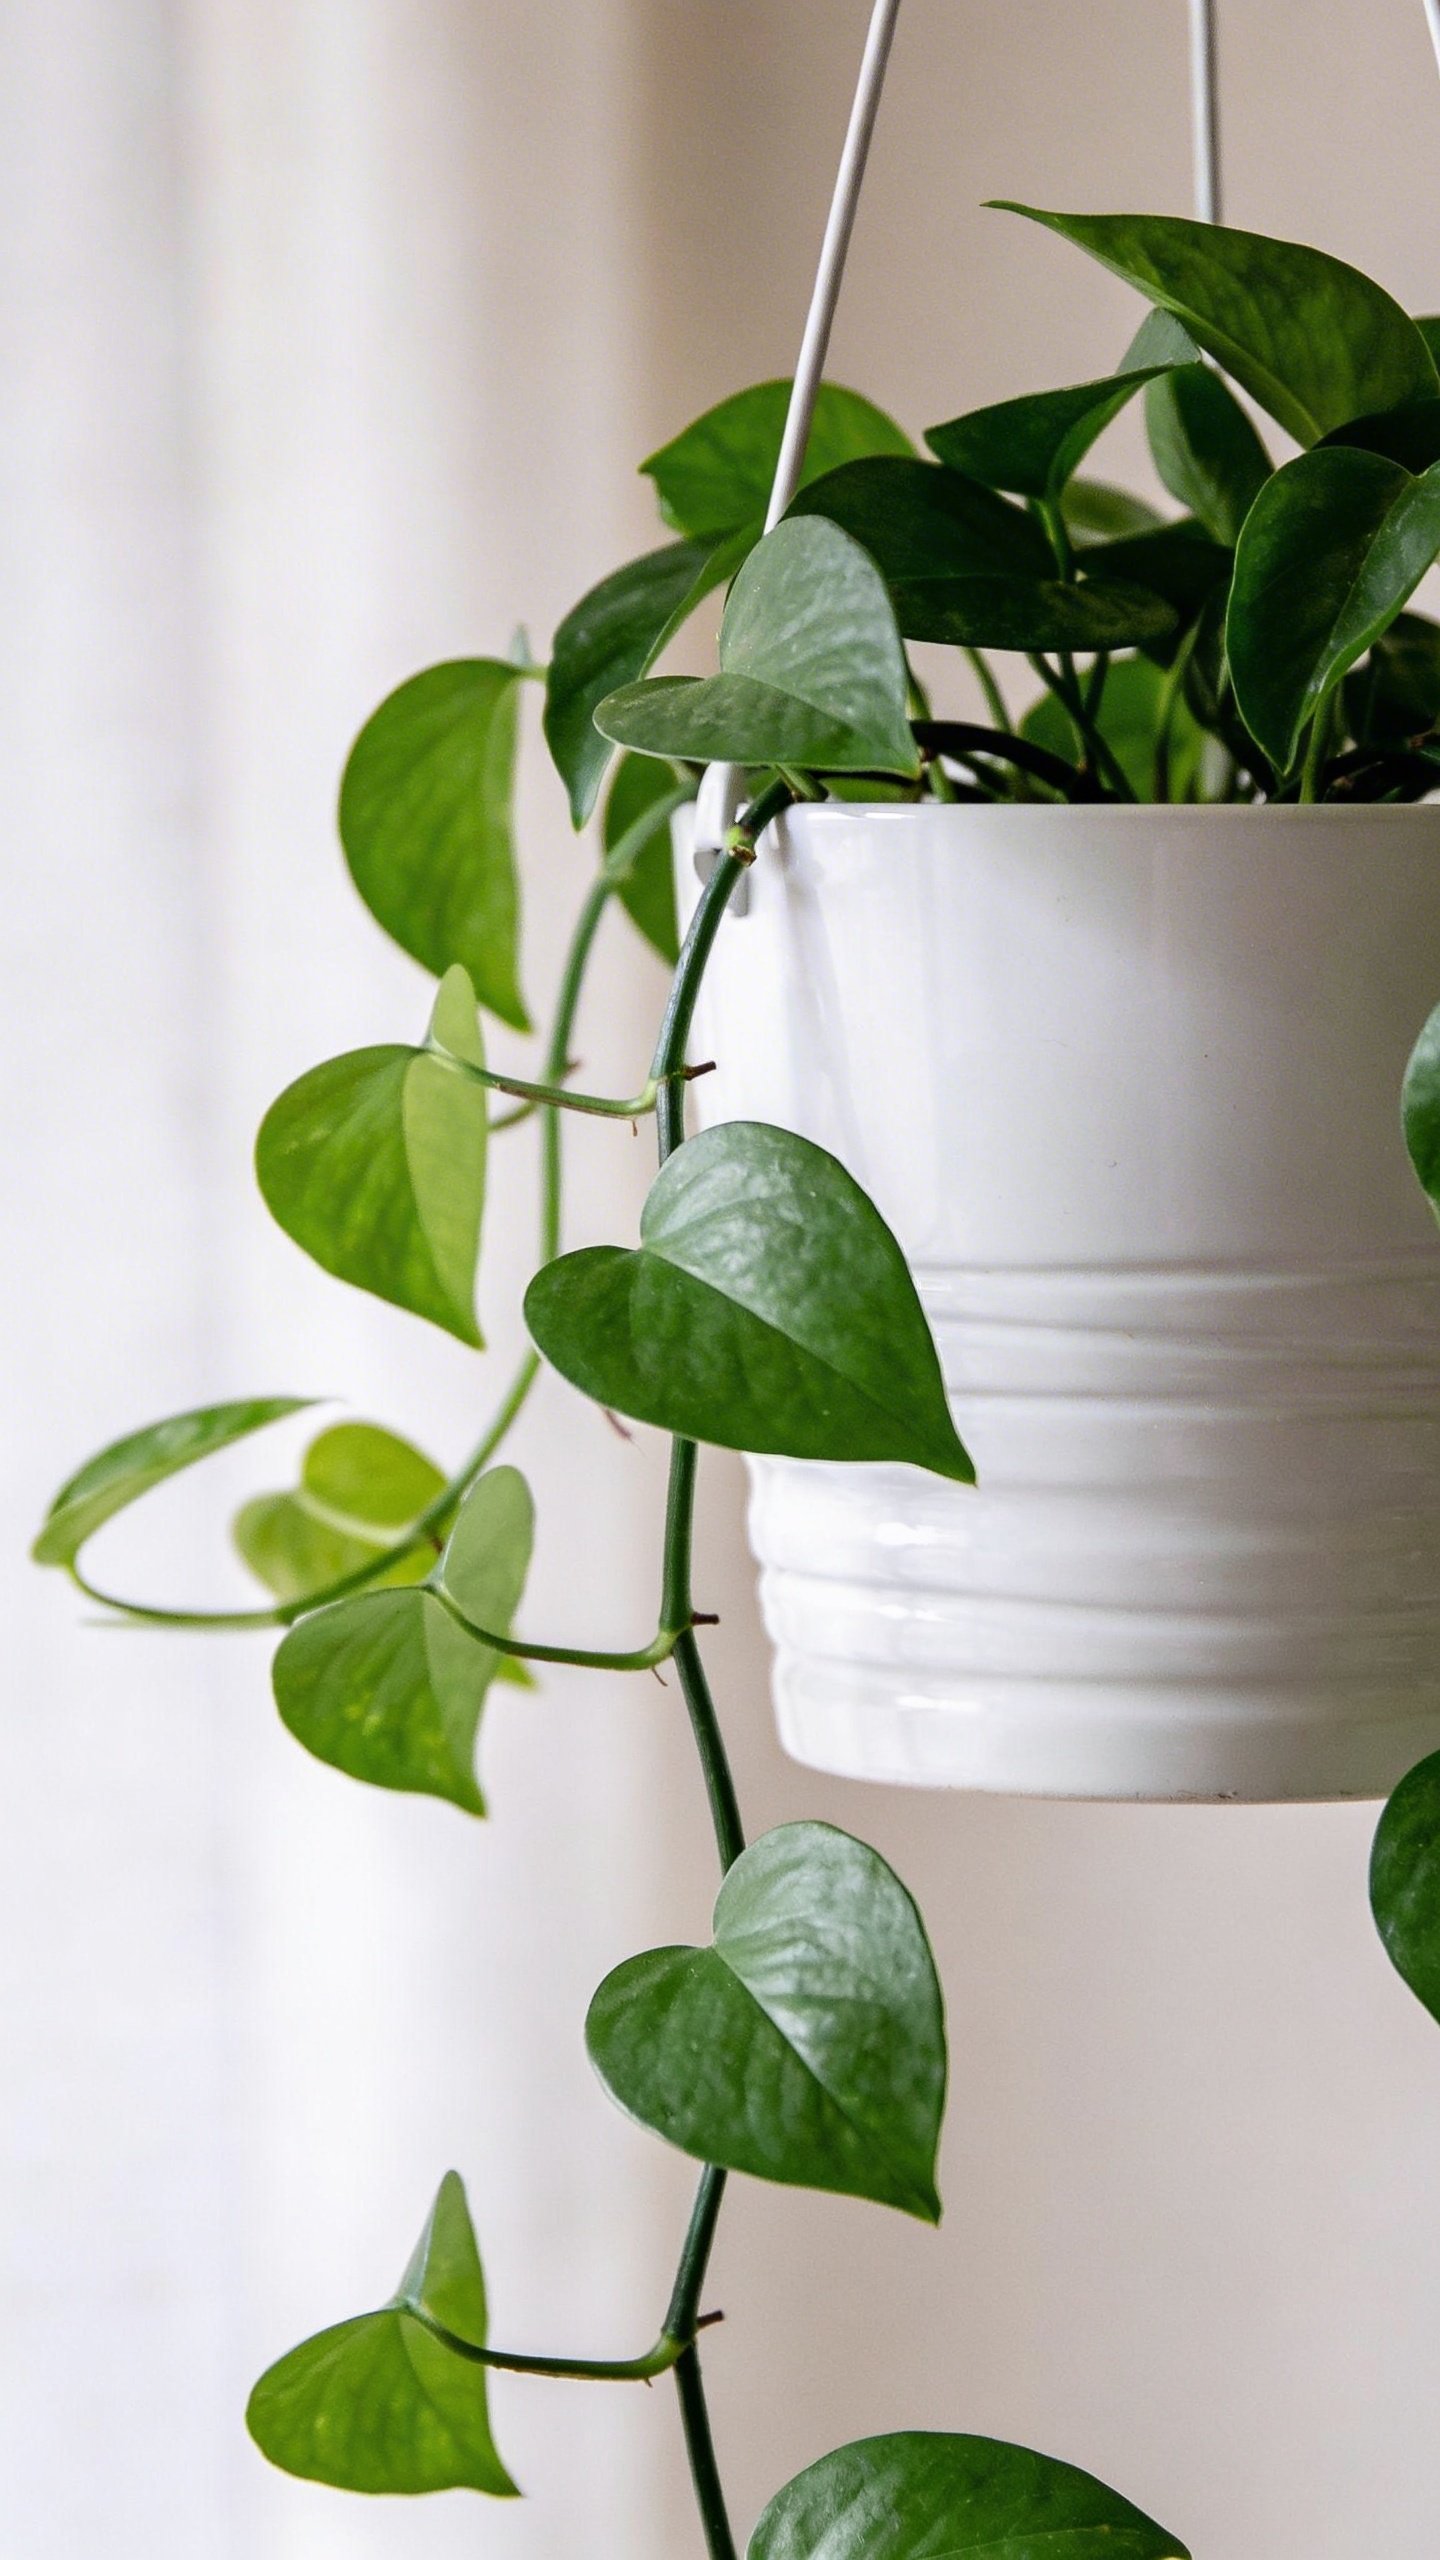
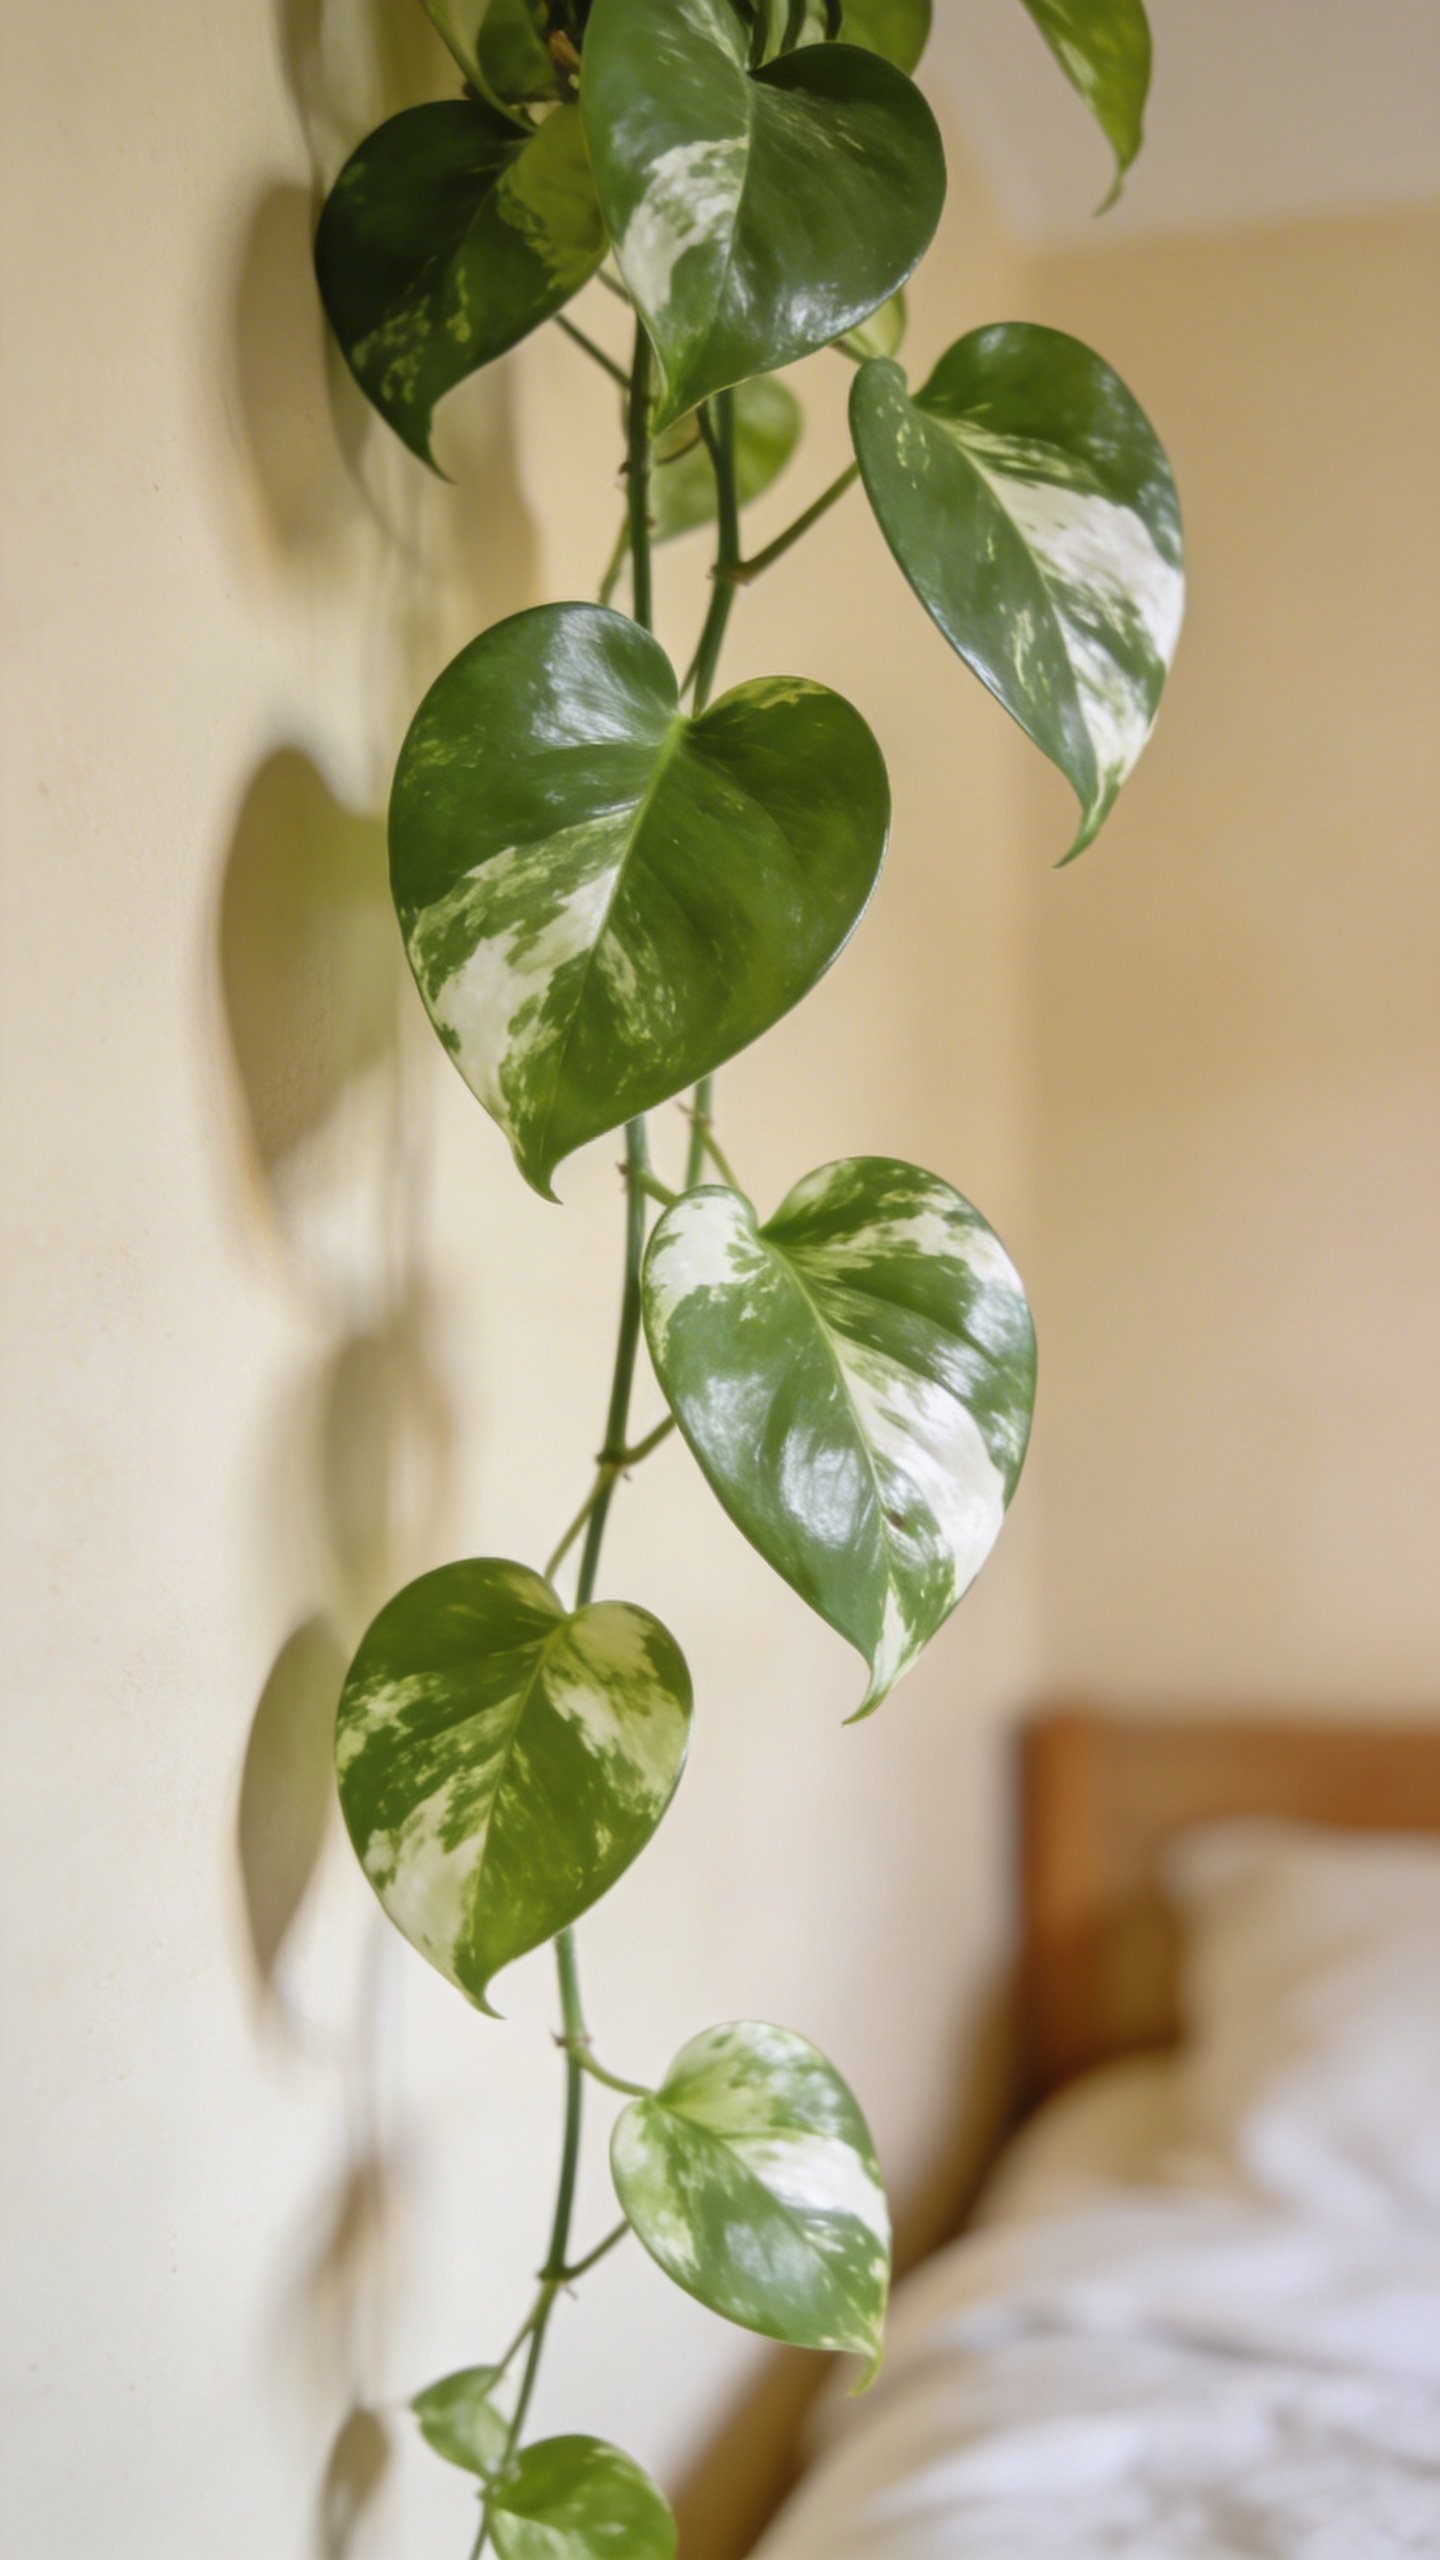
Pothos is basically the champion of bedroom vines. This plant is nearly impossible to kill, tolerates low light like a champ, and grows fast enough that you’ll actually see progress. Plus, it looks gorgeous cascading down from shelves or hanging planters.
Devil’s ivy (which is actually just another name for pothos, confusing I know) and philodendron are also fantastic choices. They’re both low-maintenance, forgiving when you forget to water them, and they don’t need direct sunlight to survive. Perfect for those of us who aren’t exactly plant experts.
If you want something a bit more unique, try string of hearts or string of pearls. These delicate-looking vines add a whimsical touch and don’t take up much visual space, making them ideal for smaller bedrooms.
Essential Supplies You’ll Need
Alright, shopping time. Here’s what you need to gather before you start your vine-hanging adventure:
- Command hooks or adhesive wall hooks (your landlord’s best friend)
- Wall anchors and screws if you own your place
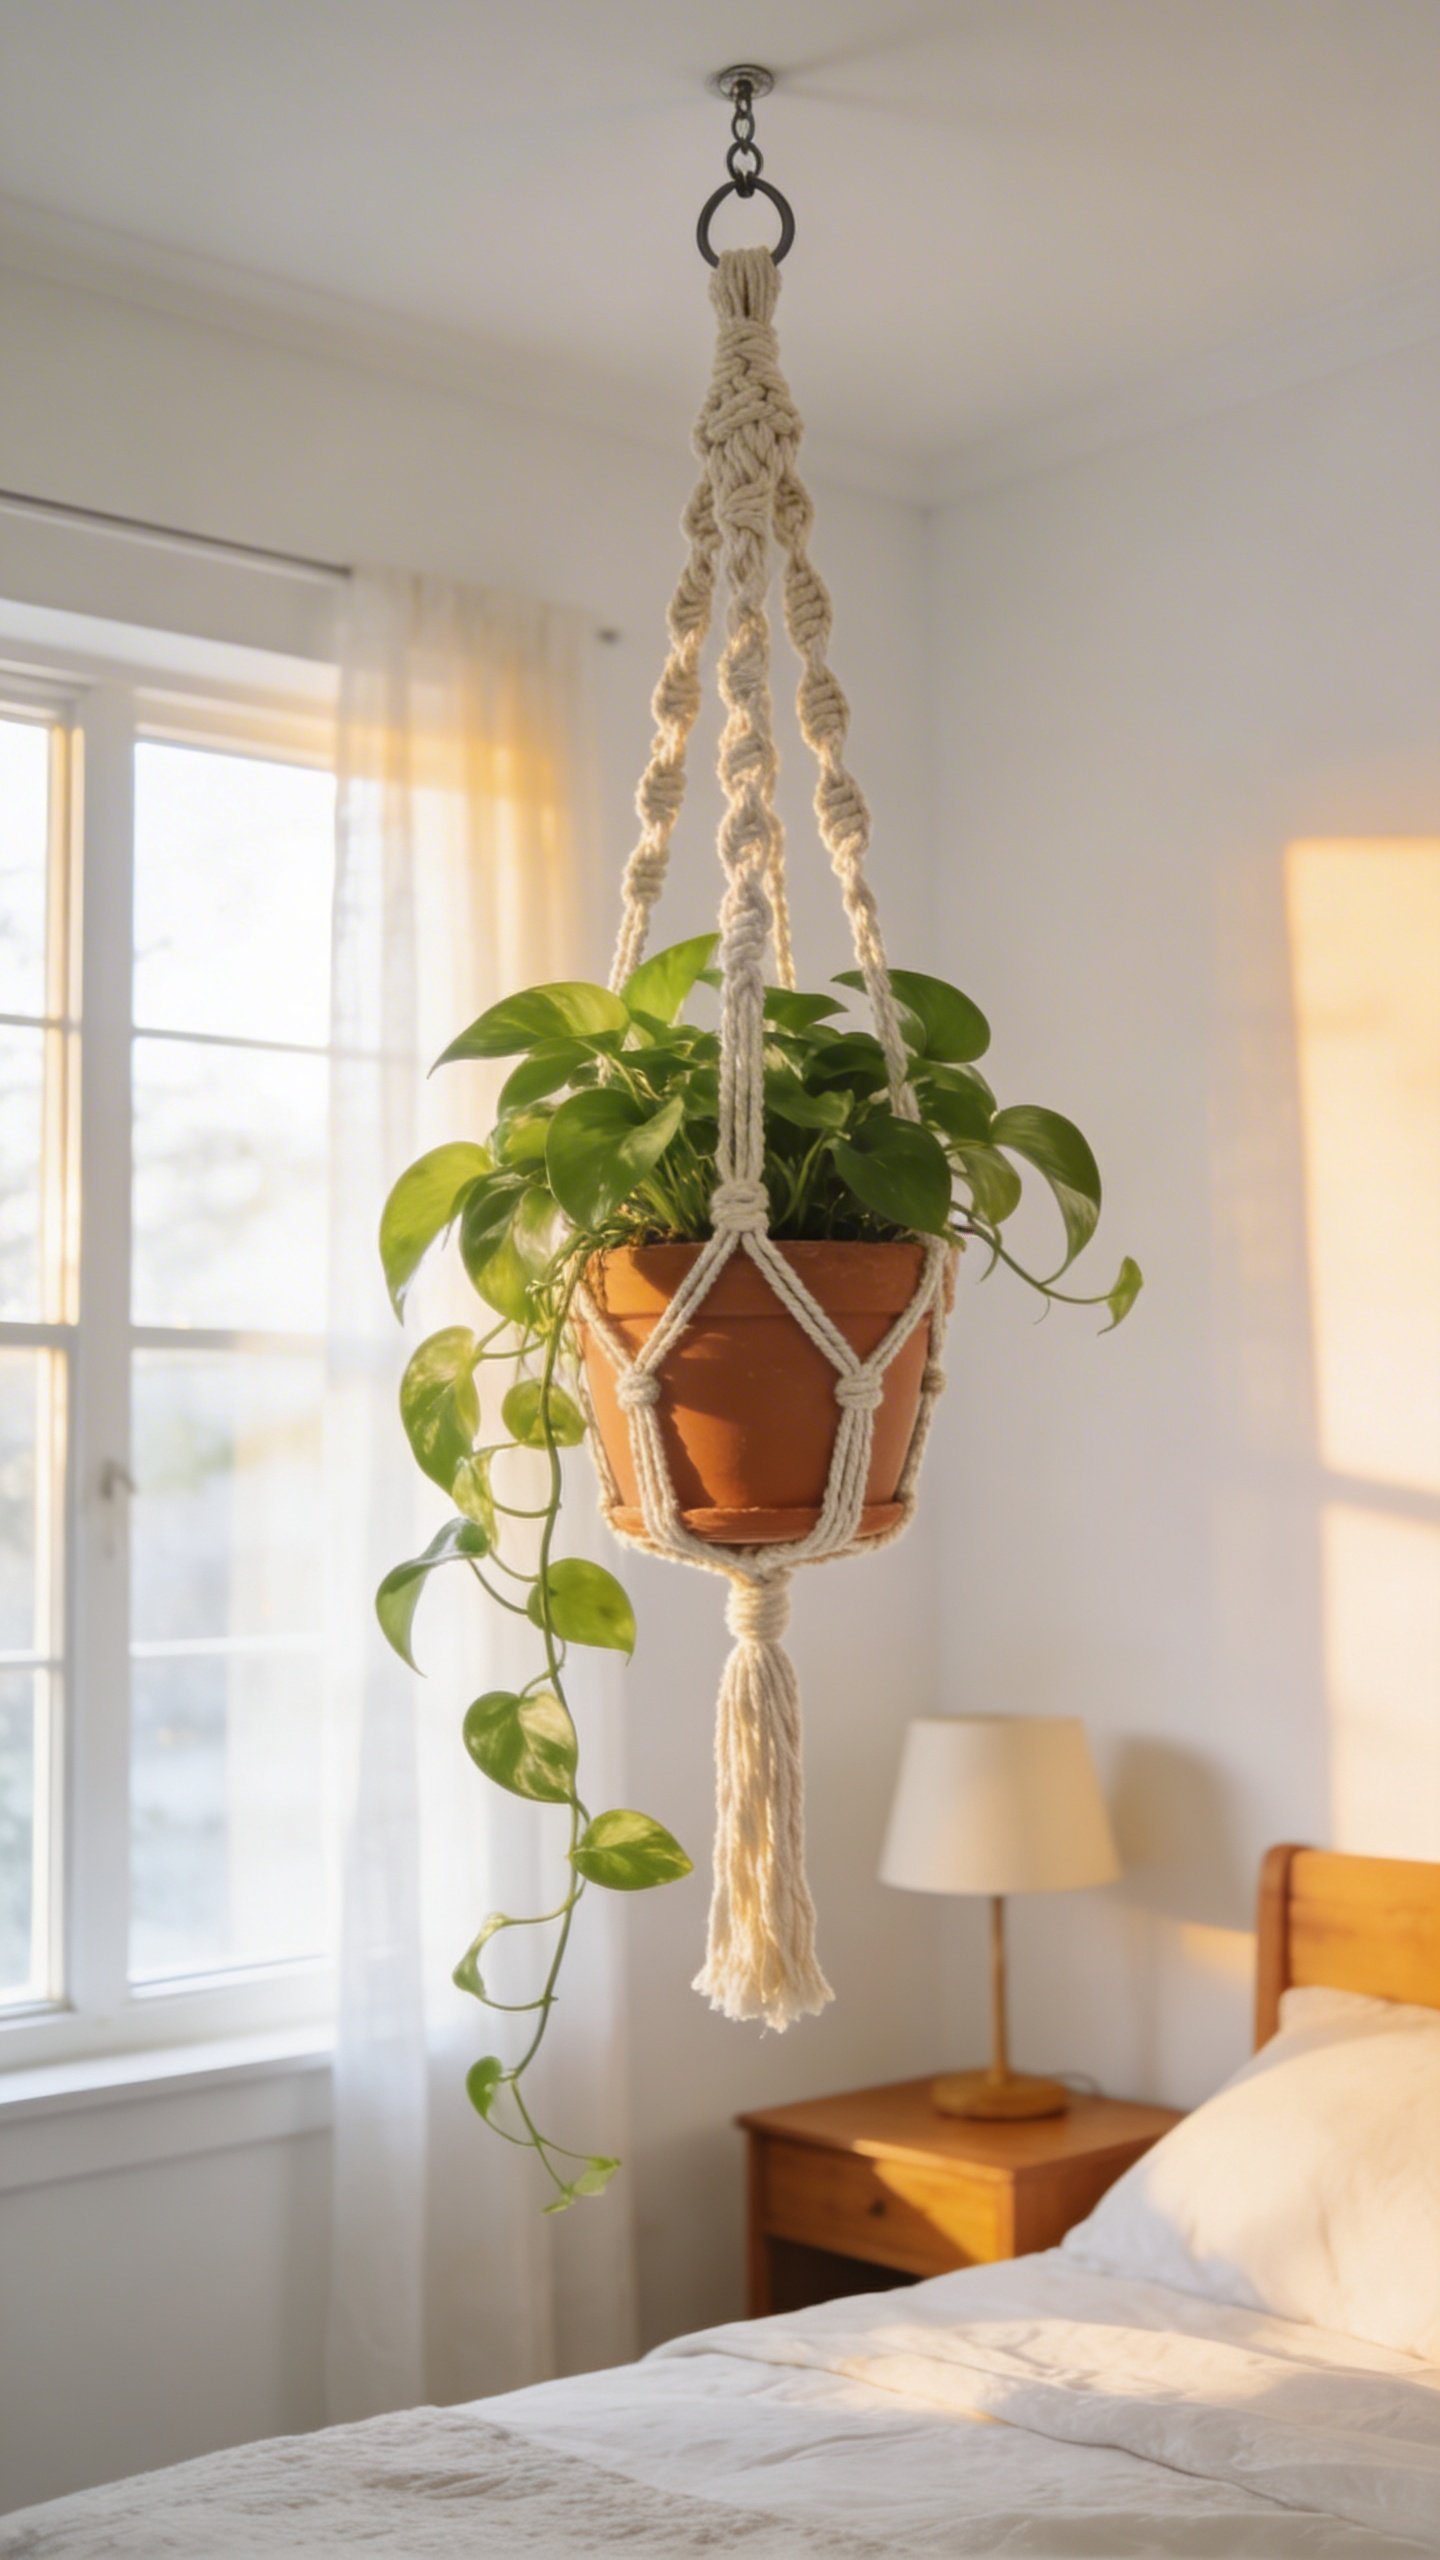
- Hanging planters or macramé plant hangers
- Drill and level (if going the permanent route)
- Fishing line or clear thread for invisible support
- Small nails or pushpins for training vines
- Measuring tape because eyeballing it rarely works out
You don’t need to break the bank here. I’ve seen gorgeous setups using thrifted planters and DIY macramé hangers made from YouTube tutorials. Sometimes the budget-friendly route looks even better than the expensive stuff.
Different Hanging Methods Explained
Now for the fun part – actually getting those vines up on your walls. You’ve got several options depending on your commitment level and whether you’re renting or own your space.
The Renter-Friendly Approach
Command hooks are your best friend here. Seriously, these things have saved countless security deposits. Get the ones rated for the weight you’re planning to hang, and actually follow the instructions about waiting before adding weight. I know it’s tempting to hang everything immediately, but patience pays off.
You can also use tension rods between walls or in window frames. Drape your vines over these, and boom – instant jungle vibes with zero wall damage. This works especially well in smaller spaces or corners.
The Permanent Installation
If you own your place and commitment doesn’t scare you, installing ceiling hooks or wall-mounted brackets gives you way more flexibility. Use a stud finder to locate solid mounting points, drill pilot holes, and secure your hooks with appropriate anchors.
Just remember: what goes up must eventually come down, and filling anchor holes later is kind of annoying. Plan your layout carefully before you start making Swiss cheese out of your ceiling.
Creating the Perfect Layout
Here’s where your inner interior designer gets to shine. The key to great-looking hanging vines is layering and varying heights. Don’t just hang everything at the same level unless you’re going for that very specific look.
Try hanging plants at different heights to create depth and visual interest. Place some near the ceiling, others at eye level, and maybe one trailing from a high shelf. This creates a more natural, jungle-like atmosphere instead of looking like a plant store display.
Consider the growth pattern of your vines too. Some plants trail straight down, while others climb and spread sideways. Pothos, for example, can grow several feet long, so give it space to show off. String of pearls tends to stay more compact and delicate.
Play around with placement before you commit. Use painter’s tape to mark potential spots and live with it for a day or two. You’ll quickly figure out what works and what blocks your path to the closet at 6 AM.
Training Your Vines to Grow Where You Want
Plants don’t automatically know you want them to cascade artfully over your headboard. You’ve got to guide them a little.
Use small adhesive hooks or clear thumbtacks to create a path for your vines to follow. Gently drape or secure the vines along this path using soft plant ties or even hairpins in a pinch. The plant will eventually follow this direction as it grows.
Fishing line works brilliantly for invisible support. String it along your wall in the pattern you want, then gently attach the vines to it. From a distance, it looks like the plants are magically defying gravity.
Don’t force vines into unnatural positions though. If you’re fighting with a plant constantly, it’s going to look stressed and you’ll get frustrated. Work with the plant’s natural growth tendency instead of against it.
Maintenance and Care Tips
Congrats, you’ve got vines hanging in your bedroom! Now you need to keep them alive, which is actually easier than you might think.
Watering hanging plants is the trickiest part. Water dripping on your floor or bed isn’t cute. Either take plants down to water them in the sink, use a watering can with a long spout to reach them, or place them on a sturdy ladder for watering day.
FYI, most hanging vines prefer to dry out between waterings. Stick your finger in the soil – if it’s dry an inch down, it’s time to water. Overwatering kills way more houseplants than underwatering.
Rotate your plants occasionally so all sides get light exposure. Otherwise, you’ll end up with lopsided growth that all reaches toward the window like a plant zombie horde.
Pruning and Propagation
Trim your vines regularly to encourage fuller growth and prevent them from getting too leggy. Those trimmings don’t have to go to waste though – most vines propagate easily in water.
Pop those cuttings in a jar of water, wait for roots to develop, and boom – free plants to hang elsewhere or gift to friends. It’s like your bedroom vines are having babies.
Troubleshooting Common Problems
Let’s talk about what to do when things go wrong, because they sometimes will.
Yellowing leaves usually mean you’re overwatering. Cut back on the H2O and let the soil dry out more between waterings. Brown, crispy leaves mean the opposite – your plant is thirsty or the air is too dry.
If your vines aren’t growing or looking sad despite your best efforts, check the light situation. Even low-light plants need some light. Move them closer to a window or add a small grow light.
Plants looking leggy with lots of space between leaves? They’re stretching for more light. Again, relocate them or supplement with artificial light.
Frequently Asked Questions
Will hanging vines damage my walls?
Not if you use the right hanging methods. Command hooks, tension rods, and proper wall anchors won’t cause damage. The actual vines themselves won’t hurt painted walls either, unlike outdoor ivy that can damage brick and siding. Just avoid letting soil and water sit against the wall, which can cause moisture damage over time.
How often should I water hanging vines?
It depends on your specific plant and environment, but most bedroom vines need watering every 1-2 weeks. The best approach is checking the soil moisture rather than following a strict schedule. Temperature, humidity, and light levels all affect how quickly soil dries out, so let the plant tell you when it’s thirsty.
Can I hang vines above my bed?
Absolutely! It looks amazing and creates a cozy canopy effect. Just make sure your hanging system is super secure – you don’t want a plant falling on your face at 3 AM. Use quality hooks rated for more weight than you need, and double-check your installation regularly.
Do bedroom vines attract bugs?
Healthy indoor plants rarely attract pests, but it can happen. Overwatering attracts fungus gnats, and dry conditions can lead to spider mites. Keep your plants healthy with proper care, and you shouldn’t have issues. If pests do appear, they’re usually easy to treat with insecticidal soap or neem oil.
How long do hanging vines take to look full and lush?
Patience, young grasshopper. Pothos and philodendron grow relatively quickly – you’ll see noticeable growth within a few months and achieve that lush look within 6-12 months with good care. Slower-growing varieties like string of pearls might take longer. You can always start with fuller, more mature plants if you don’t want to wait.
What if my bedroom doesn’t get much natural light?
No problem! Choose low-light tolerant vines like pothos, philodendron, or snake plants (which can also trail if you let them). You can also supplement with LED grow lights – they’re cheap, energy-efficient, and you can find ones that look decorative rather than industrial. IMO, a small grow light is worth it to expand your plant options.
Conclusion
Hanging vines in your bedroom isn’t complicated, and the payoff is totally worth it. You get cleaner air, better aesthetics, and that satisfying feeling of keeping something alive (which is harder than it sounds for some of us). Start with one or two easy plants like pothos, experiment with placement, and don’t stress too much about getting everything perfect right away. Your bedroom jungle will evolve over time, and honestly, that’s half the fun. Now get out there and start hanging some greenery!