
How to Decorate Kitchen Counters Without the Clutter

You know that weird limbo your kitchen counters exist in? They’re prime real estate that somehow always ends up cluttered with random mail, questionable fruit, and about seventeen coffee mugs. But here’s the thing: decorated counters can make your entire kitchen feel pulled together, while still being totally functional. Let me walk you through how to nail this balance without turning your counters into a Pinterest fail.
The Golden Rule: Less Is Actually More
Look, I get it. You see those Instagram-worthy kitchens and want to recreate the magic. But those counters you’re drooling over? They probably have three to five items max. That’s the secret.
Kitchen counters need to work for you, not against you. If you pack them with decorative stuff, you’ll have nowhere to actually cook. And then you’ll just move all that pretty stuff around every time you need to chop an onion, which defeats the entire purpose.
Start by clearing everything off your counters. Yes, everything. Now you’re working with a blank canvas, and you can be intentional about what goes back.
Pick Your Non-Negotiables First
Before you think about decor, figure out what actually needs to live on your counters. Your coffee maker? Probably earned its spot. That bread maker you used once in 2019? Not so much.
Daily-use items deserve counter space. Think coffee station essentials, your knife block, cutting boards you grab constantly, or that stand mixer if you’re a serious baker. Everything else can find a home in your cabinets.
The trick is making these functional items look intentional. Group your coffee maker with a cute canister of beans and some mugs on a tray. Suddenly it’s not just appliances—it’s a coffee station. See the difference?
Create Zones (Without Making It Weird)
Your counters tell a story about how you use your kitchen. Creating distinct zones helps everything make sense visually and functionally.
The Cooking Zone
Near your stove, keep things minimal. Maybe a pretty olive oil dispenser, a utensil crock with your most-used tools, and a salt cellar. That’s it. You need workspace here, so don’t get carried away.
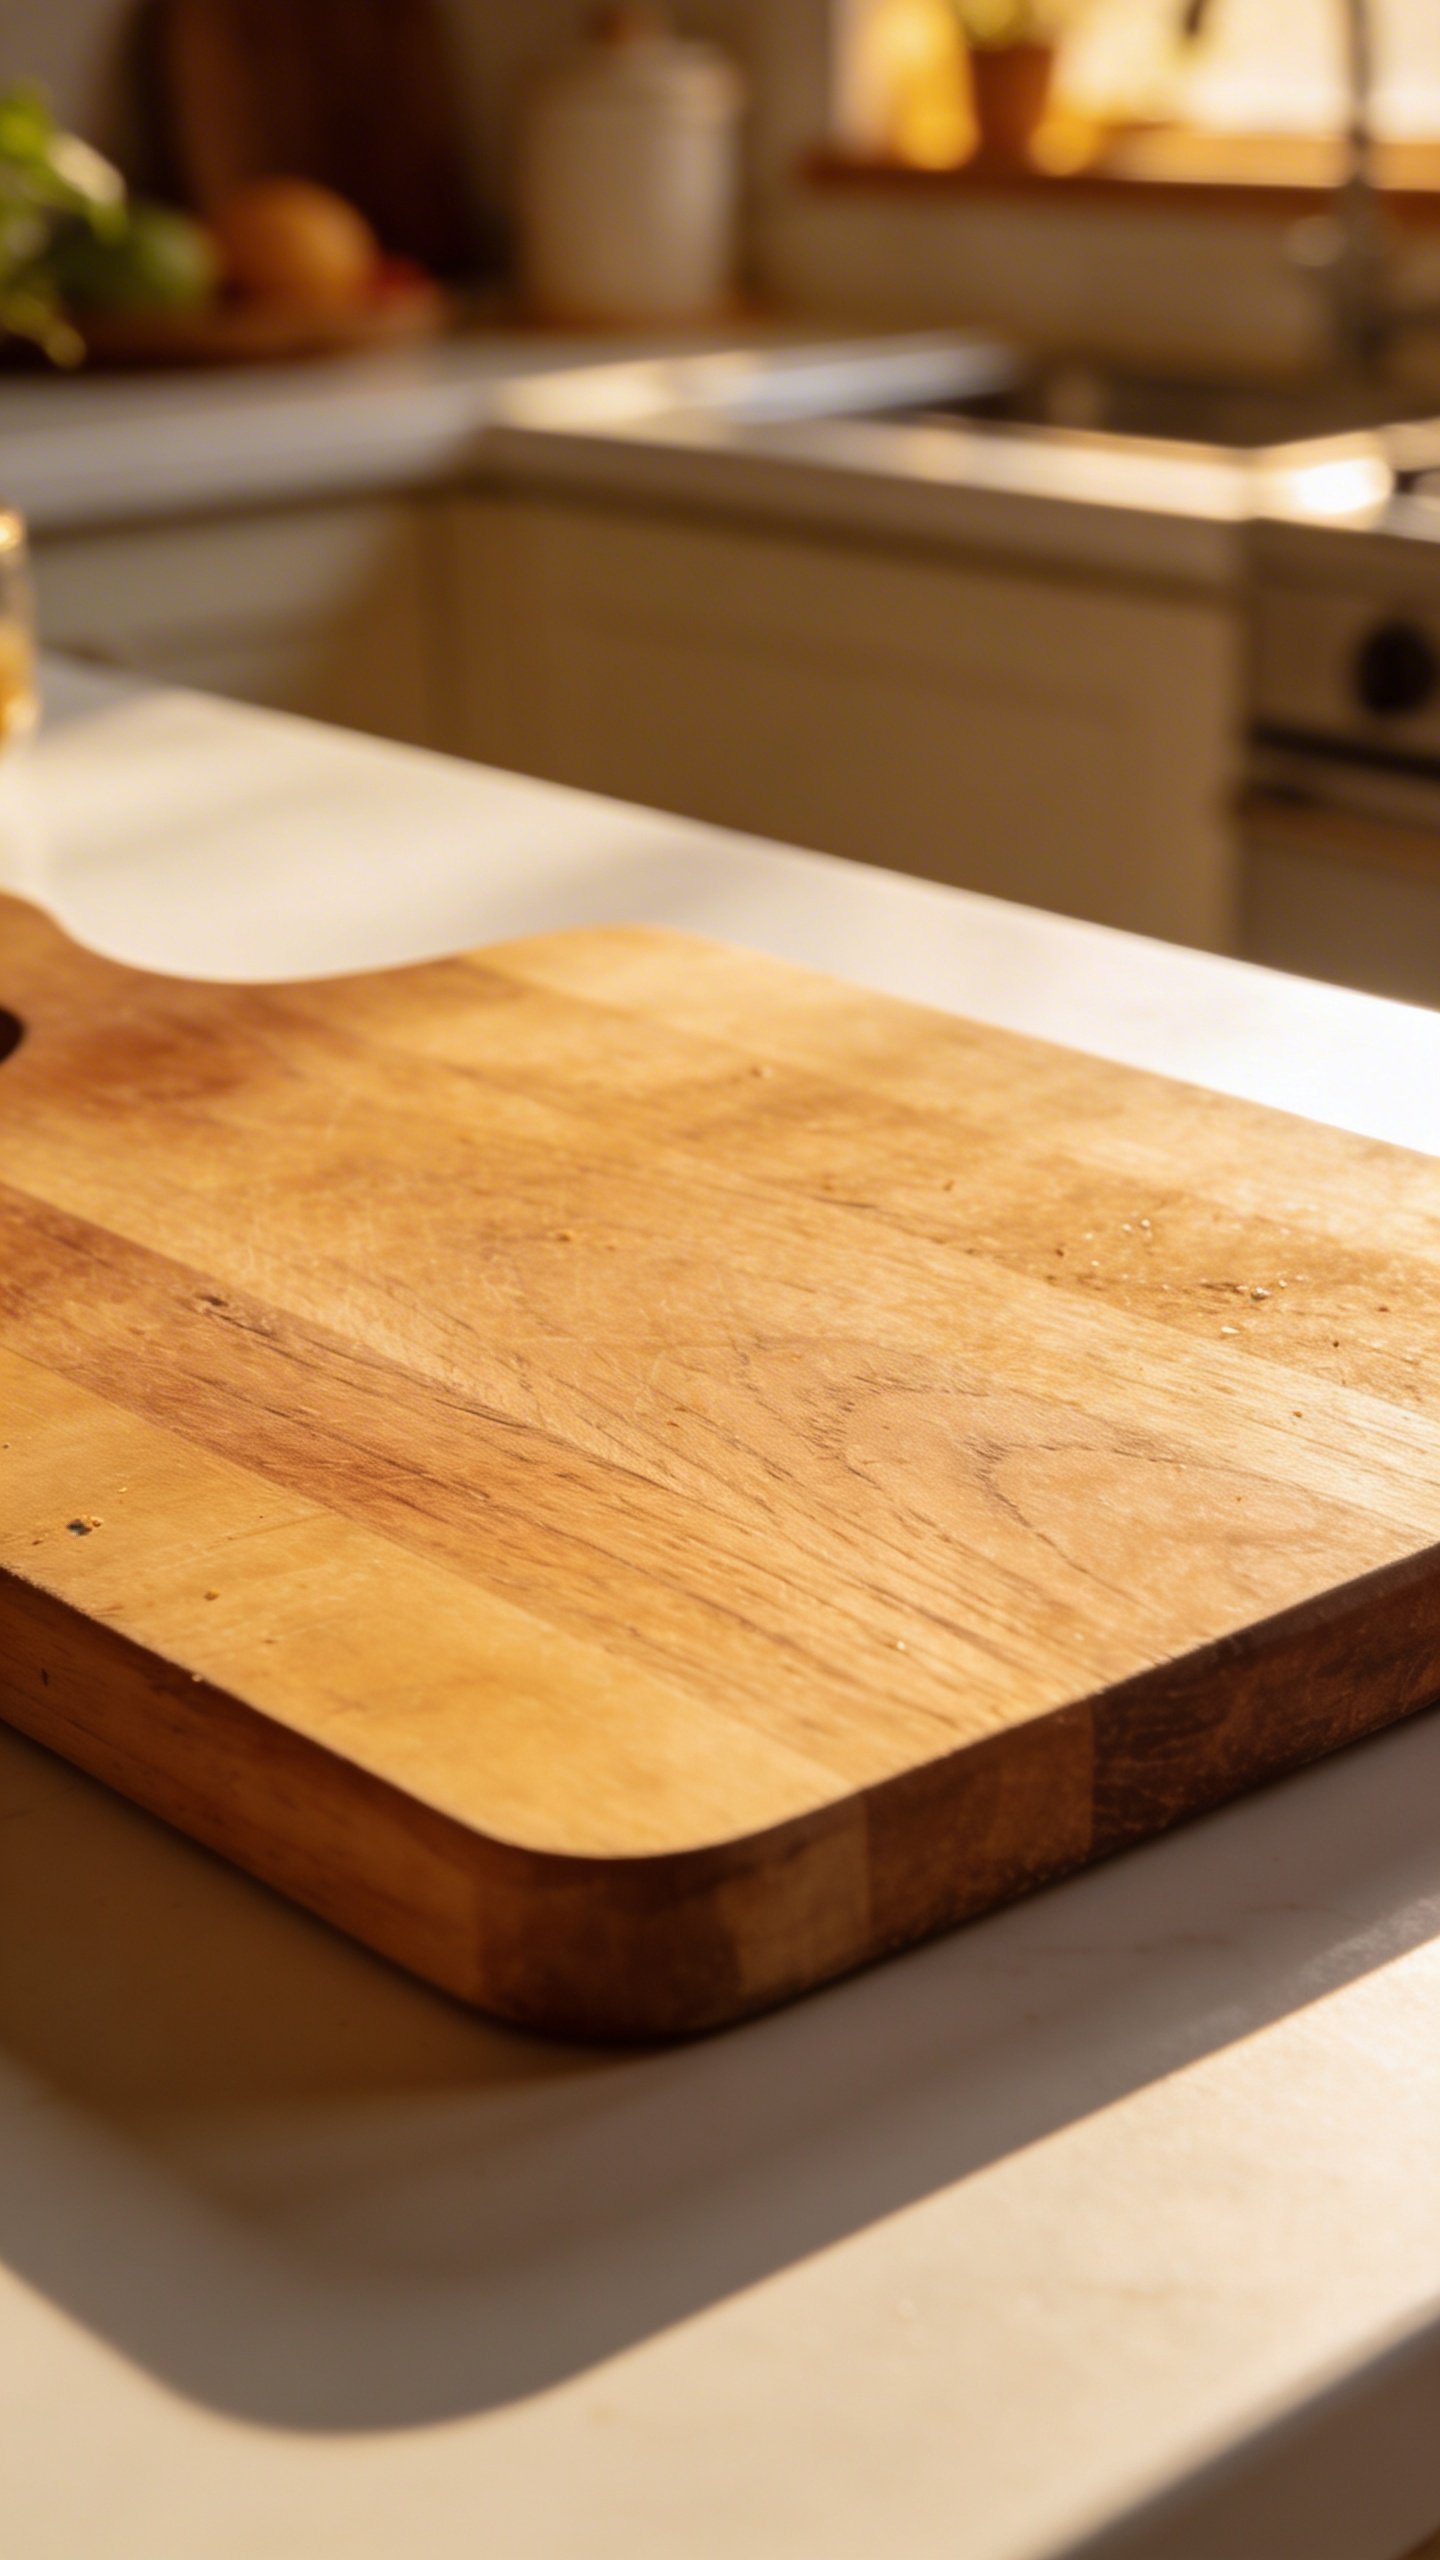
The Prep Zone
This is usually your biggest stretch of counter. A wooden cutting board leaning against the backsplash, a bowl of fresh fruit or vegetables, and maybe a pretty cookbook on a stand. Done. This area needs to stay functional above all else.
The Coffee/Beverage Zone
If you’re a coffee person, embrace it. Corral all your coffee gear on a tray or designate a corner. Add a small plant or a vintage canister for visual interest. FYI, this same approach works for tea stations or even a little bar setup.
The Power of the Tray
Trays are the unsung heroes of counter styling. They instantly make random items look curated and intentional. Plus, when you need to clear space fast, you just pick up the whole tray and move it.
Use a marble tray, wooden cutting board, or metal tray to group items. Put your hand soap, dish soap, and a small plant on one. Suddenly your sink area looks like you tried, even though it took thirty seconds.
Trays also create visual boundaries. Your eye sees the grouped items as one unit instead of three separate things cluttering your counter. It’s basically a cheat code for looking organized.
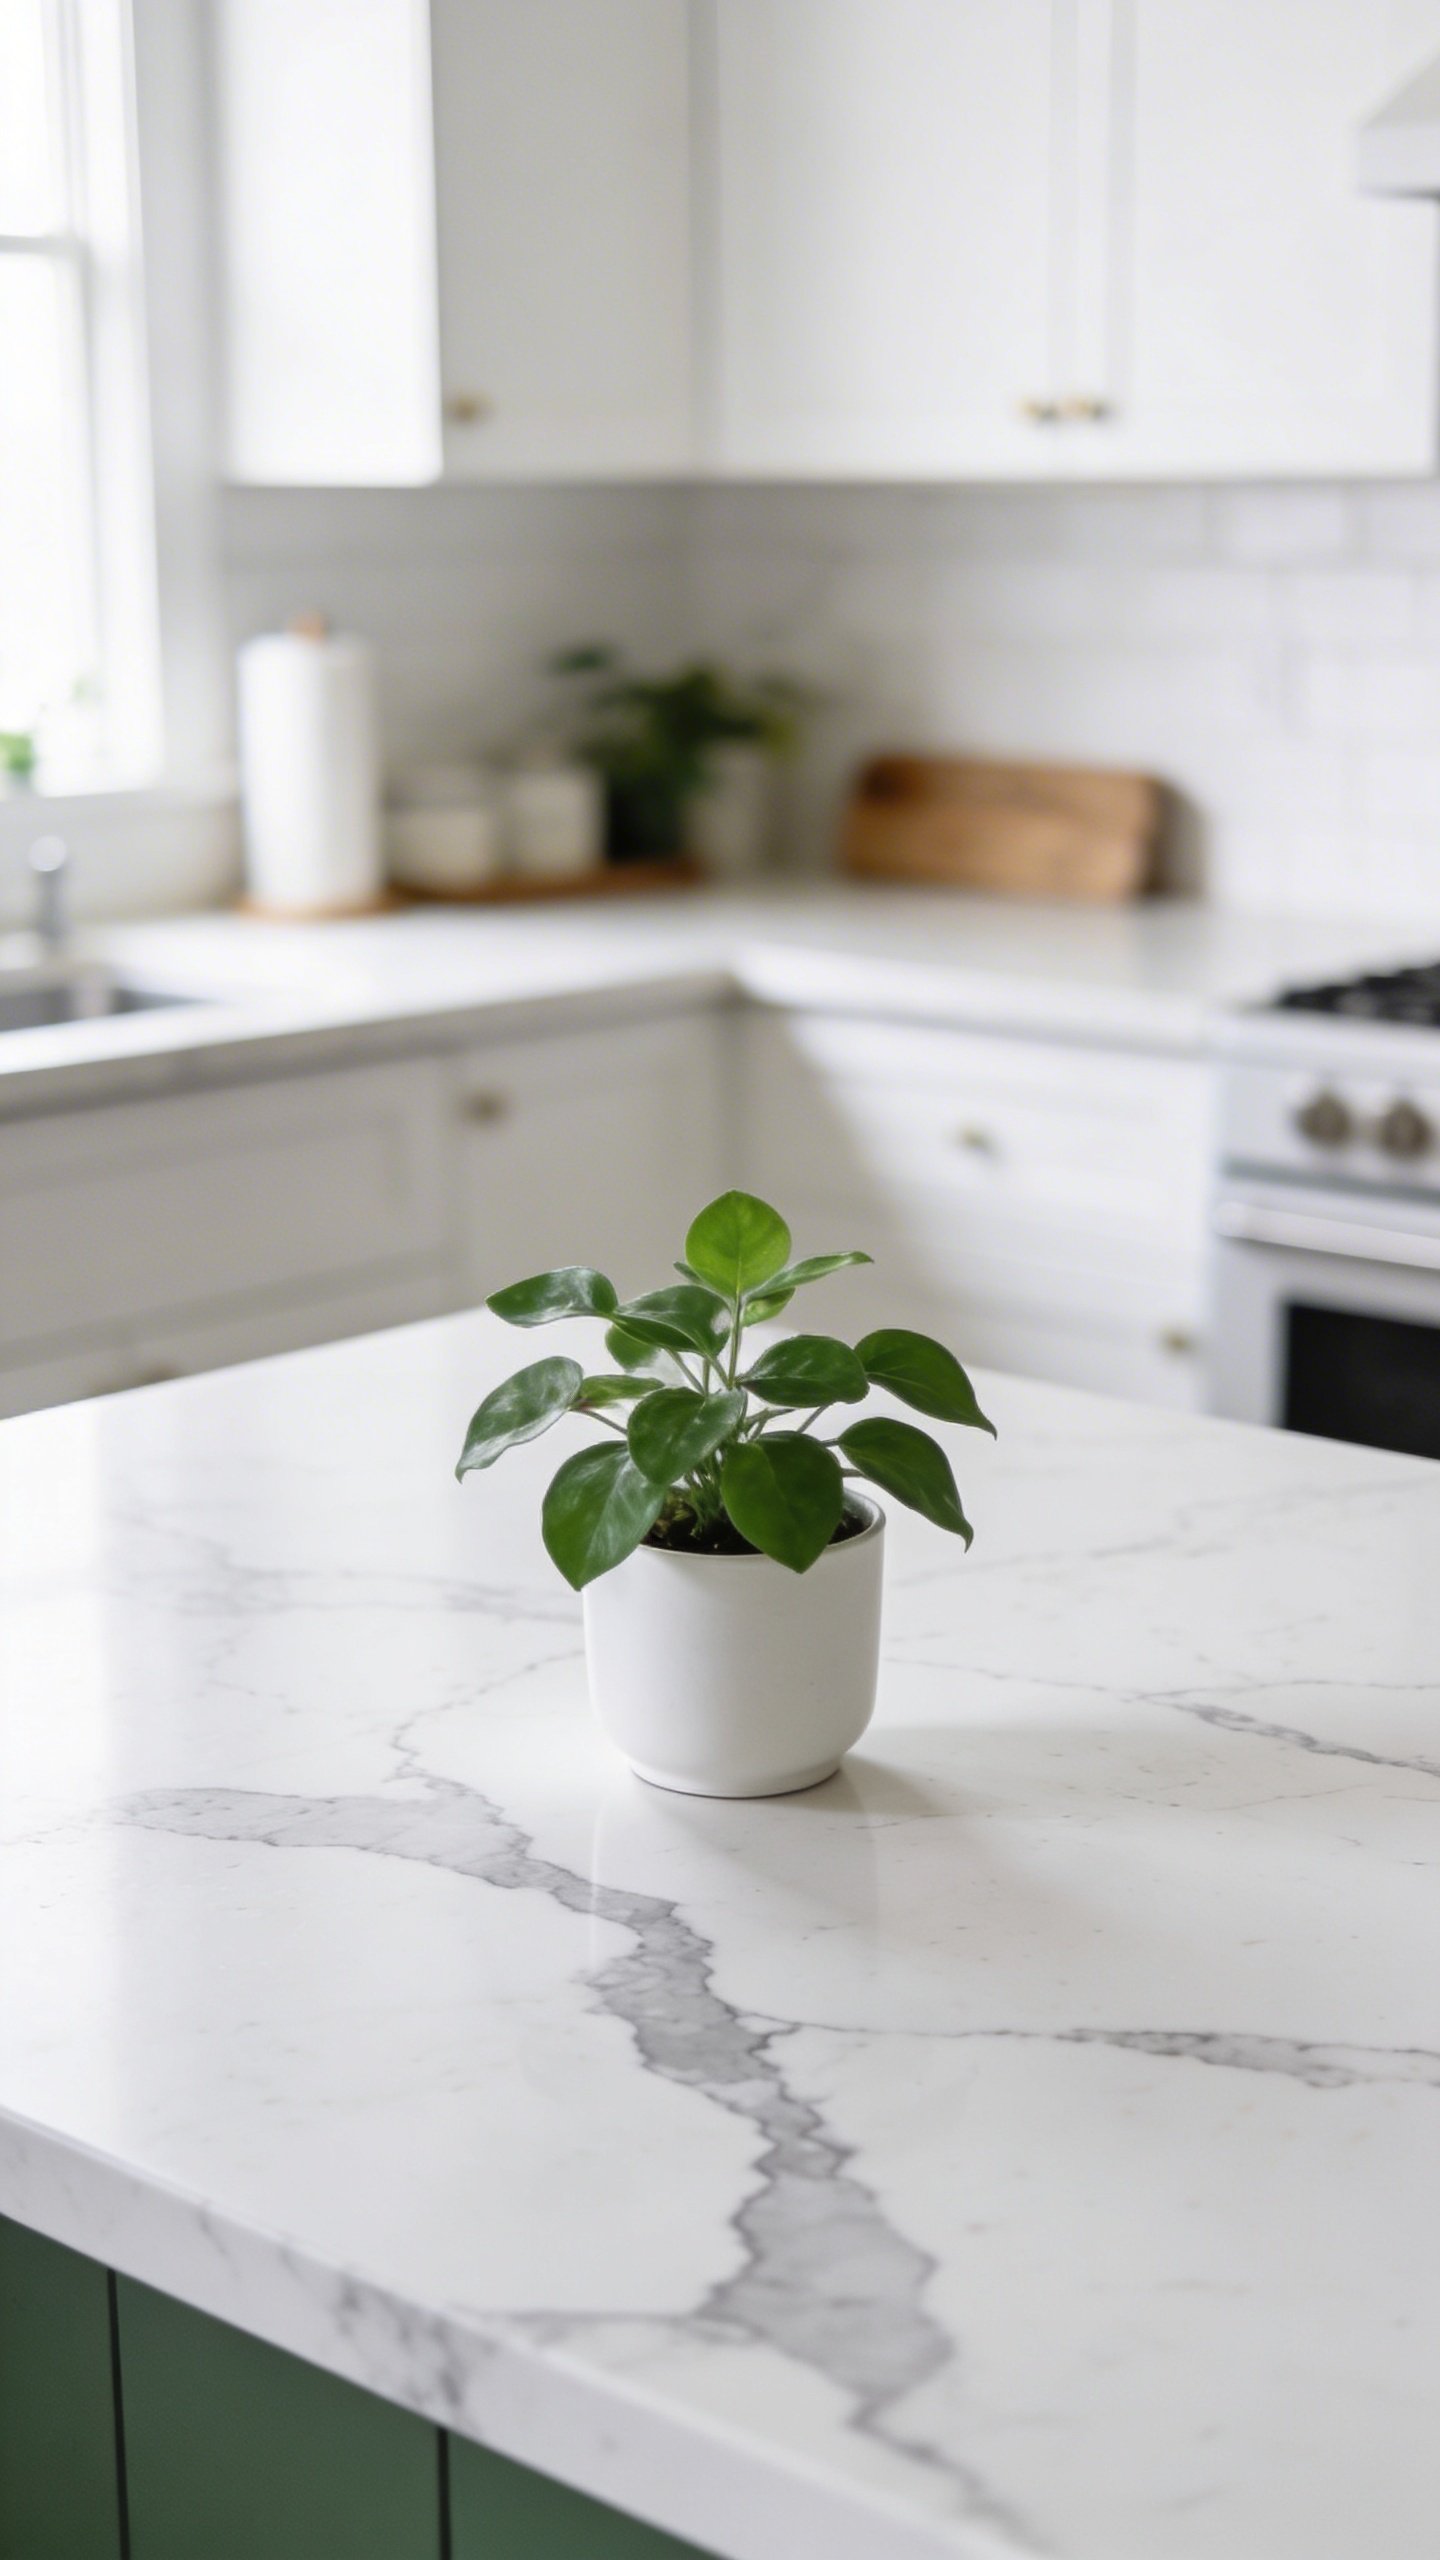
Add Life (Literally)
Nothing makes a kitchen feel more alive than actual living things. A small potted herb garden near your prep area looks great and you can snip fresh herbs while cooking. Win-win.
If you’re worried about keeping plants alive (same), try these low-maintenance options:
- Pothos (basically indestructible)
- Snake plants (thrives on neglect)
- Herbs like rosemary, basil, or mint
- A simple vase with fresh flowers (swap weekly)
Even fake plants can work if you buy decent quality ones. Just dust them occasionally so they don’t look sad and neglected.
Texture and Height Make It Interesting

Flat surfaces with all flat items look boring. You need to play with height and texture to create visual interest.
Stack a few beautiful cookbooks. Lean a wooden cutting board vertically. Use a tall vase or bottle. Mix smooth ceramic with rough wood and shiny metal. Your eye should move around the space instead of glazing over.
Think about it like this: if everything on your counter is the same height, it looks like a police lineup. Not cute. Vary those heights and you’ve got something worth looking at.
The Rule of Threes
Designers love grouping items in odd numbers, especially three. It’s more visually pleasing than even numbers. Try grouping three canisters together, or a cutting board, plant, and small bowl.
This isn’t a hard rule—break it if you want—but it’s a helpful guideline when you’re not sure if something looks right.
What About Corners?
Counter corners are awkward, right? They’re too far back to be super functional, but leaving them empty looks weird.
This is where you can put slightly taller decorative items. A pretty stand mixer in a fun color, a large cutting board collection in a holder, or a substantial plant. These spots can handle bigger statement pieces since you’re not constantly working there.
Just make sure whatever you put in corners doesn’t feel abandoned. It should still relate to the rest of your counter styling.
Backsplash Real Estate Counts Too
Don’t forget about the vertical space. Your backsplash is basically bonus decorating territory.
Hang a few hooks for mugs or utensils. Add a small floating shelf for oils and spices. Lean art or a small mirror against the wall. This pulls the eye up and makes your kitchen feel more designed without sacrificing actual counter space.
IMO, backsplash styling is underrated. It adds personality without the clutter, which is exactly what we’re going for here.
Frequently Asked Questions
How do I keep my counters from looking cluttered?
The key is editing ruthlessly. If something doesn’t get used at least weekly or doesn’t make you happy to look at, it doesn’t belong on your counter. Store seasonal items and rotate them out. Also, establish a “no dumping zone” policy for mail and keys—give those items a different home entirely.
Should I match all my counter accessories?
Nope, and honestly, matching everything looks kind of sterile. Instead, pick a cohesive color palette (like whites, woods, and blacks, or warm earth tones) and let your items vary within that scheme. Mix materials and styles for a collected, lived-in look that’s way more interesting.
What’s the best way to style around appliances?
Accept that appliances are part of your decor and work with them. Choose appliances in finishes that complement your kitchen (stainless, white, black, or fun colors). Then style around them using trays, small plants, or coordinating canisters. The appliance becomes part of a vignette instead of an eyesore.
How often should I change my counter decor?
There’s no rule here. Some people swap things seasonally, others find a setup they love and stick with it for years. The beauty of keeping it simple is that you can easily swap a plant, change out a canister, or add seasonal fruit without a major overhaul. Do what makes you happy.
Can I put decorative items near the stove?
Keep flammable or meltable items away from direct heat. But a few inches away? Sure. Just be smart about it. Metal, ceramic, and stone are safer choices than wood or plastic near cooking zones.
What if I have very little counter space?
Prioritize function first, then add one or two pretty elements. A single plant, a nice soap dispenser, or one beautiful canister might be all you need. Small kitchens actually benefit from restraint—too much stuff will make the space feel even more cramped.
Wrapping It Up
Decorating your kitchen counters isn’t about creating a magazine spread that nobody can touch. It’s about finding that sweet spot where your kitchen looks intentional and inviting while still being a place where you actually cook.
Start simple, edit constantly, and remember that your counters should work for your life. The best-decorated kitchen is one you actually want to spend time in—not one that stresses you out every time you need to make dinner. Keep it functional, keep it pretty, and don’t overthink it. You’ve got this.