
How to Decorate a Bedroom with Paper on a Budget
You know what’s amazing? Paper. That humble, throwaway material you’ve been recycling without a second thought could completely transform your boring bedroom into something special. It’s cheap, versatile, and honestly way more stylish than people give it credit for. Let’s dive into how you can turn your sleep space into a paper paradise without breaking the bank.
Why Paper is Actually Genius for Bedroom Decor
Before you roll your eyes at decorating with paper, hear me out. This isn’t some kindergarten craft project situation. Paper is literally one of the most underrated decorating materials out there, and here’s why you should care.
First off, it costs basically nothing. While other people are dropping hundreds on mass-produced wall art, you can create something completely unique for the price of a fancy coffee. Plus, paper comes in endless colors, patterns, and textures. We’re talking origami paper, scrapbook sheets, wrapping paper, old book pages, sheet music, maps – the list goes on forever.
The best part? You can change it up whenever you want. Tired of your vibe? Rip it down and start fresh. No landlord negotiations, no spackle, no commitment issues. Just pure, simple creativity that adapts to your mood.
Creating Stunning Wall Art with Paper
Let’s start with the obvious: your walls. Those blank canvases are practically begging for some paper love.
Paper Wall Murals and Collages
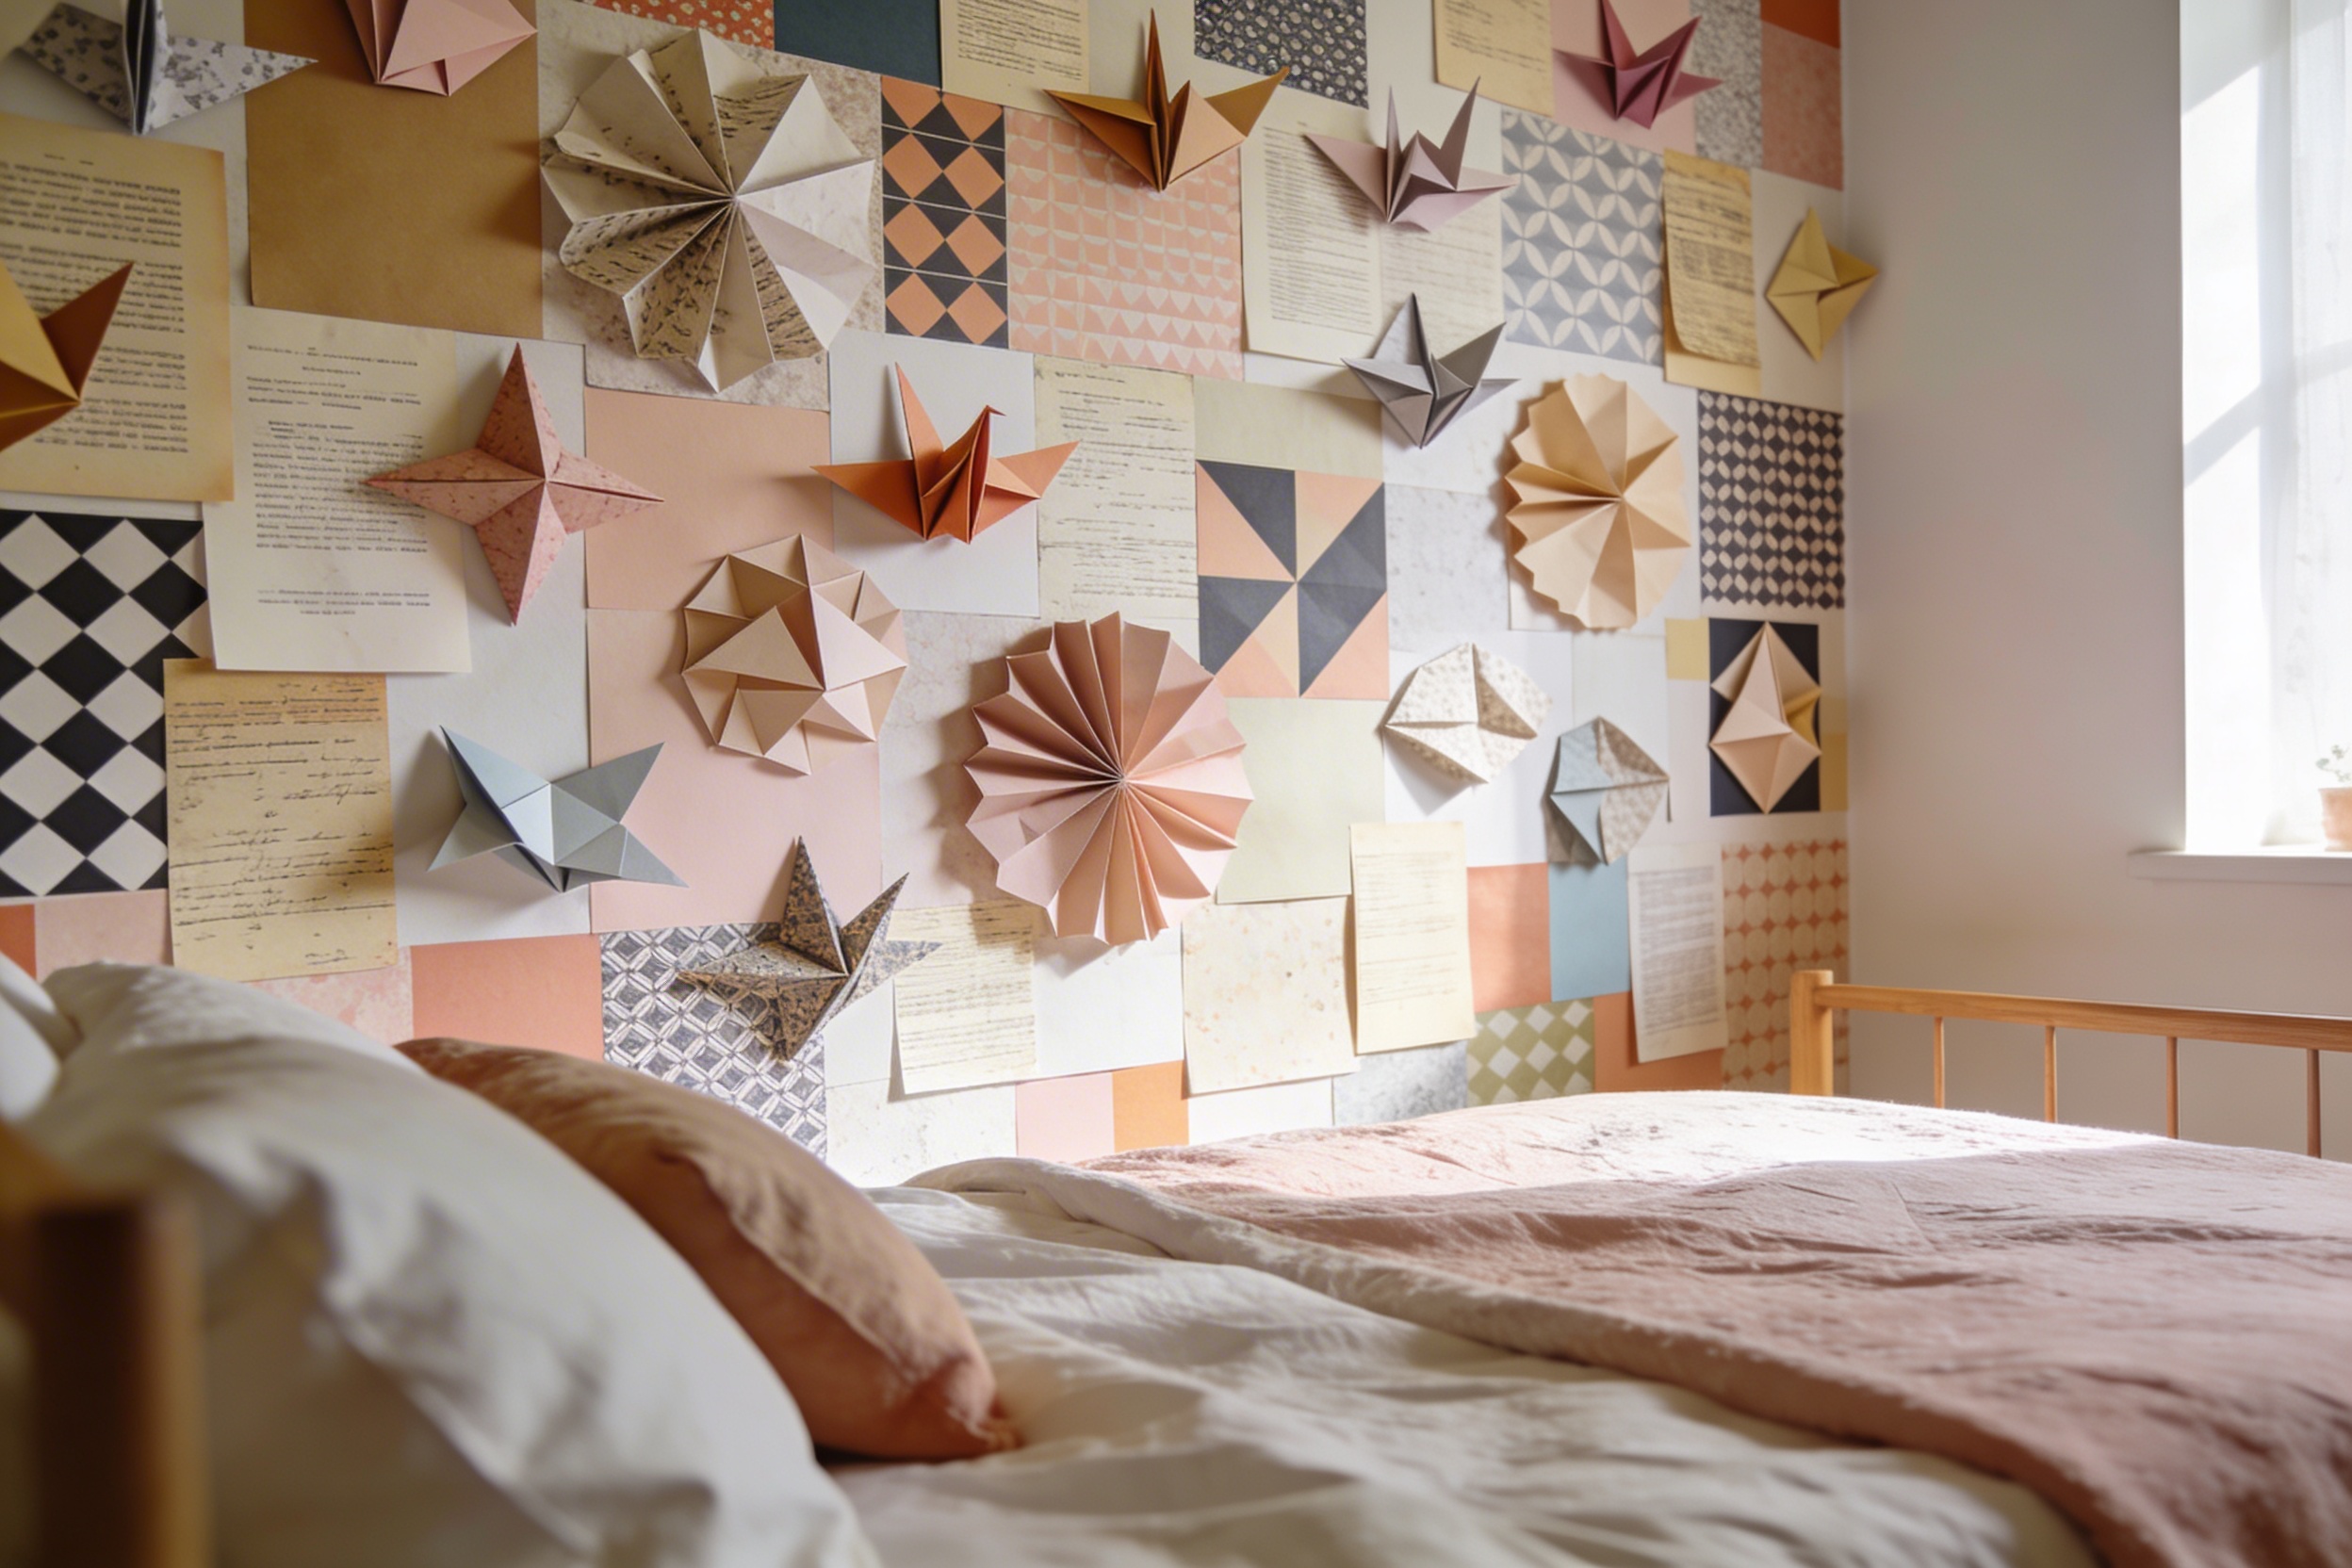
Grab different patterned papers and create a massive collage mural above your bed. You can go abstract, geometric, or even recreate a sunset using torn strips of colored paper. The key is to layer different textures and patterns to create depth. Mix glossy magazine pages with matte cardstock, throw in some tissue paper for transparency, and watch magic happen.
One trick I love? Use a color scheme that matches your bedding. Pick three to five coordinating colors and stick with them. This keeps your collage from looking like a toddler’s art project and more like an intentional design choice.
3D Paper Wall Sculptures
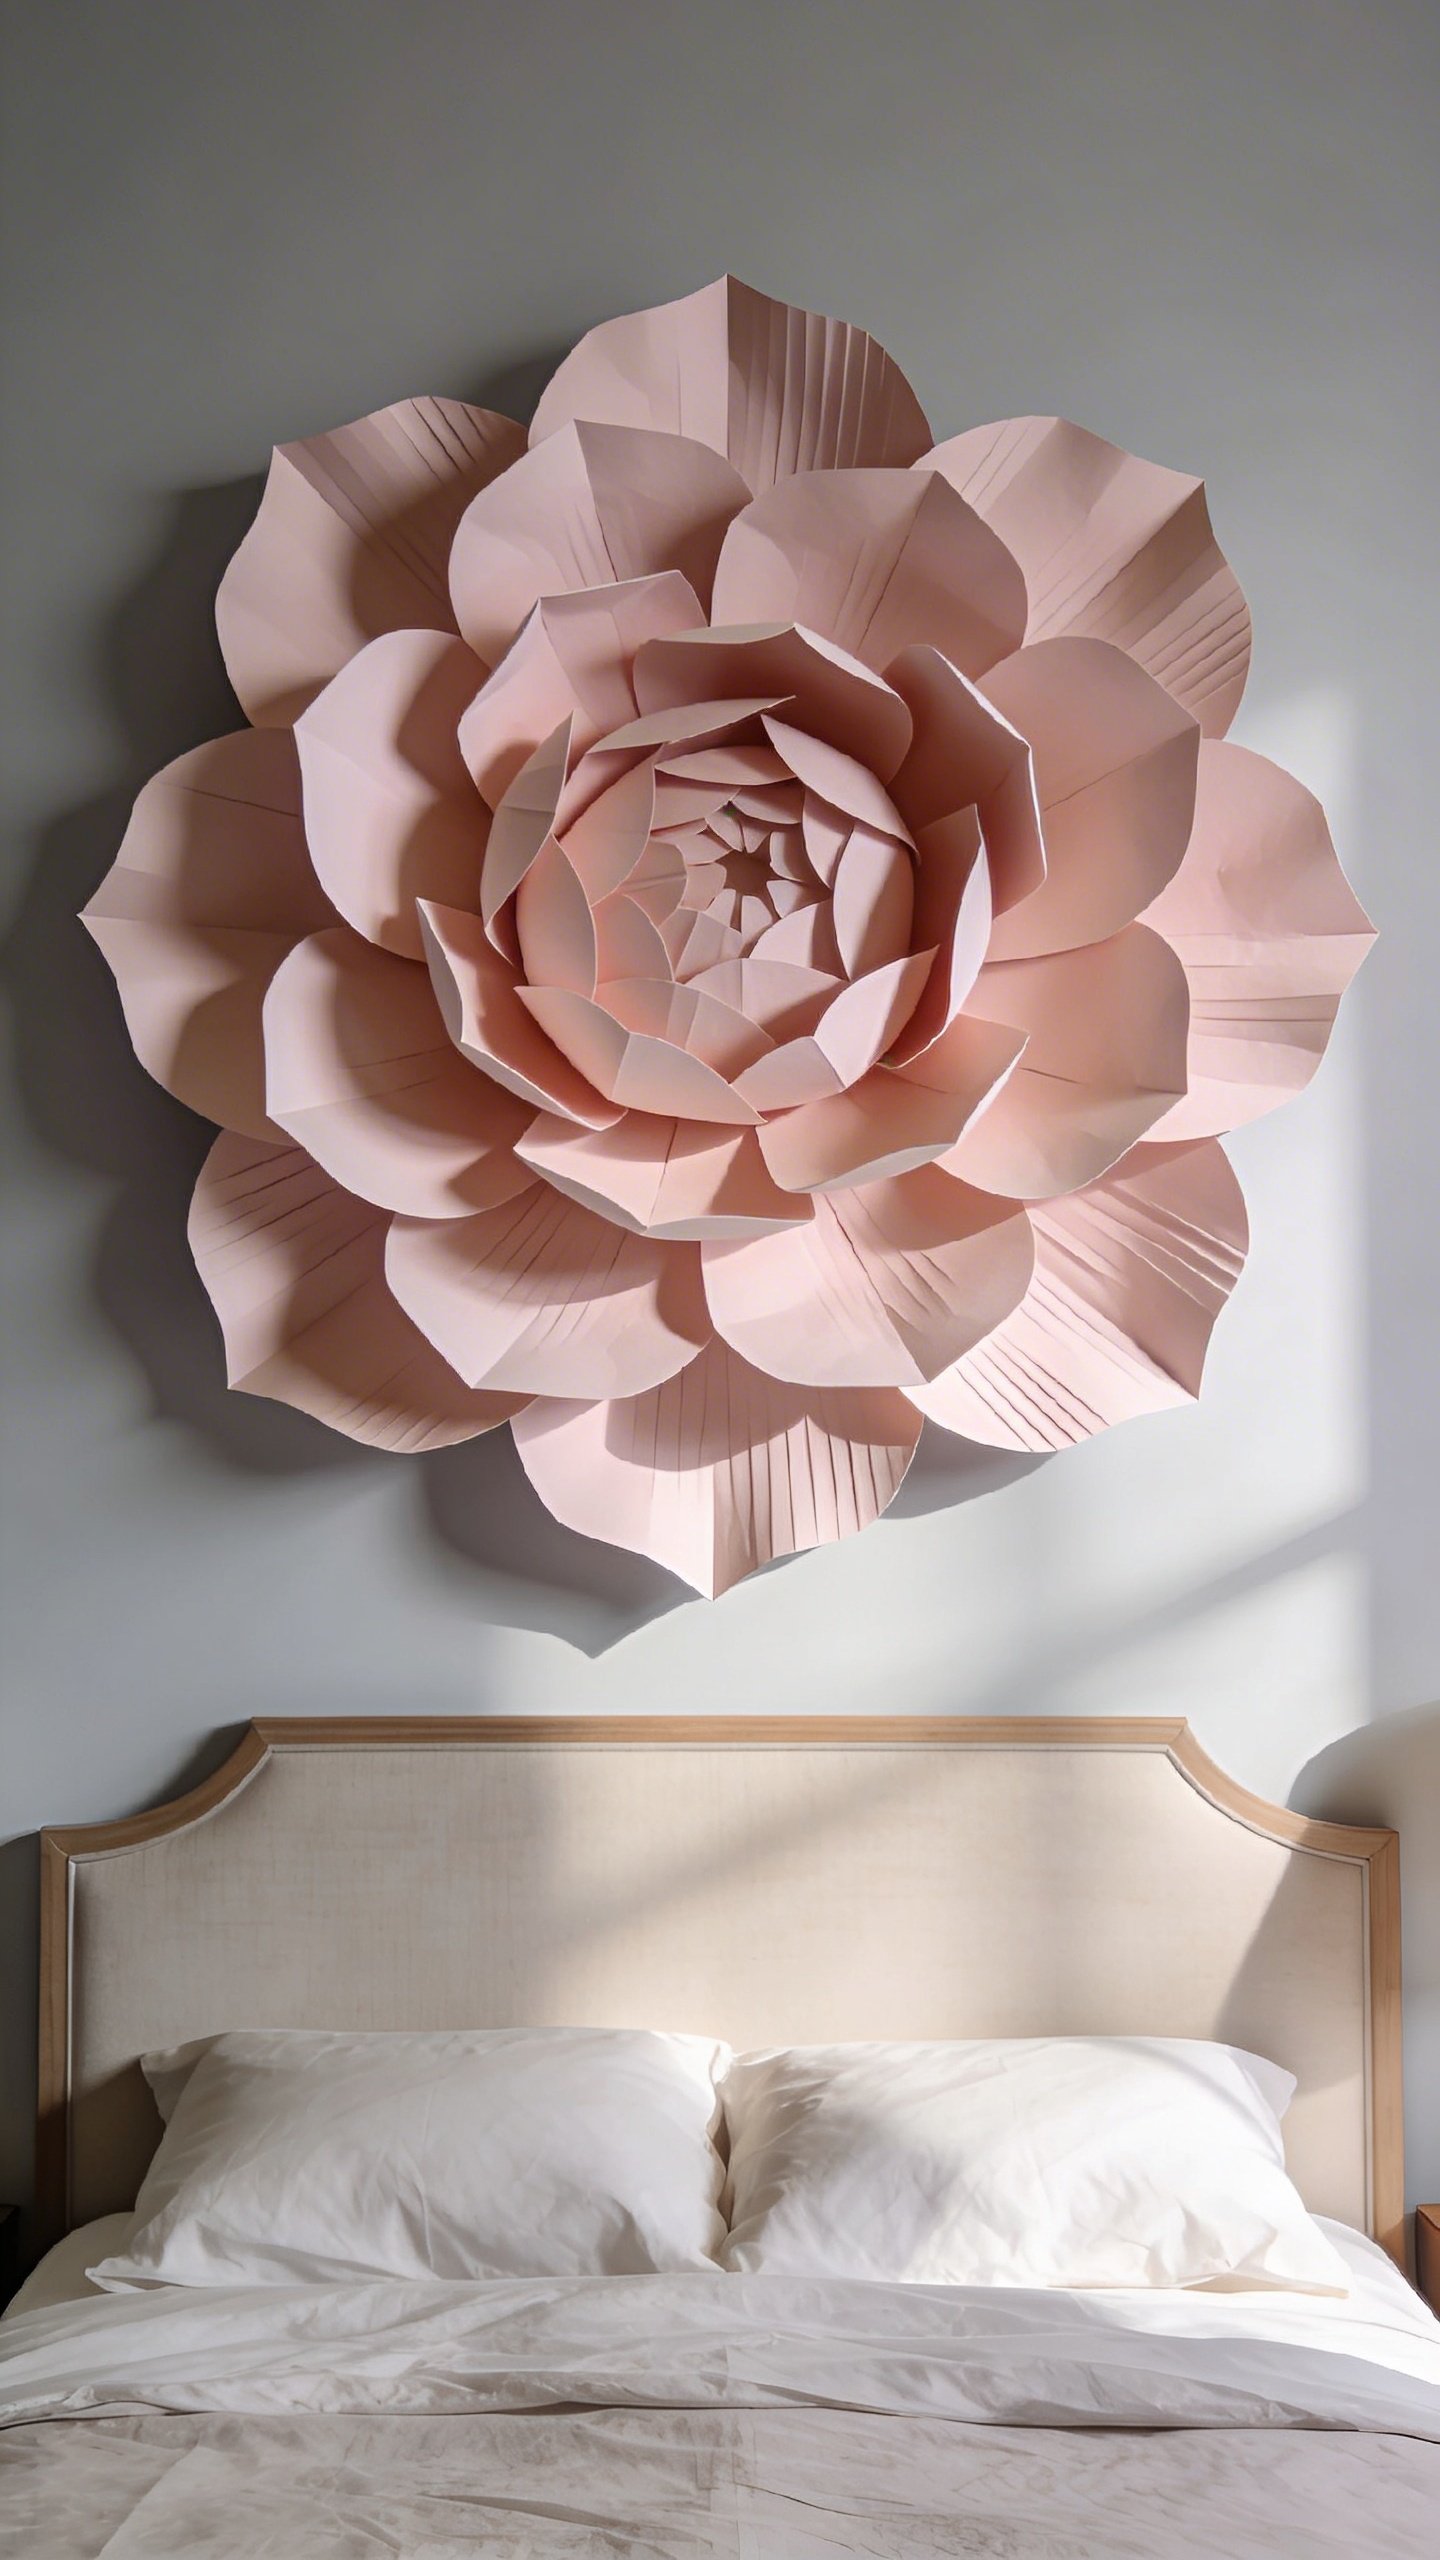
Want to get fancy? Create three-dimensional wall sculptures using folded paper. Paper flowers, geometric shapes, or even butterflies can add serious dimension to flat walls. You can arrange them in an ombre pattern from floor to ceiling or cluster them in one corner for a dramatic focal point.
The cool thing about 3D elements is they cast shadows that change throughout the day as the light shifts. It’s like getting multiple art pieces for the effort of one.
DIY Paper Lighting That Actually Looks Good
Paper lanterns aren’t new, but let’s take them beyond the basic sphere hanging from your ceiling like it’s a college dorm.
Cover cheap lampshades with decorative paper – origami paper works beautifully here. You can also create custom pendant lights by folding paper into geometric shapes. Just make sure you’re using LED bulbs that don’t generate heat, unless you’re going for that “explaining to your landlord why there’s a scorch mark” vibe.
Paper luminaries on your nightstand create the coziest ambiance. Cut designs into cardstock cylinders, pop a battery-operated tea light inside, and boom – instant mood lighting. Way better than those harsh overhead lights that make you feel like you’re in an interrogation room.
Headboard Magic Without the Carpentry Skills
Who says you need woodworking skills to have a headboard? Not me, that’s for sure.
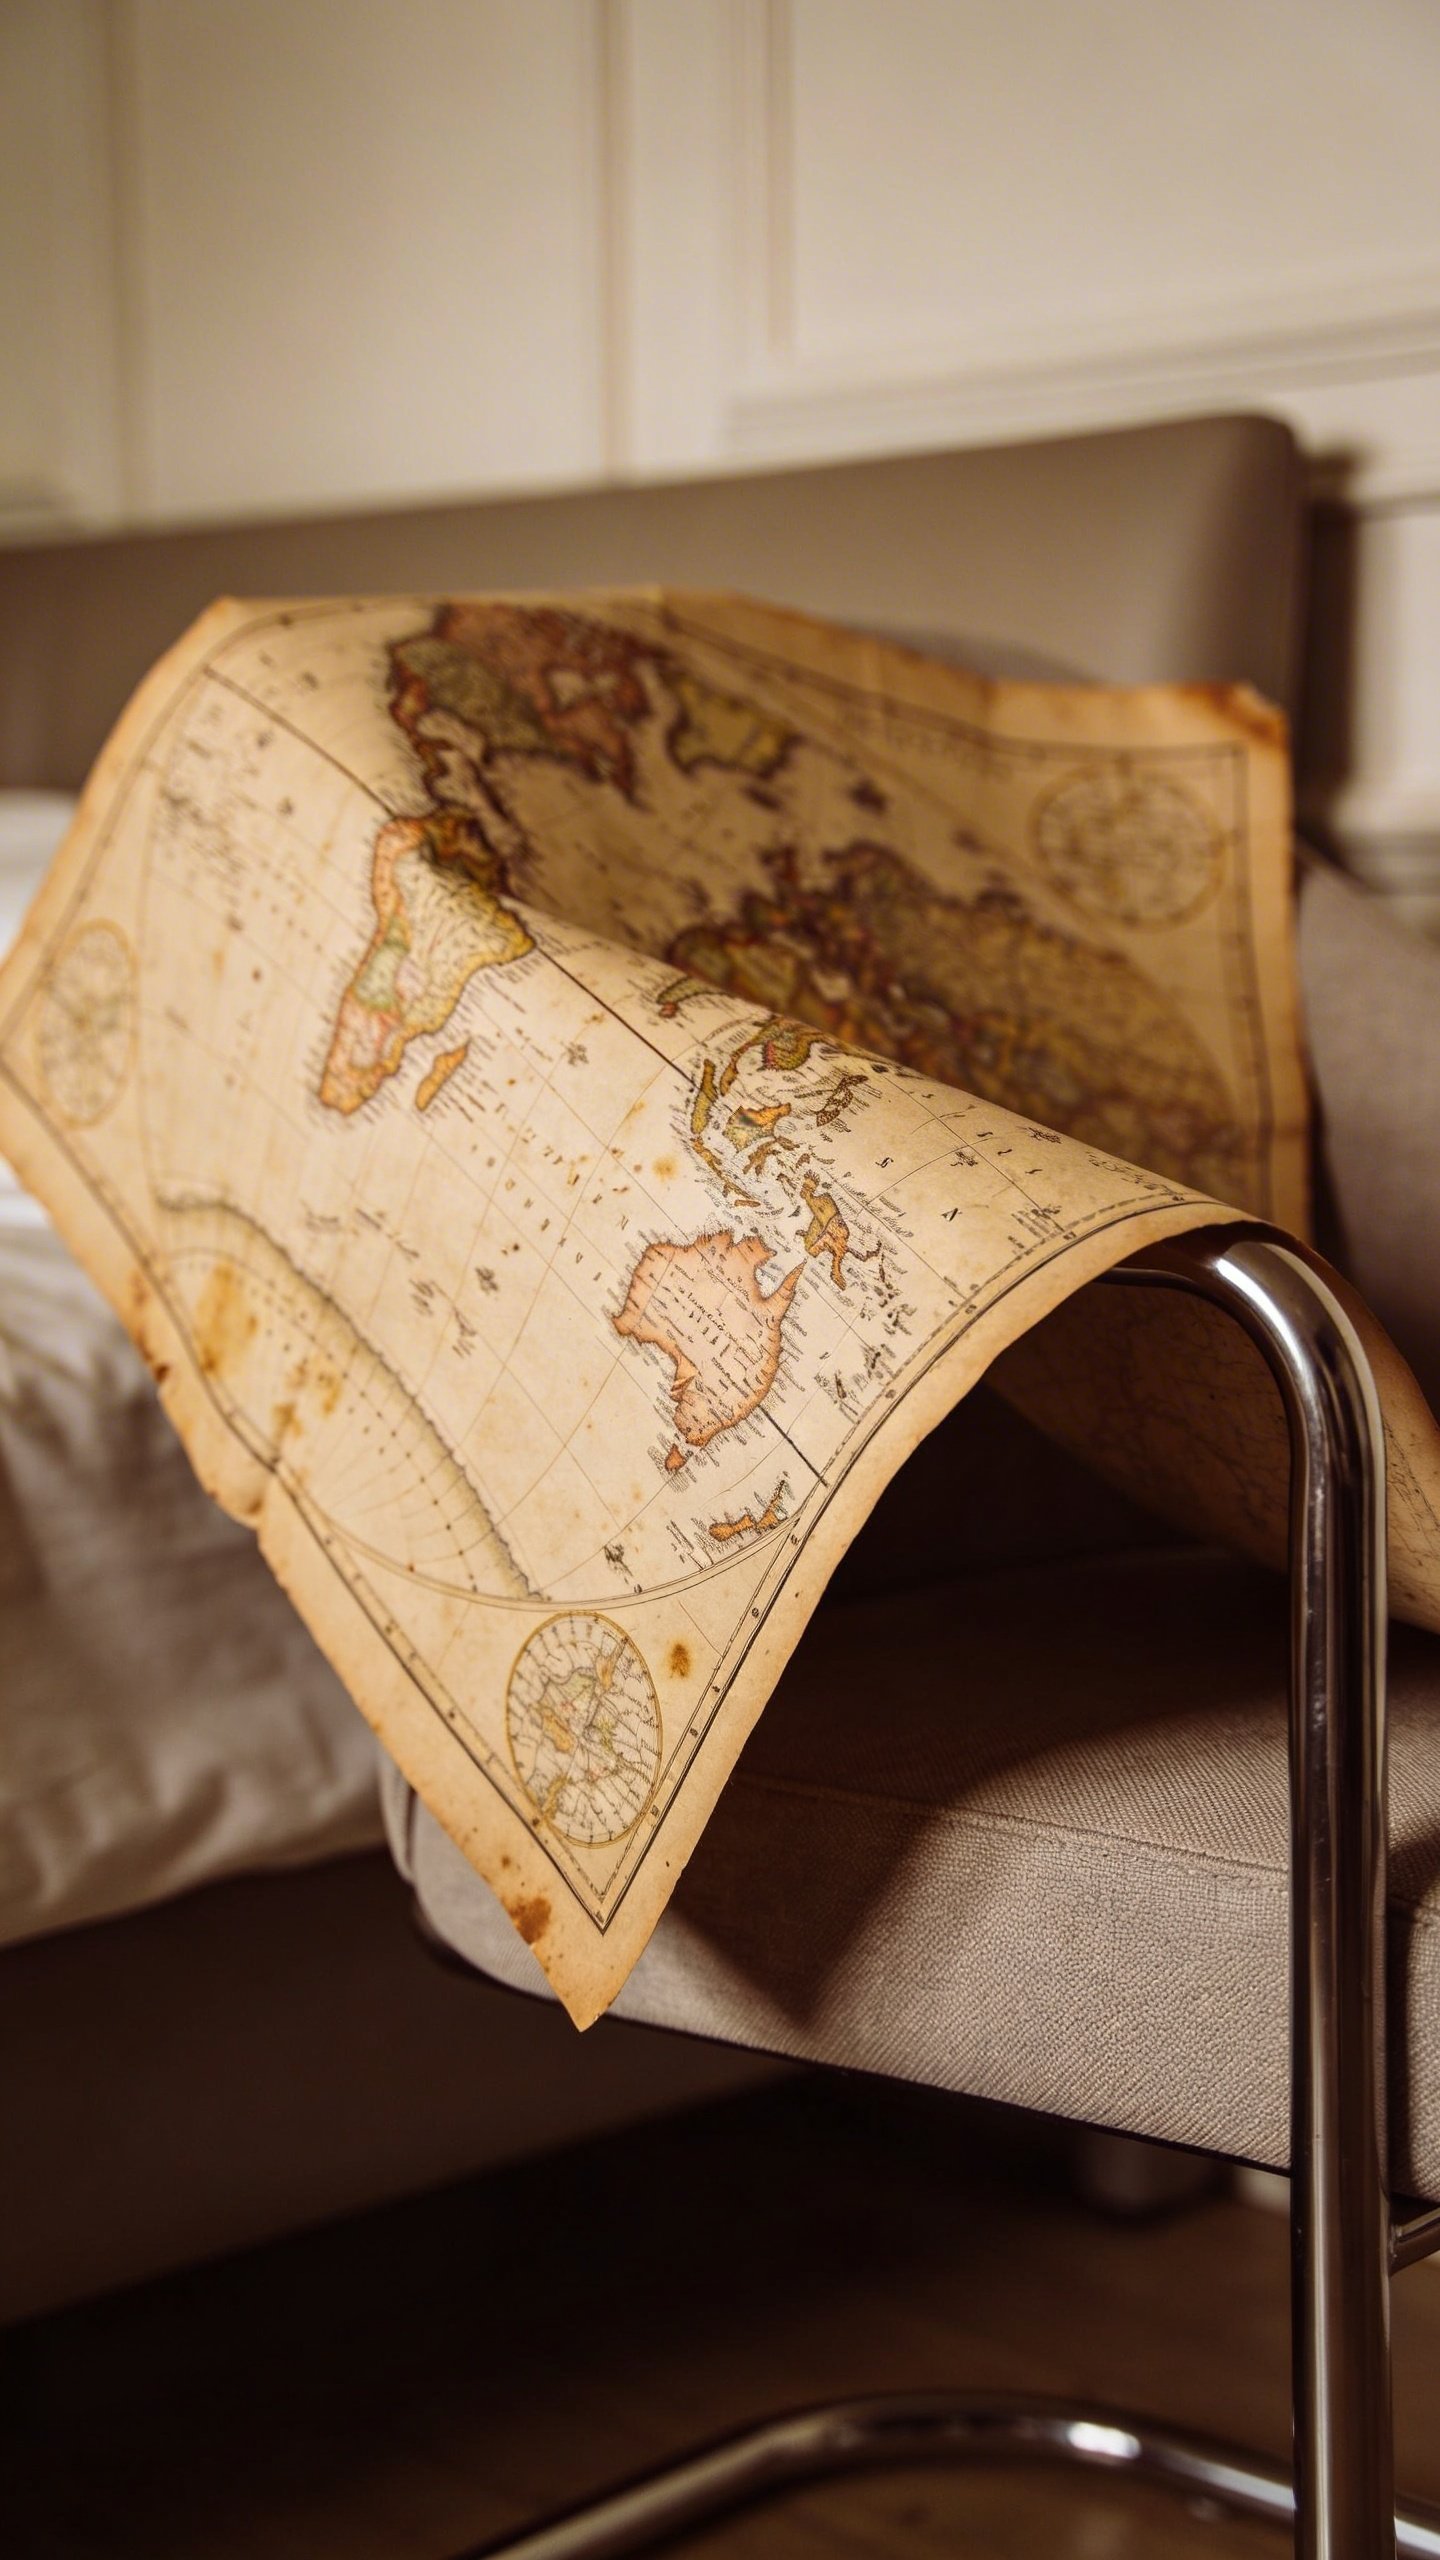
Create a faux headboard using wrapping paper, wallpaper samples, or even pages from old books. Map out the shape you want directly on the wall with painter’s tape, then fill it in with your chosen paper. Book lovers absolutely crush this look using vintage dictionary pages or sheet music.
For a more structured look, mount large sheets of decorative paper or cardstock on foam board panels, then hang them behind your bed. You get the headboard effect without drilling into studs or measuring anything more complicated than “yeah, that looks centered enough.”
Window Treatments That Won’t Cost a Fortune
Real talk: curtains are expensive. Like, weirdly expensive for what’s essentially fabric hanging from a rod. Paper to the rescue.
Paper snowflakes aren’t just for winter – delicate cut paper designs hanging in your window create beautiful shadow patterns. String them at different heights for a dreamy, layered effect. Or go bold with paper fan decorations in colors that complement your room.
You can also create temporary window clings using tissue paper and cornstarch paste. The light filters through colored tissue paper like stained glass, giving you privacy and a gorgeous glow. FYI, this is completely removable, so your security deposit is safe.
Accessorize Everything Else
Once you’ve tackled the big stuff, it’s time for the details that pull everything together.
Paper Garlands and Bunting
String paper garlands along your walls, across windows, or above your bed. Cut triangles for bunting, circles for dots, or get wild with custom shapes. This adds movement and visual interest to spaces that might otherwise feel flat.
Decorative Storage Solutions
Cover boring storage boxes with pretty paper. Suddenly your practical storage becomes part of your decor instead of something you’re hiding under the bed. Same goes for books – create custom dust jackets from decorative paper to coordinate your bookshelf.
Drawer and Shelf Liners
Nobody sees inside your drawers except you, but opening a drawer to gorgeous patterned paper hits different. It makes the whole room feel more curated and intentional. Plus, it’s an easy weekend project that requires minimal effort.
Making Your Paper Decor Last
Let’s address the elephant in the room: paper can be delicate. Here’s how to make your creations survive longer than a few weeks.
Seal paper art with Mod Podge or clear acrylic spray. This adds protection against humidity and gives everything a finished look. For wall installations, use removable adhesive strips or poster putty instead of tape that’ll rip your paper when you eventually move things around.
Keep paper away from direct moisture sources – so maybe don’t create a paper masterpiece directly above your humidifier. And if you’re hanging lightweight paper items, make sure your room has decent air circulation so everything doesn’t get damp and droopy.
IMO, even if your paper decor only lasts six months, that’s still six months of awesome room vibes for basically no money. You can always refresh and recreate.
Frequently Asked Questions
Won’t paper decorations look cheap or tacky?
Only if you want them to. The difference between “kindergarten craft project” and “intentional artistic choice” comes down to execution. Stick to a cohesive color palette, use quality papers, and arrange things thoughtfully. Symmetry and repetition are your friends here. When done right, people won’t believe you made your decor from paper.
How do I attach paper to walls without damaging them?
Your best options are removable adhesive strips, poster putty, washi tape, or even liquid starch (which works great for temporary wallpaper effects). Avoid regular tape or permanent adhesives unless you’re really committed to that spot. Test any adhesive on a small hidden area first to make sure it doesn’t pull paint when removed.
What’s the best type of paper to use for bedroom decorations?
It depends on your project. Cardstock works great for anything structural or 3D. Origami paper gives you beautiful patterns and colors. Scrapbook paper offers tons of variety. For large installations, wrapping paper is cost-effective. Vintage book pages or sheet music add character. Honestly, experiment with whatever catches your eye – part of the fun is trying different materials.
How do I keep paper decorations from fading in sunlight?
UV-protective spray can help, but honestly, if something’s in direct sunlight all day, it’ll eventually fade. Position your most precious paper art away from windows, or embrace the weathered look as part of the aesthetic. You can also rotate your decor seasonally, giving sun-exposed pieces a break.
Can I use paper decorations in a rental apartment?
Absolutely. Paper decor is actually perfect for rentals because it’s temporary and removable. Just use damage-free hanging methods and you’re golden. This is literally the answer to “how do I make this rental feel like home without losing my security deposit.”
How long does paper decor typically last?
With proper sealing and care, paper decorations can last years. Without protection, you’re looking at several months to a year depending on conditions. The beauty of paper is that it’s easy and cheap to replace when you want a refresh anyway.
Wrapping It Up (With More Paper, Probably)
Decorating your bedroom with paper isn’t just a budget hack – it’s a legit design strategy that gives you creative freedom without the commitment or cost of traditional decor. You can experiment, make mistakes, and completely change your mind without any real consequences.
Start small if you’re nervous. Create one paper art piece or cover a single storage box. Once you see how much personality paper can add, you’ll be hooked. The best part? Everything you make is completely unique to you. No one else will walk into Target and see your exact wall art on display.
So grab some scissors, hunt down pretty paper, and transform that boring bedroom into your personal masterpiece. Your space should make you happy, and paper gives you endless possibilities to make that happen.