

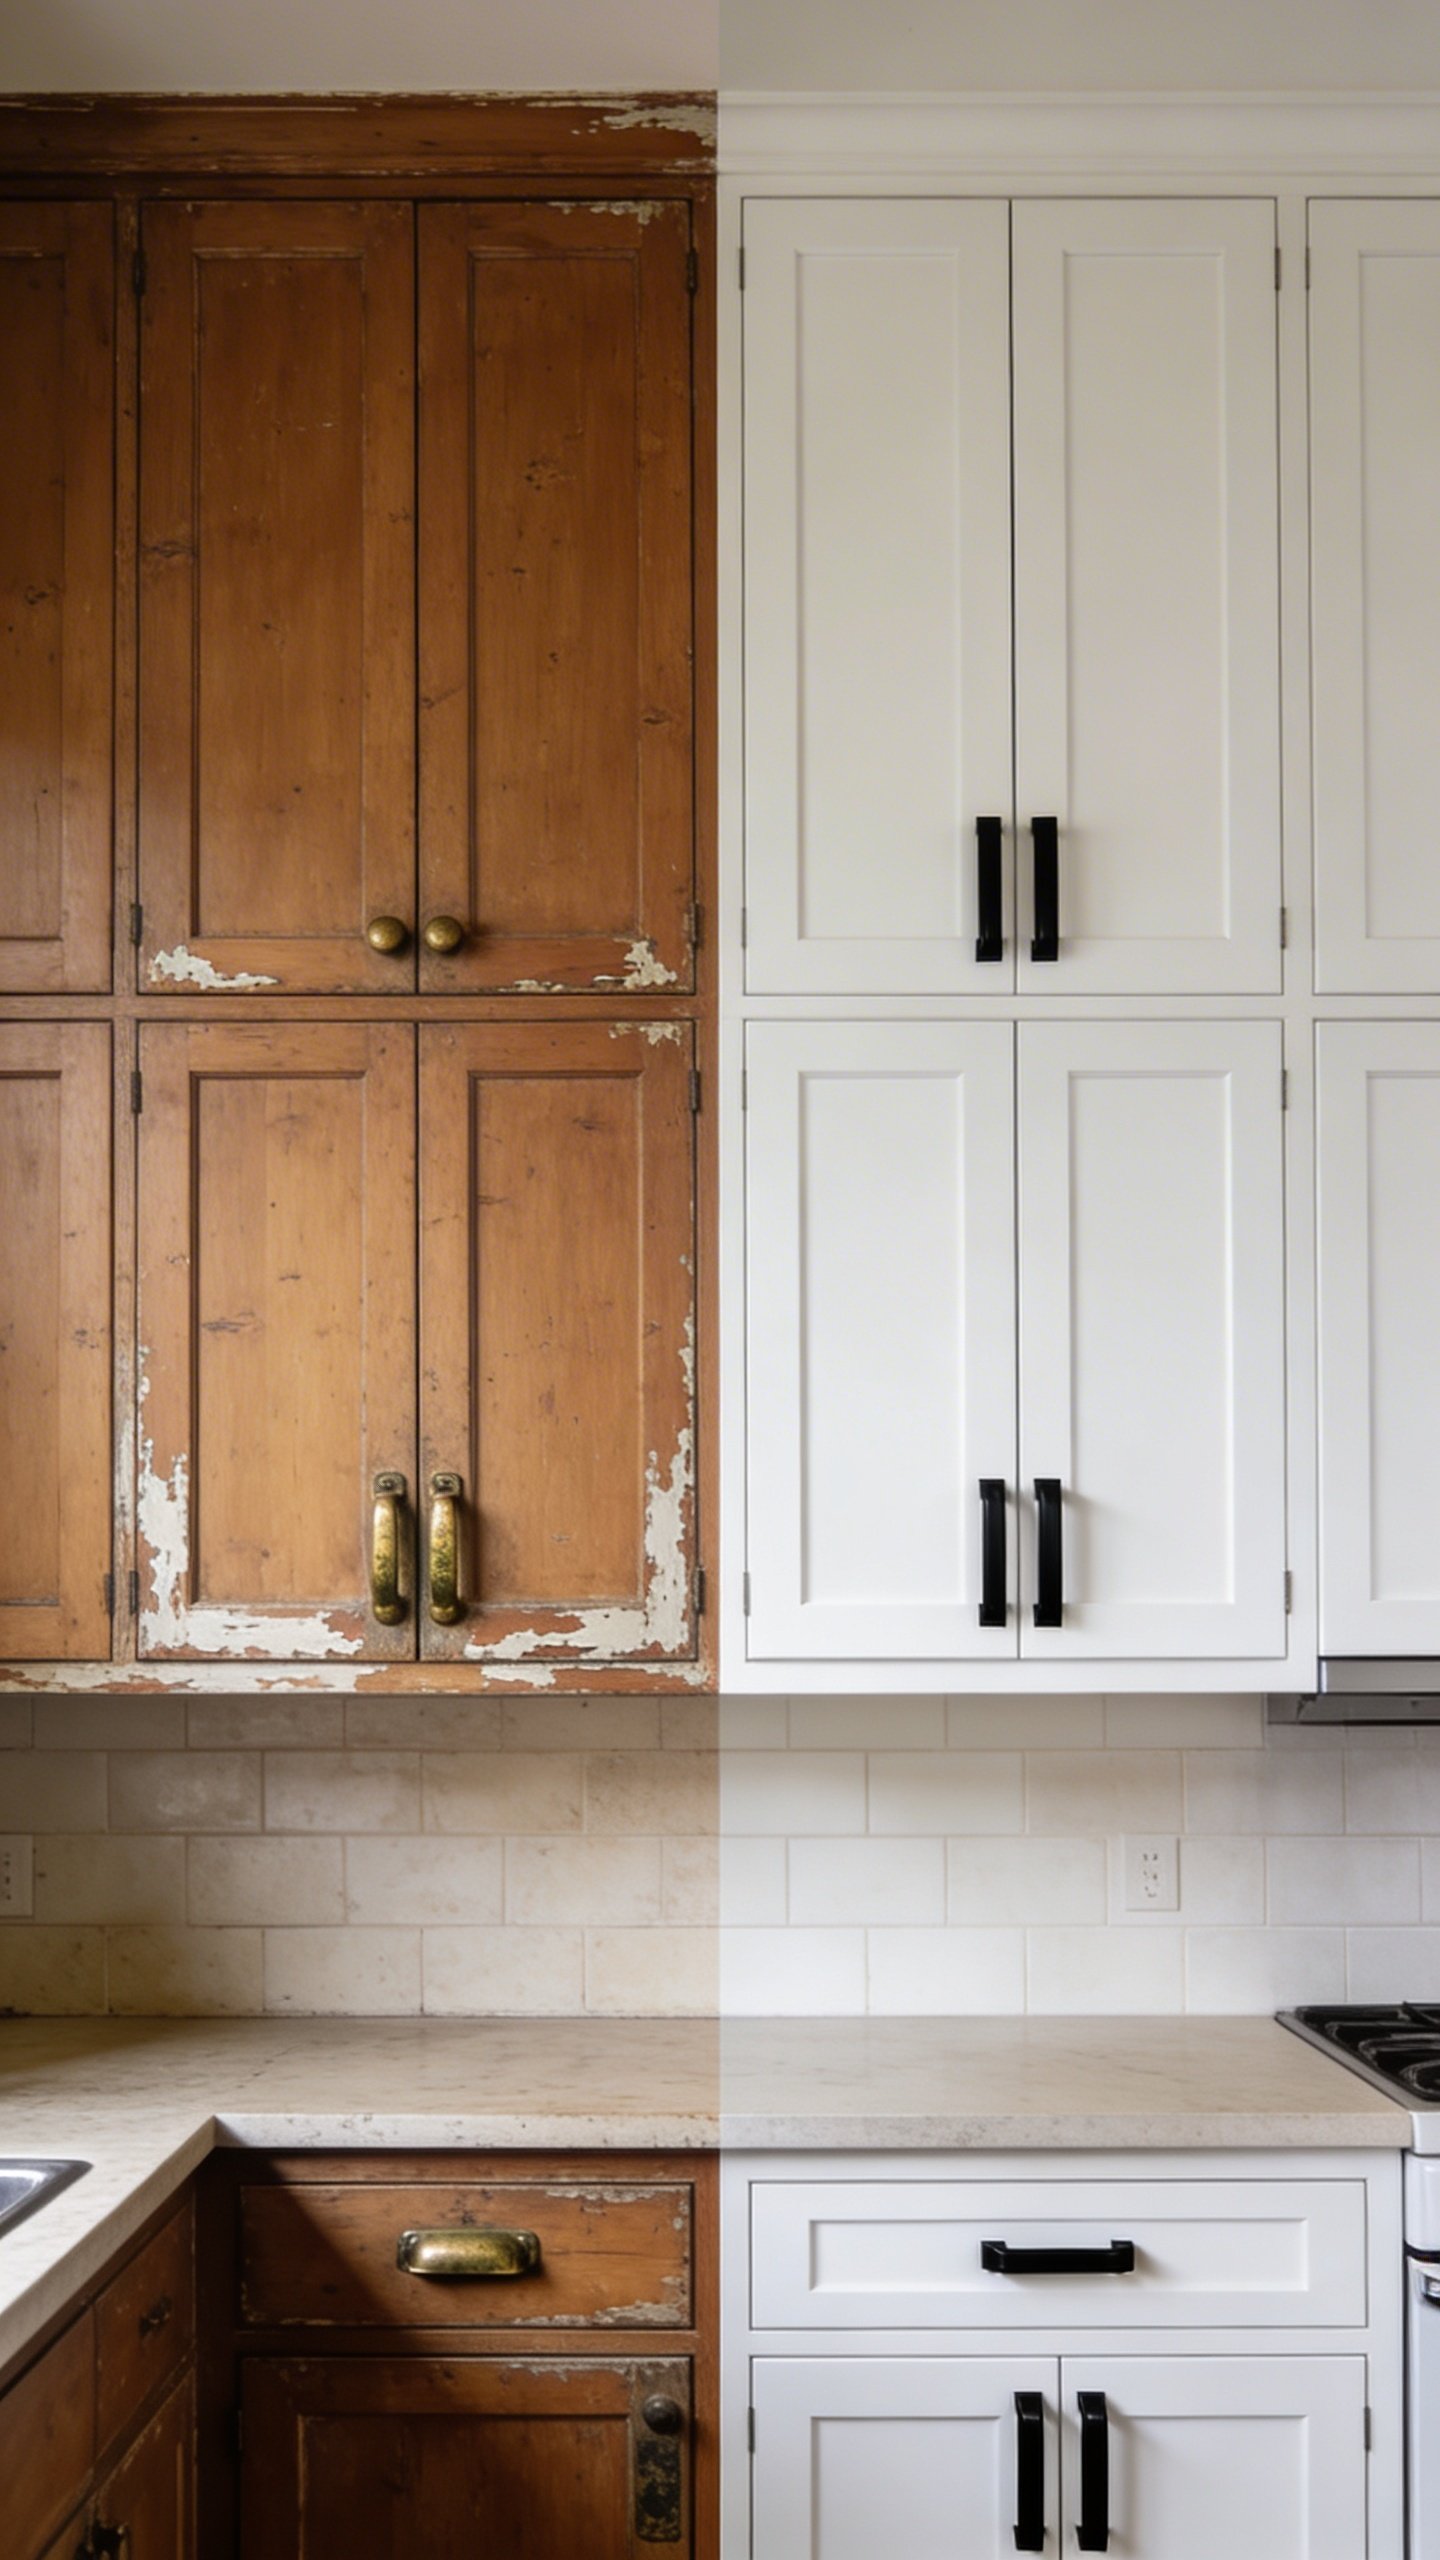
Looking at your tired, outdated kitchen cabinets and wondering if you can skip the five-figure renovation? You absolutely can. Painting your kitchen cabinets is one of the best ROI projects you can tackle yourself, and honestly, it’s not as scary as those Pinterest fails make it seem. Sure, it takes some patience and elbow grease, but the transformation is worth every minute.
Why You Should Actually Consider This Project
Let’s be real—new cabinets can cost anywhere from $5,000 to $20,000 or more. Painting them yourself? Maybe $200-400 in materials. That’s not pocket change we’re talking about saving.
Beyond the financial win, painting cabinets lets you completely change your kitchen’s vibe without the chaos of a full remodel. No contractors camping out in your house for weeks. No eating takeout on your couch because your kitchen is a construction zone. Just you, some paint, and a temporarily messy workspace.
Plus, there’s something genuinely satisfying about transforming something you look at every single day. Every time you grab your morning coffee, you’ll get a little boost knowing you did that.
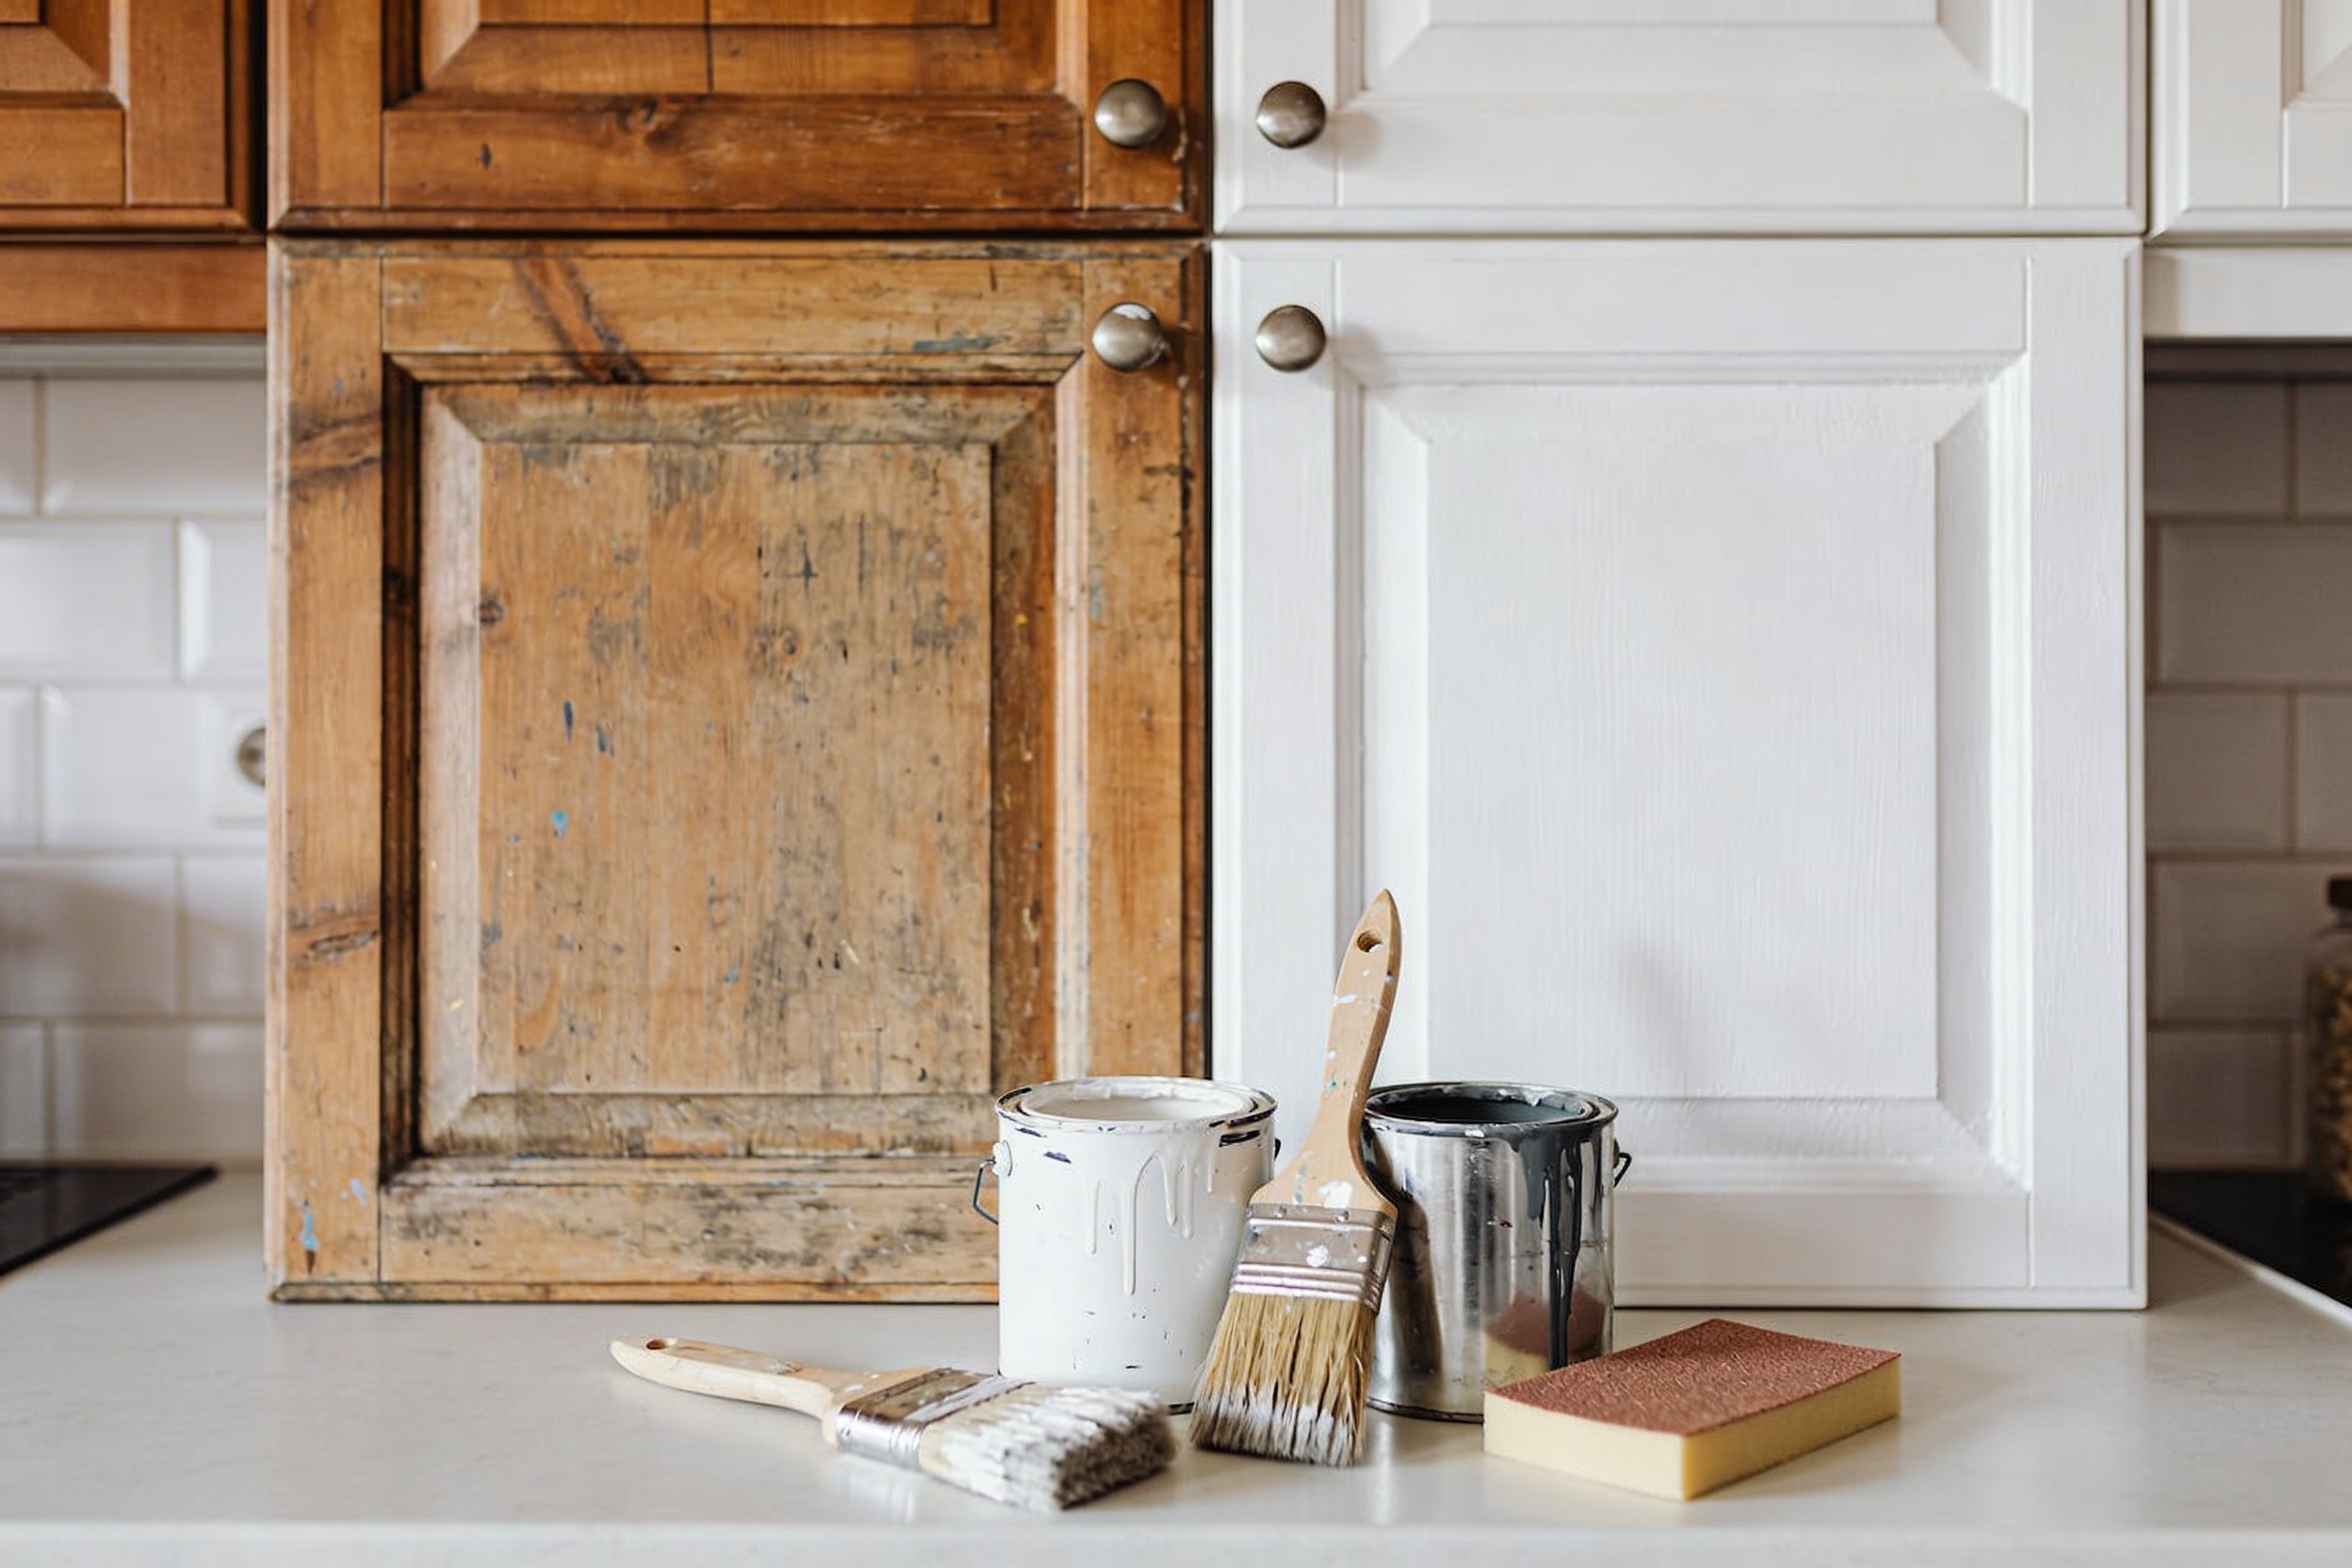
Gather Your Arsenal (AKA Shopping List)
You can’t wing this project with whatever’s hanging out in your garage. Trust me, using the wrong products will have you redoing everything in six months when the paint starts peeling off.
Here’s what you actually need:
- Deglosser or TSP (trisodium phosphate) – for cleaning and prepping
- Sandpaper – 120-grit and 220-grit should cover you
- Primer – get one specifically for cabinets, preferably oil-based or bonding primer
- Paint – cabinet-grade paint, not wall paint (seriously, don’t cheap out here)
- Quality brushes and/or foam rollers – the 4-inch foam rollers are clutch
- Painter’s tape – the good stuff, not the dollar store version
- Drop cloths – unless you want paint on everything you own
- Screwdriver – for removing hardware
- Shelf liner or cardboard – for laying out doors and drawers
FYI, you might also want a paint sprayer if you’re feeling ambitious, but it’s absolutely not necessary. Brush and roller will get you there.
The Prep Work (Don’t Skip This Part)
I know, I know. You want to dive straight into the fun part. But prep work is literally 70% of this project, and it’s what separates a professional-looking finish from a Pinterest fail.
Empty Everything Out
Clear out your cabinets completely. Yes, everything. This is also a great time to Marie Kondo those expired spices from 2019 that you’ve been avoiding.
Remove All the Doors and Hardware
Take off every cabinet door, drawer front, and piece of hardware. Number everything with painter’s tape on the back—seriously, you think you’ll remember where everything goes, but you won’t. Trust me on this one.
Remove the hinges too. You can paint around them, but why would you torture yourself like that?
Clean Like You Mean It
Kitchen cabinets are basically grease magnets. All that cooking builds up a film that paint will NOT stick to. Use a deglosser or TSP solution and scrub every surface. This step isn’t fun, but it’s non-negotiable.
Sand Everything Down
You don’t need to strip the existing finish, but you do need to rough it up. Hit everything with 120-grit sandpaper to give the primer something to grip. Then wipe everything down with a tack cloth to remove all the dust.
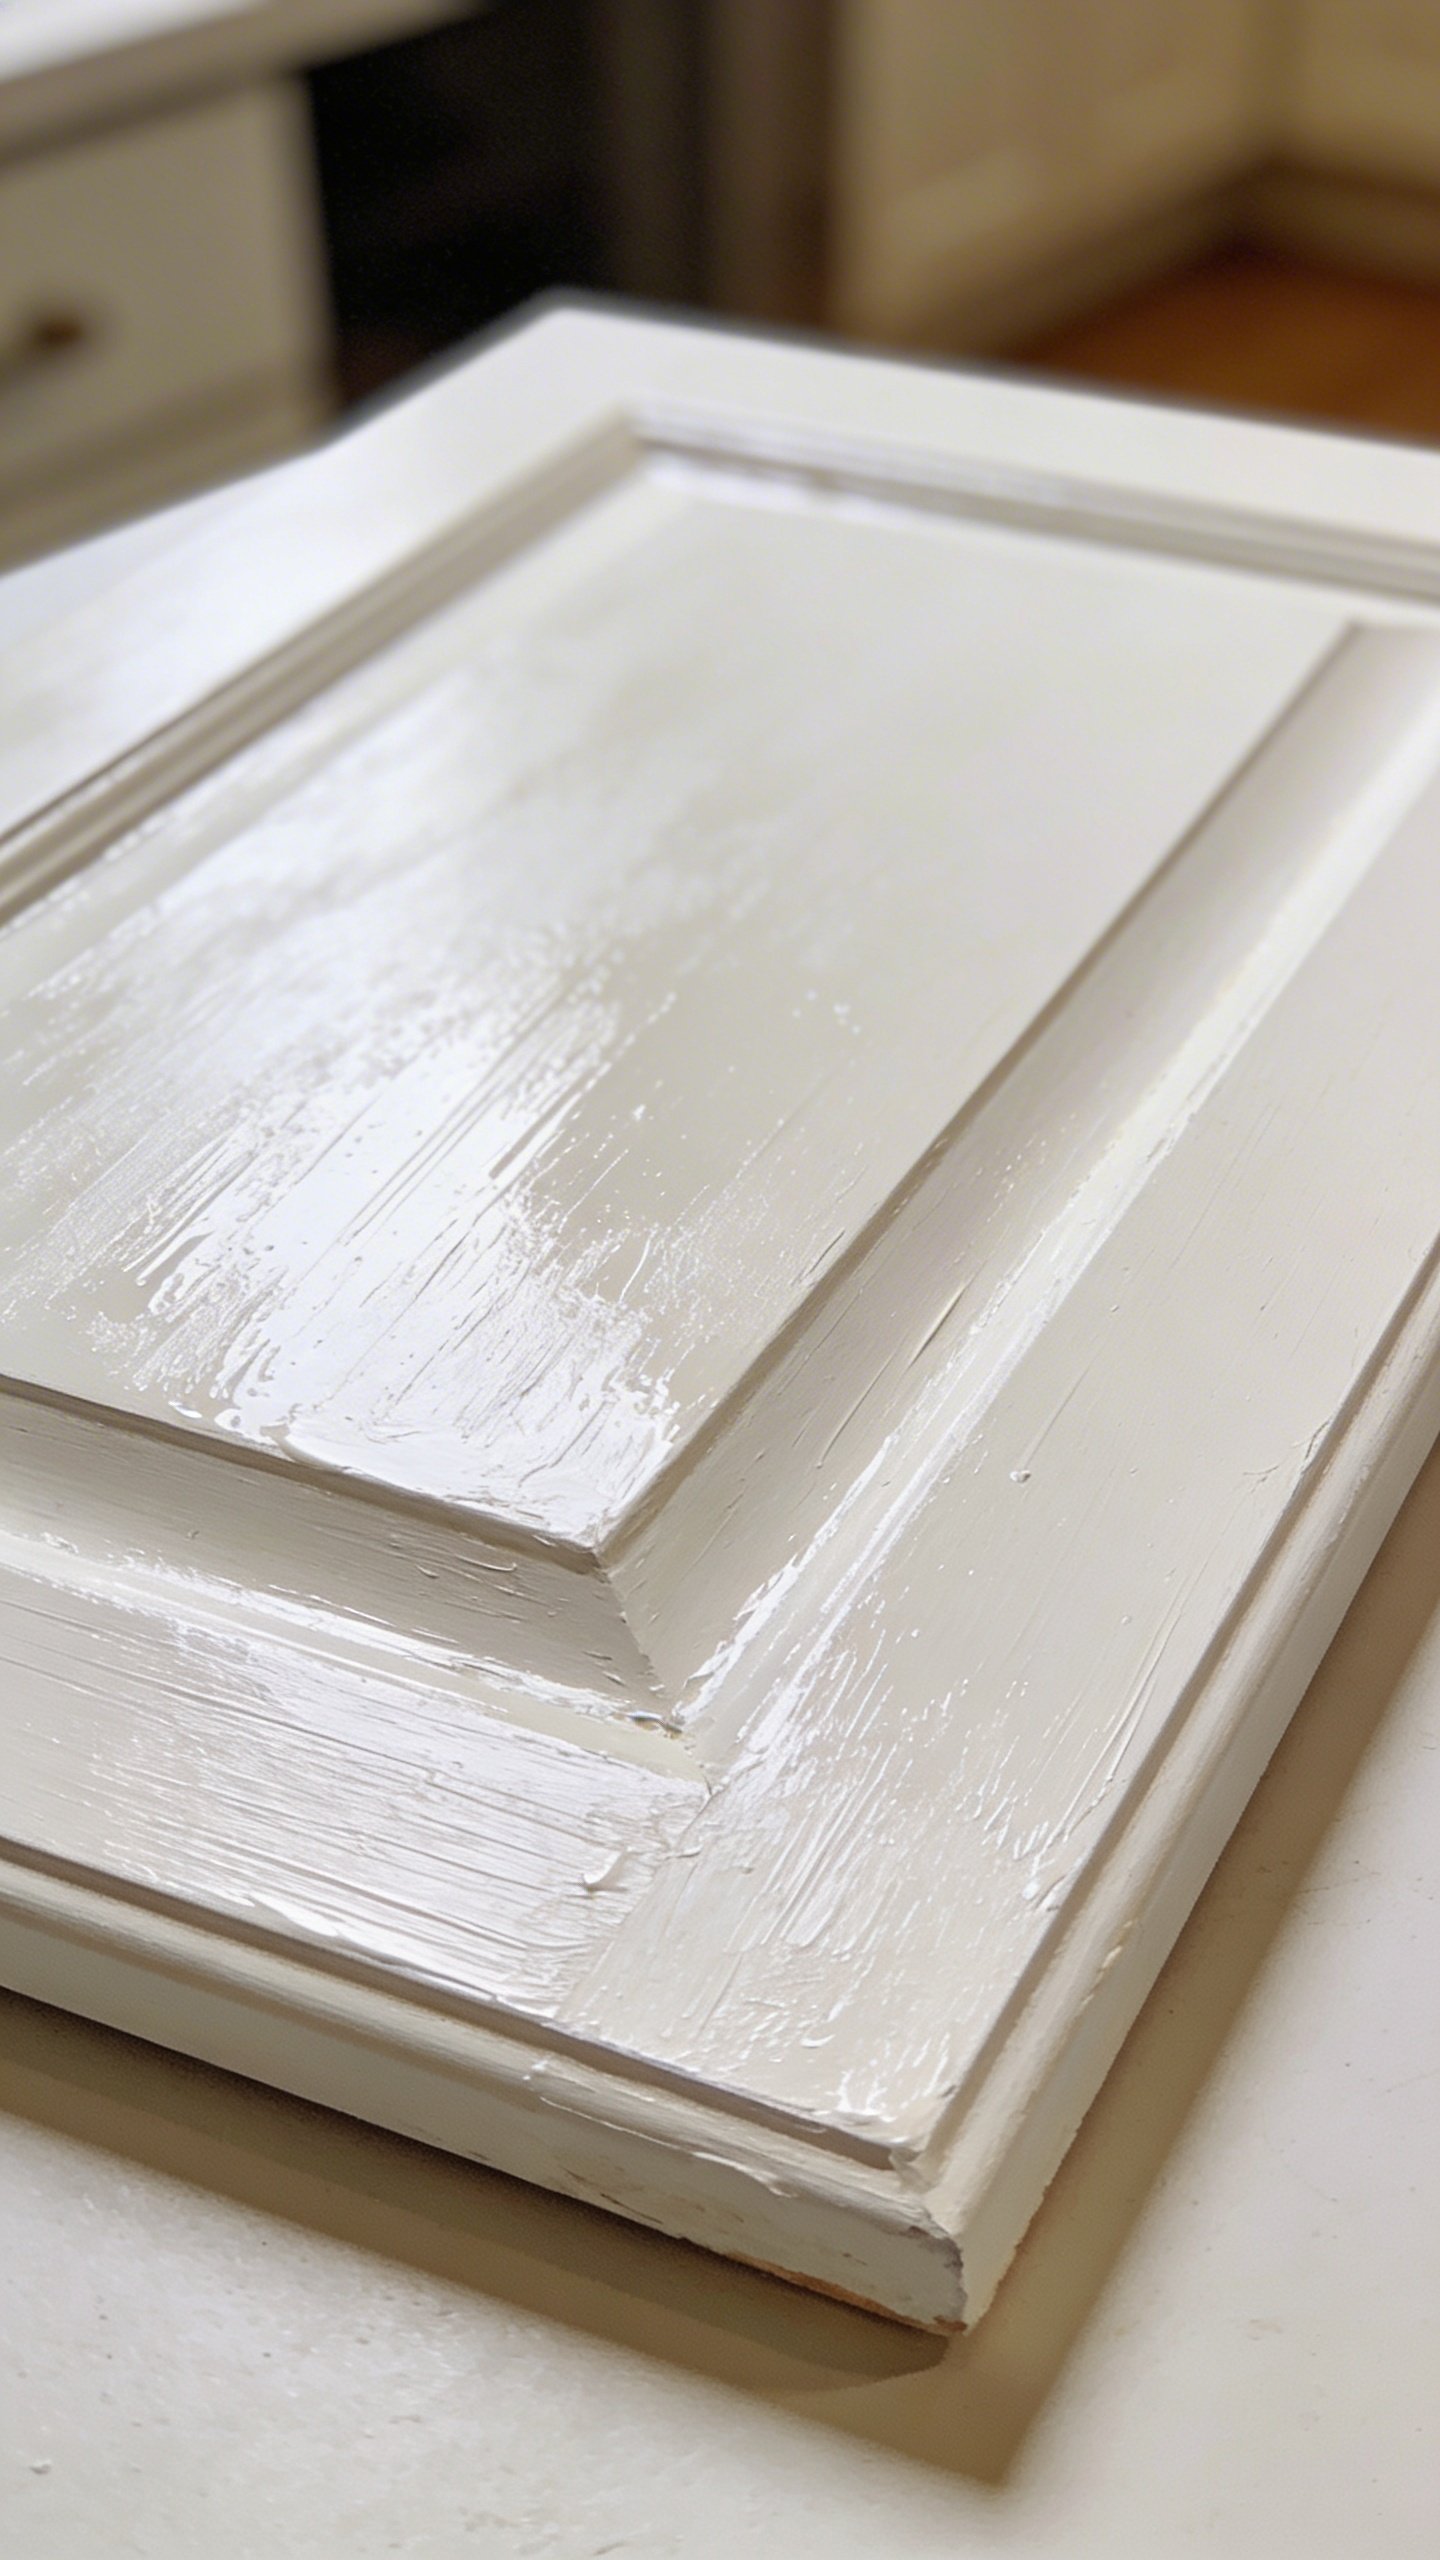
Prime Time (And Yes, You Need Primer)
Skipping primer is the biggest mistake people make. I don’t care what the paint can says about “paint and primer in one”—that’s marketing speak.
A good bonding primer is your insurance policy against peeling and chipping. If you’re going from dark cabinets to light, you might even need two coats of primer. Oil-based primer smells terrible and takes forever to dry, but it blocks stains and tannins better than anything else.
Apply thin, even coats. Don’t glob it on thinking you’ll save time—you’ll just create drips and an uneven surface. Let each coat dry completely before moving on.
Painting: Where the Magic Happens
Finally, the actual painting! Here’s where your patience really gets tested.
Choose the Right Paint
Go with a paint specifically formulated for cabinets. Alkyd enamel or acrylic-alkyd hybrid paints give you that smooth, furniture-like finish that regular wall paint can’t deliver. Benjamin Moore Advance and Sherwin Williams Emerald Urethane are both solid choices.
Semi-gloss or satin finishes work best for cabinets. They’re durable and easy to clean—important when you’re dealing with kitchen messes.
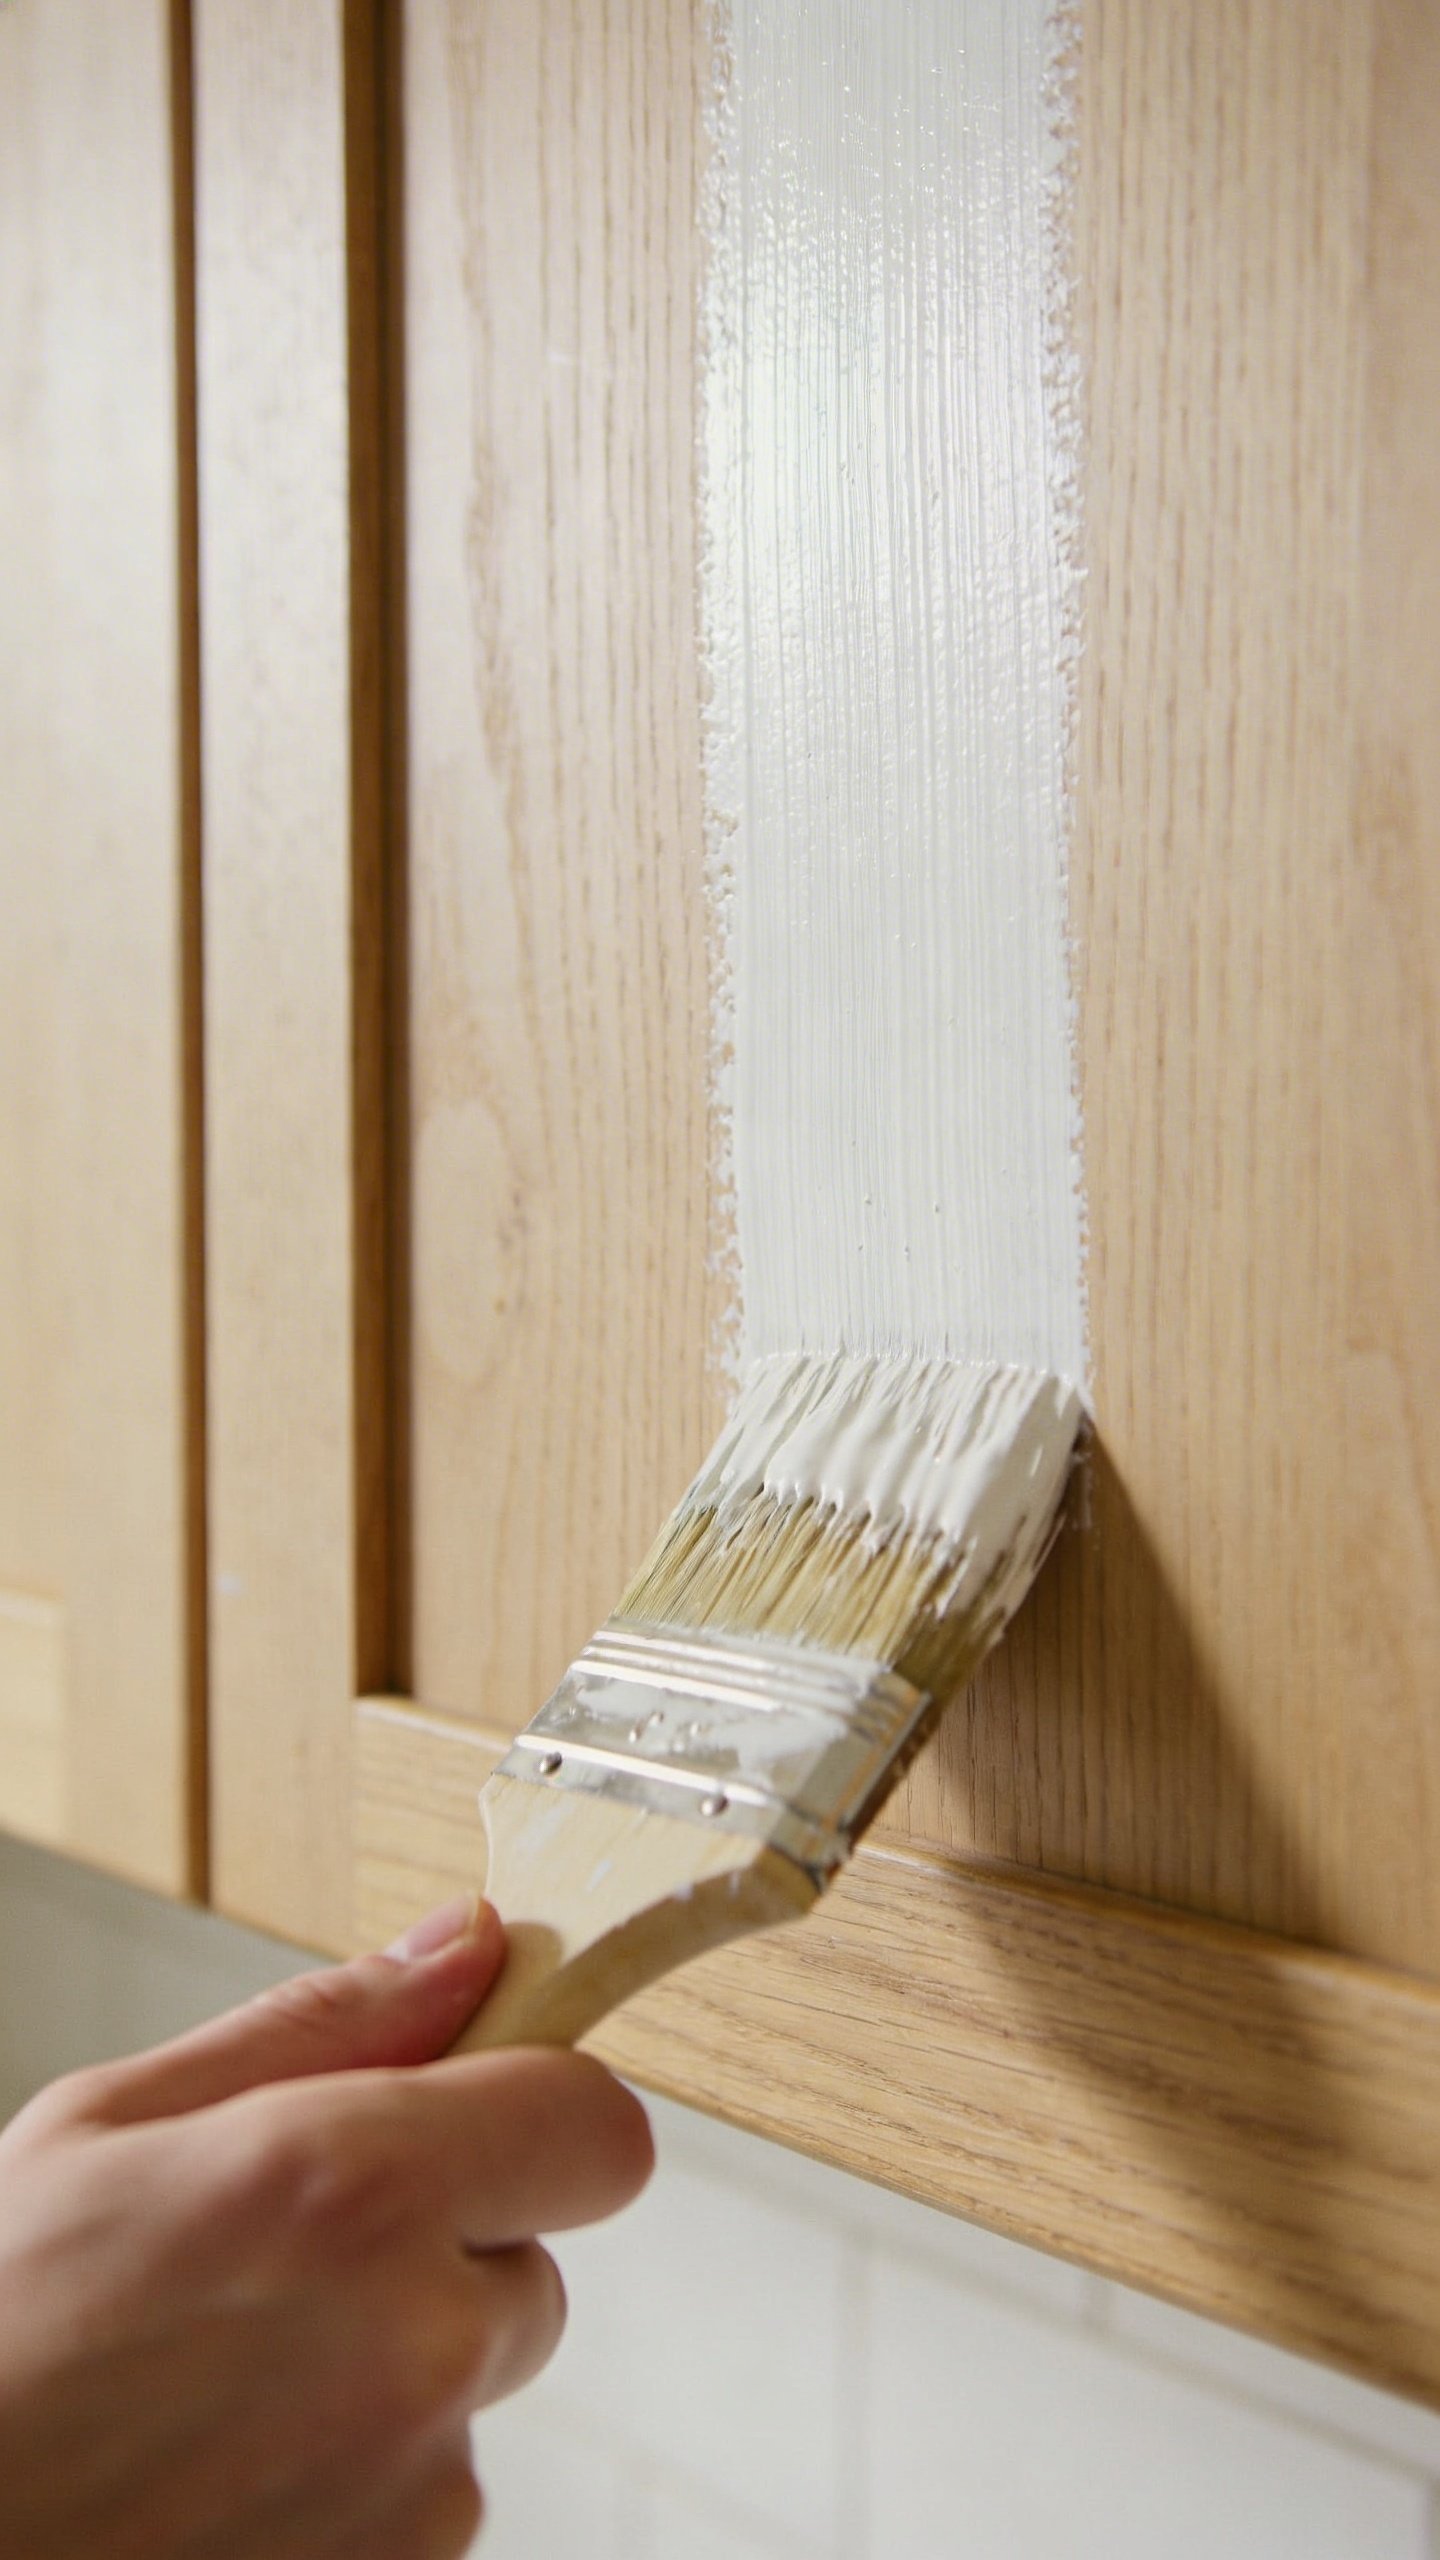
Application Technique
Use a foam roller for the flat surfaces and a high-quality brush for edges and details. Roll or brush in long, smooth strokes following the grain of the wood. Don’t overwork the paint—you’ll create brush marks and bubbles.
Most cabinet paints need at least two coats, sometimes three. Wait the recommended drying time between coats. I know it’s tempting to rush, but patience here pays off big time.
Sand lightly with 220-grit sandpaper between coats for an ultra-smooth finish. Wipe away the dust before applying the next coat.
Reassembly and the Final Touches
Once your final coat has cured (and cure time is different from dry time—read the can), you can start putting everything back together. This is where those numbered pieces of tape save your sanity.
Consider upgrading your hardware while you’re at it. New knobs and pulls are relatively cheap and make a huge visual impact. It’s like jewelry for your cabinets.
Reattach all the hinges and hang your doors. Take your time with this part—you’ve come too far to rush and end up with crooked doors.
How Long Does This Actually Take?
Let’s talk timelines because this isn’t a weekend project unless you have a tiny kitchen and zero plans.
For an average-sized kitchen, expect the whole process to take about a week, working a few hours each day. The breakdown usually looks like this: 2 days for prep and cleaning, 1 day for priming, 2-3 days for painting multiple coats with drying time, and 1 day for reassembly.
If you’re working full-time and can only tackle this on weekends, spread it over 2-3 weekends. IMO, that’s actually better because you won’t burn out or start taking shortcuts.
Common Mistakes to Avoid
Want to know how to make this project way harder than it needs to be? Here’s what NOT to do:
Don’t skip the cleaning step. I mentioned this already, but people still try to get away with it. They never succeed.
Don’t paint in humid weather. Your paint will take forever to dry and might not cure properly. Aim for low humidity and good ventilation.
Don’t use cheap brushes. They shed bristles, leave streaks, and generally make you hate your life. Spring for the good stuff.
Don’t rush the drying time between coats. Just because it feels dry doesn’t mean it’s ready for another coat. Follow the manufacturer’s instructions.
Frequently Asked Questions
Can I paint laminate or thermofoil cabinets?
Yes, but it’s trickier. You absolutely need a bonding primer designed for slick surfaces. Sand lightly to rough up the surface, clean thoroughly, and use the right primer. The paint will hold, but it might not last quite as long as on wood cabinets.
Do I really need to remove the doors, or can I paint them in place?
You CAN paint them in place, but should you? Probably not. Painting doors while they’re hanging leads to drips, uneven coverage, and a sore neck from all that awkward positioning. Removing them takes 30 minutes and makes everything infinitely easier.
What’s the best color to paint kitchen cabinets?
White and off-white are timeless and make spaces feel bigger. Gray has been trendy but might feel dated soon. Navy blue and forest green are having a moment. Honestly, choose what makes YOU happy—you’re the one looking at them every day. Just test your color on a small area first.
How do I avoid brush marks?
Use a high-quality brush, don’t overload it with paint, and don’t over-brush. Apply the paint in thin coats and let the paint self-level. A foam roller can also help minimize brush marks on flat surfaces. Some people add a paint conditioner like Floetrol to help the paint flow smoother.
How long before I can use my cabinets normally?
Paint might be dry to the touch in hours, but it needs time to cure and harden. Most cabinet paints need at least a week before they’re fully cured, and some recommend waiting up to 30 days before heavy use. You can gently close doors after a few days, but avoid slamming or stacking things for at least a week.
Will painted cabinets hold up over time?
If you prep properly and use quality materials, yes! Professionally painted cabinets can last 10-15 years or more. The key is in the prep work, using cabinet-grade paint, and letting everything cure properly. They might need touch-ups occasionally, but that’s easy maintenance.
Final Thoughts
Painting kitchen cabinets is one of those projects that seems intimidating until you actually do it. Then you wonder why you waited so long. It’s messy, it requires patience, and your kitchen will be out of commission for a while—but the transformation is absolutely worth it.
The key to success? Don’t rush, don’t skip steps, and use quality materials. This isn’t the time to save $20 on paint or try to finish in a day. Take your time, follow the process, and you’ll end up with cabinets that look professionally done. And every time someone asks if you remodeled your kitchen, you’ll get to say “Nope, just painted!” and feel like the DIY champion you are.