

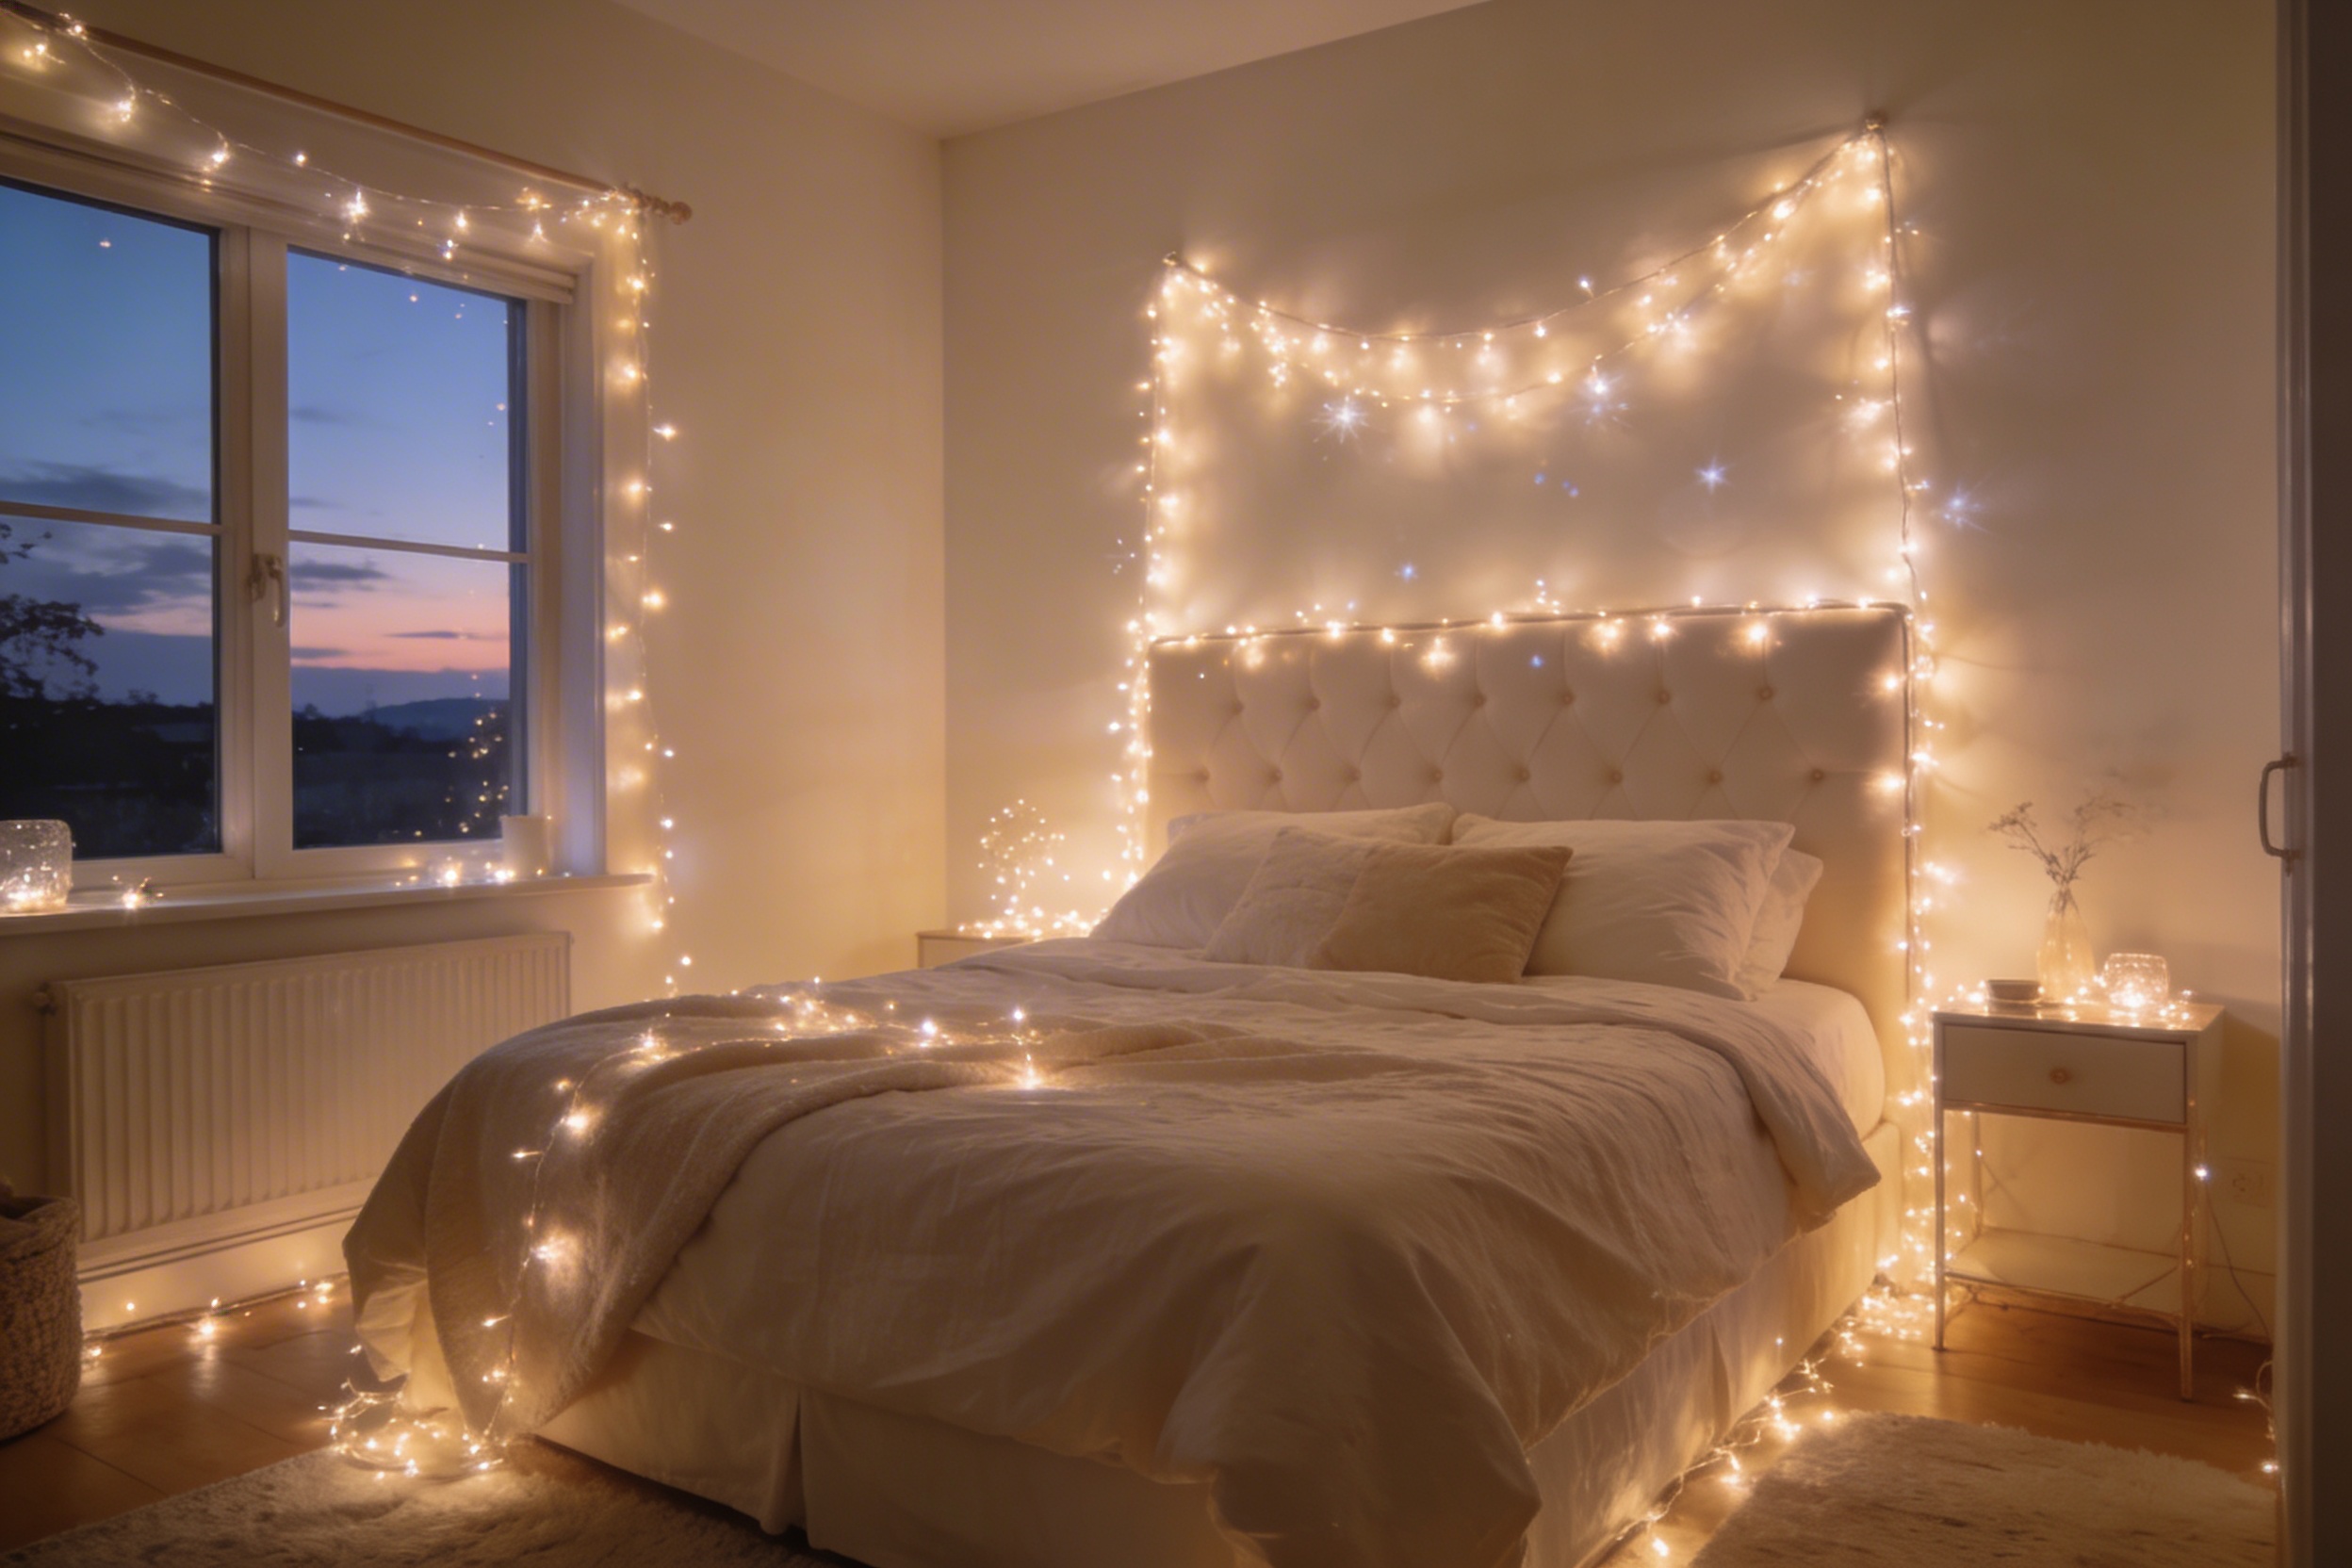
You know that cozy, magical vibe you see in every aesthetically pleasing bedroom on Instagram? Yeah, fairy lights are doing about 80% of that heavy lifting. The good news is that transforming your bedroom into a Pinterest-worthy sanctuary is actually super easy and doesn’t require an engineering degree. Let me walk you through everything you need to know to hang fairy lights like a pro.
Choosing the Right Fairy Lights for Your Space
Before you start climbing on furniture and potentially embarrassing yourself, let’s talk about picking the right lights. Not all fairy lights are created equal, and trust me, choosing the wrong ones is like buying the wrong size jeans – frustrating and avoidable.
First up, decide between battery-powered or plug-in lights. Battery-powered gives you freedom to hang lights literally anywhere, but you’ll be changing batteries more often than you’d like. Plug-in varieties are more reliable but you’ll need to plan around outlet locations. There’s also USB-powered options now, which are pretty clutch if you’ve got USB ports on your power strips.
Next, think about the light color and warmth. Warm white creates that cozy, hygge atmosphere perfect for winding down. Cool white is brighter and more modern. Multicolor is fun but can veer into elementary school dance territory real quick, so proceed with caution.
Length matters too (that’s what she said). Measure your space before buying. A good rule of thumb? Get more than you think you need. You can always bunch up extra lights, but you can’t stretch them like taffy.
Mapping Out Your Fairy Light Design
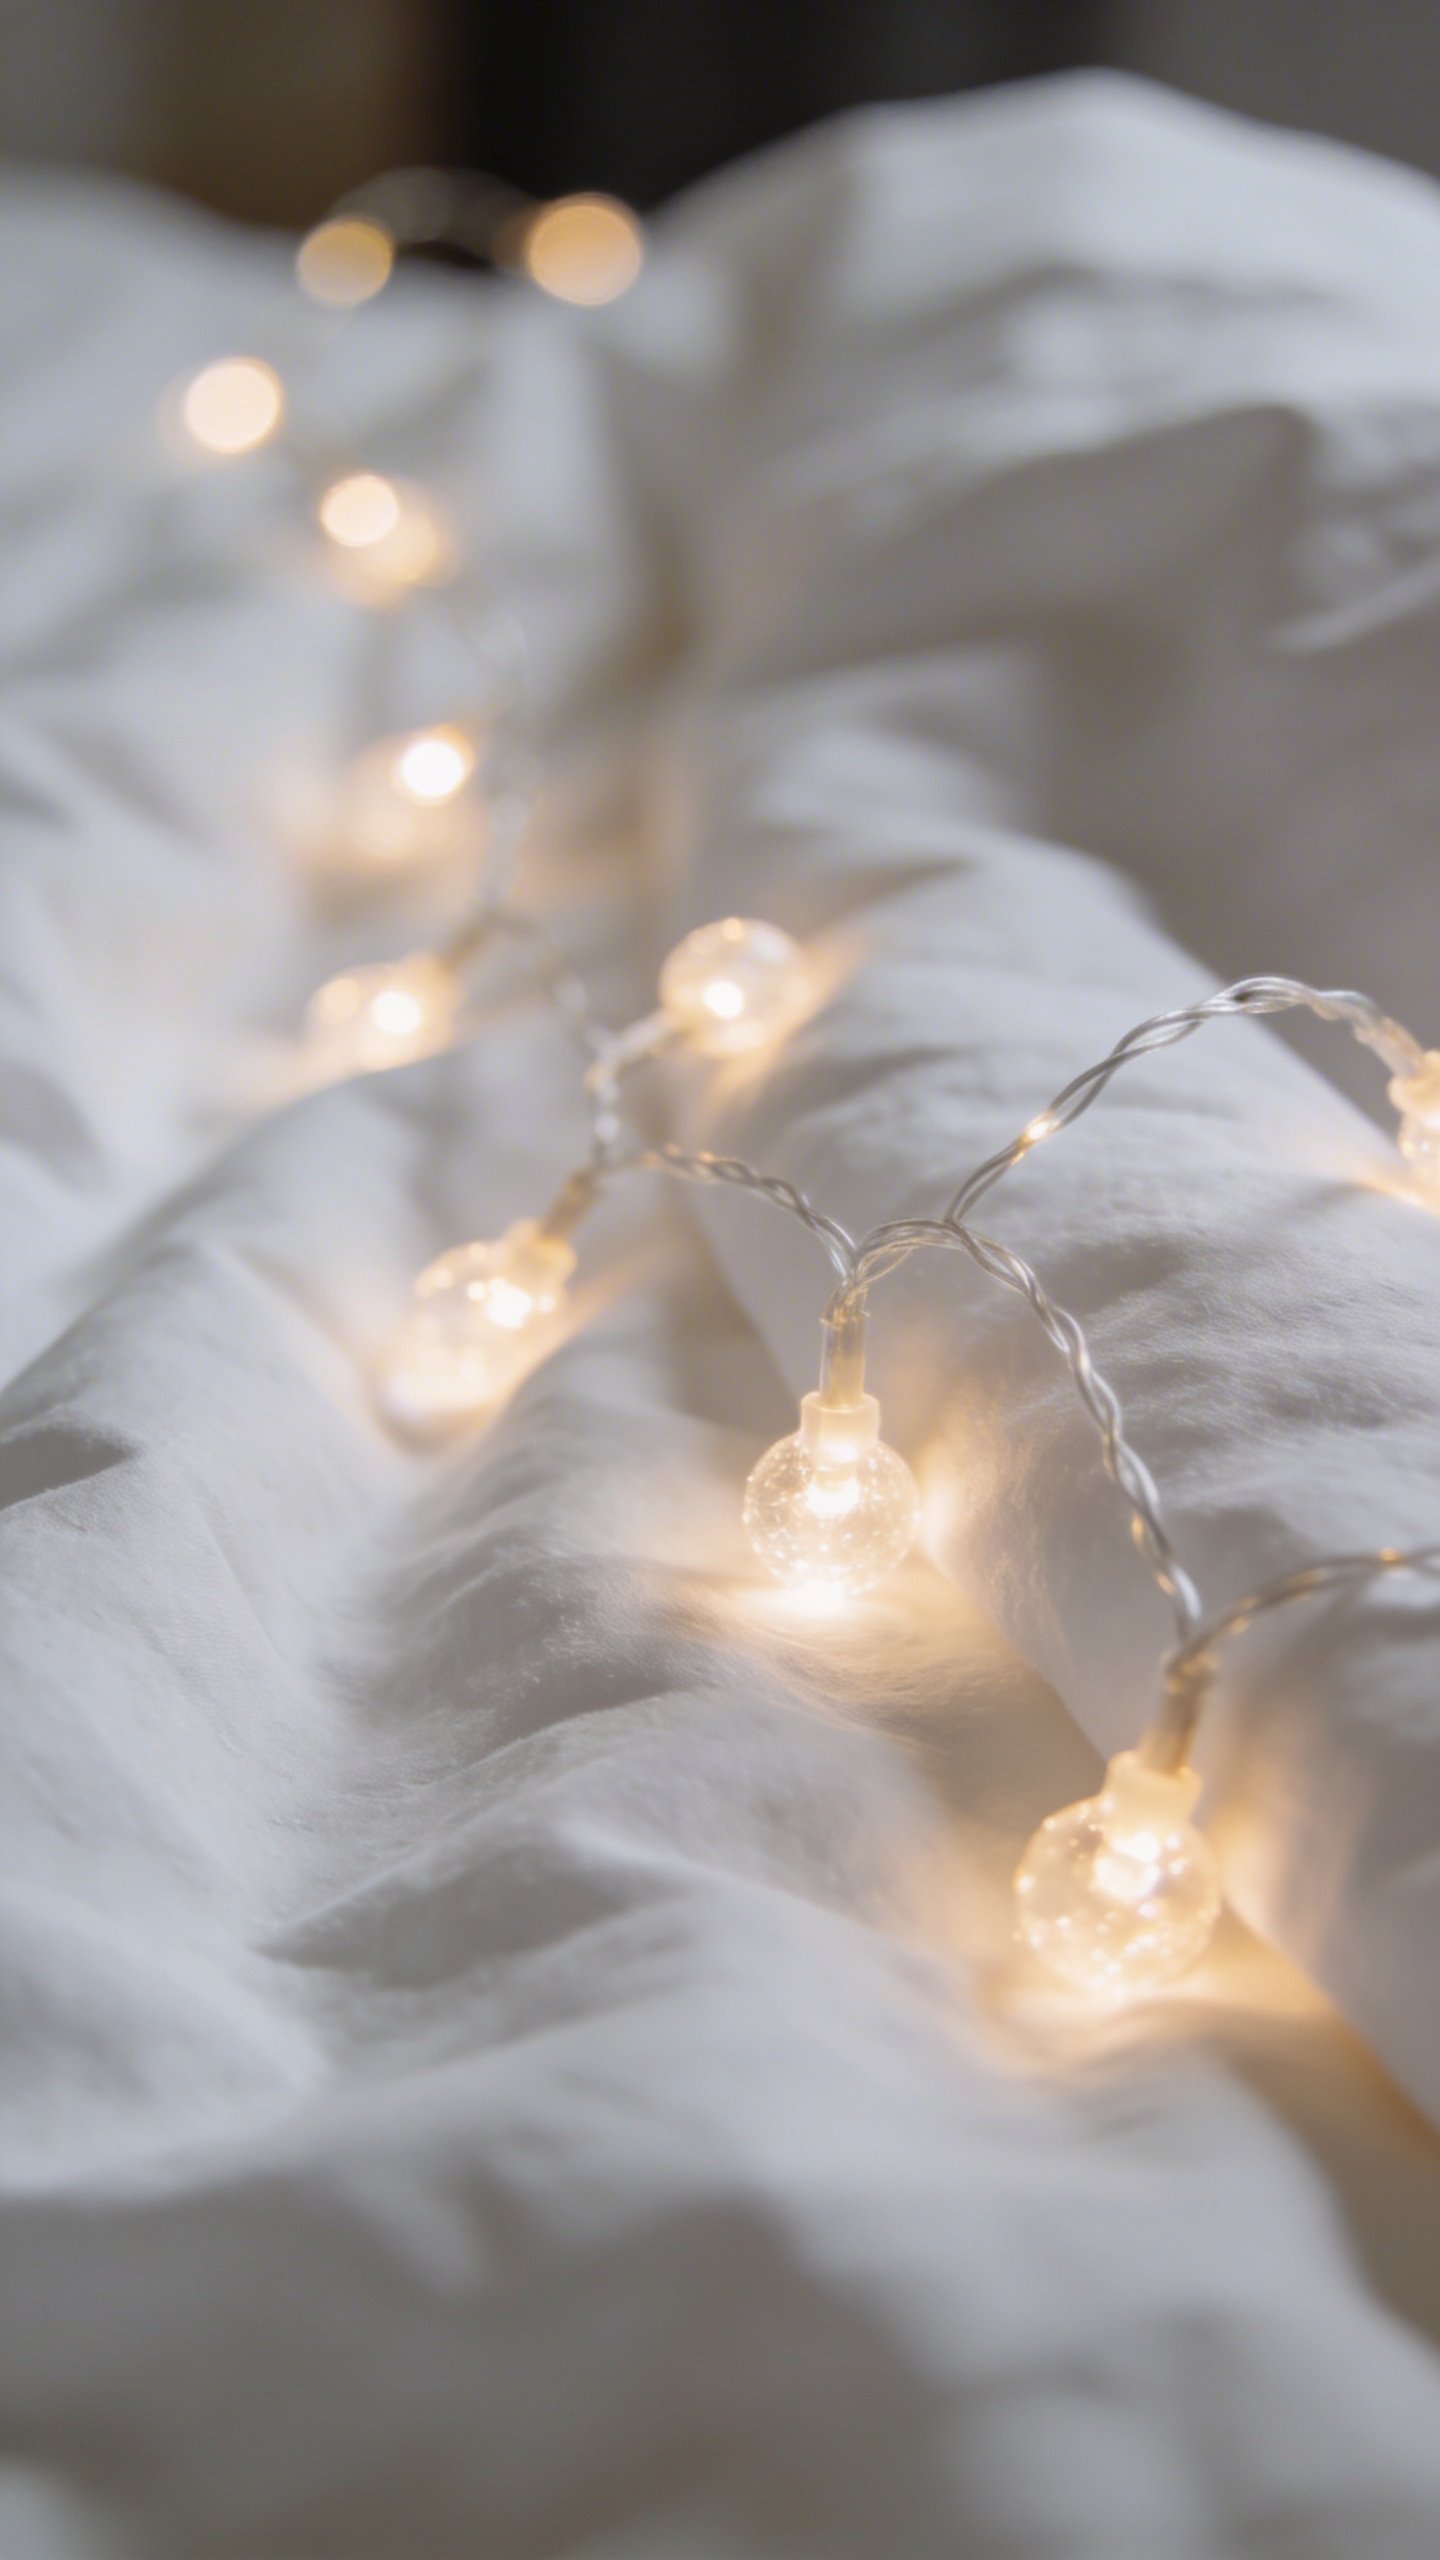
Here’s where you get to be creative. Stand in your bedroom and actually visualize where you want these babies to go. Take a minute. I’ll wait.
Some classic placement options that actually work:
- Canopy style over your bed – romantic and dreamy
- Along the headboard – simple but effective
- Around your window frame – makes your room glow from outside too
- Draped across the ceiling – creates a starry night effect
- Behind sheer curtains – soft, diffused lighting that’s *chef’s kiss*
- Outlining a mirror – instant vanity upgrade
You can also combine multiple strands to create layers of light. Just don’t go overboard – you want bedroom vibes, not Times Square energy.
Gathering Your Hanging Supplies
Let’s talk tools. The actual supplies needed are pretty minimal, which is part of the beauty here.
The Damage-Free Options
If you’re renting or just don’t want to put holes everywhere, you’ve got options. Command hooks are the MVP here – they come in clear versions that practically disappear. Adhesive clips designed specifically for string lights work great too and won’t rip your paint off when you remove them.
Removable mounting putty is another solid choice for lightweight strands. Just roll a small ball, stick it to the wall, and press your light strand into it. Easy peasy.
The More Permanent Route
If you own your place or have chill landlords, small clear thumbtacks or tiny nails give you the most secure hold. Use cable clips for a cleaner look – they’re designed to keep wires flush against surfaces.
For hanging lights from the ceiling, cup hooks work wonderfully. They screw right in and can handle the weight without issue.
The Actual Hanging Process (Step by Step)
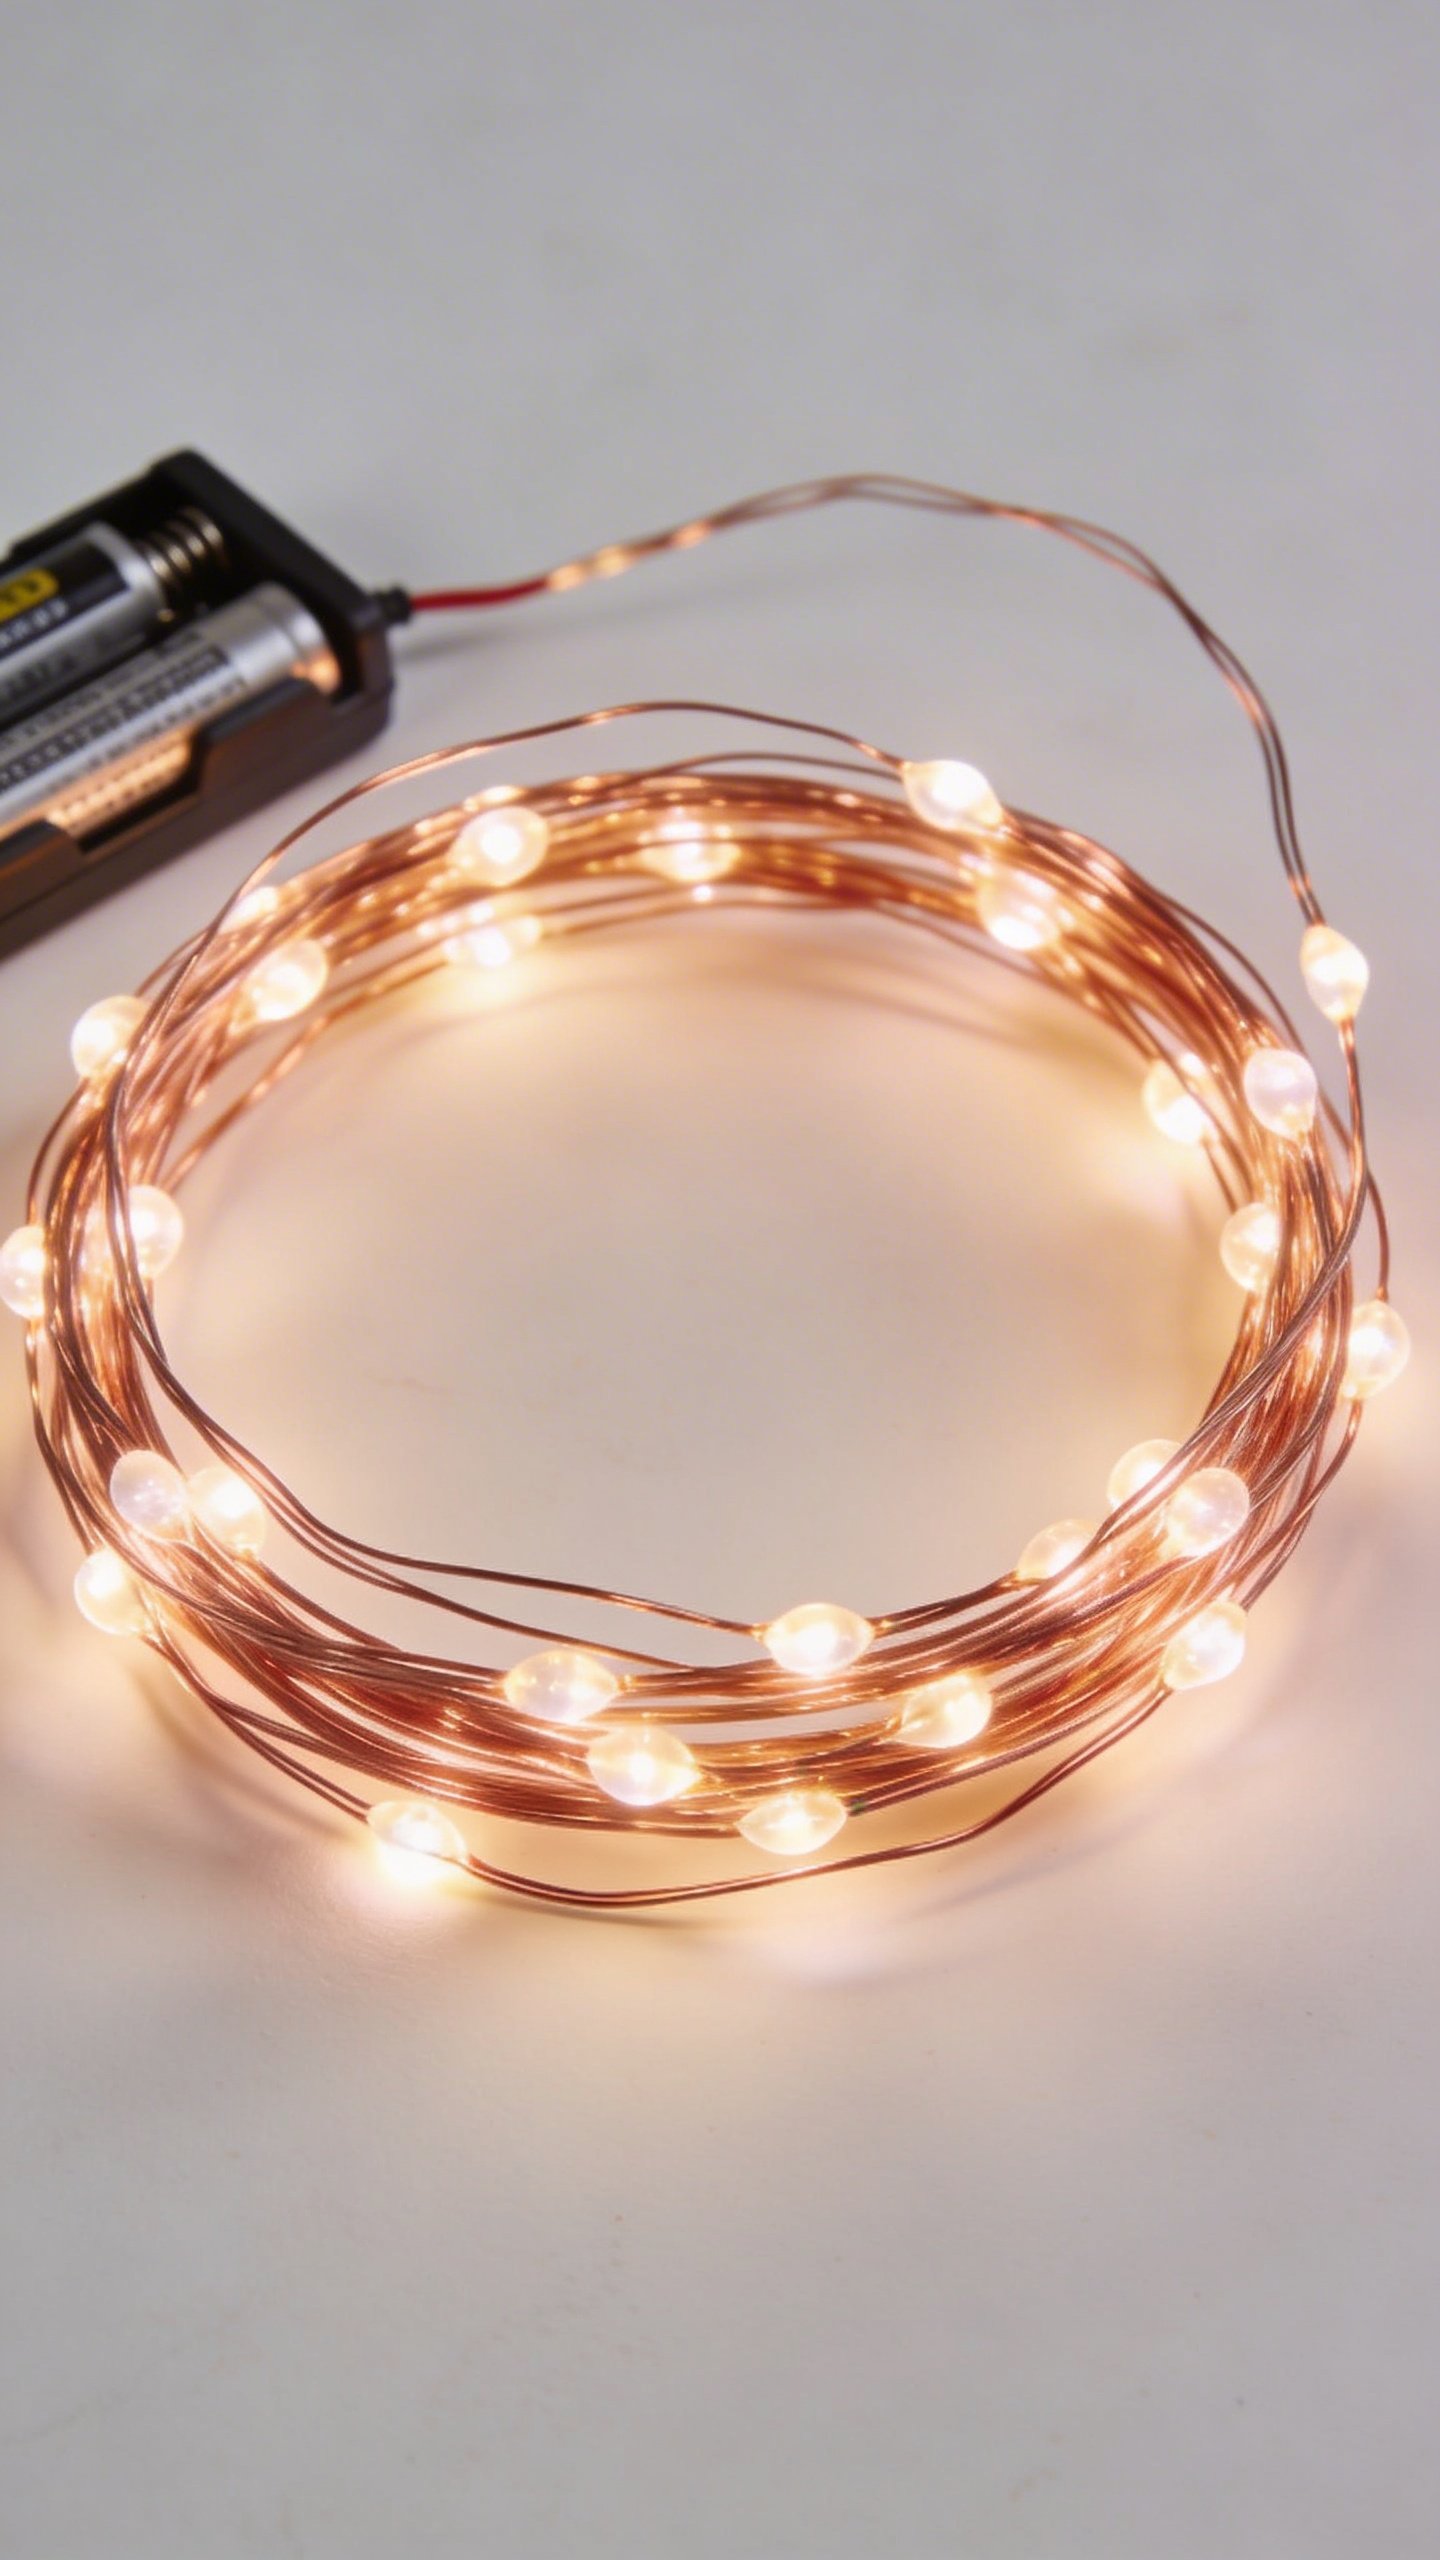
Alright, let’s get these lights up already. Start by plugging in your strand to make sure all the bulbs work – nobody wants to finish hanging only to discover half the lights are dead. Been there, felt that disappointment.
Step one: Clean your walls where you’ll be placing adhesive hooks or clips. Dust and grime prevent proper sticking, and you’ll wake up at 3 AM to lights falling on your face. Not fun.
Step two: Start at your power source and work outward. This prevents you from having awkward cord situations where you realize the plug won’t reach.
Step three: Place your first anchor point, then gently drape the strand to where you want the next point. Don’t pull the lights taut – you want a gentle swag or droop between points. That’s where the magic lives.
Step four: Continue placing hooks or clips every 12-18 inches, depending on how dramatic you want your draping. Closer hooks mean tighter waves, farther apart gives you deeper swags.
Pro tip: FYI, having a friend help makes this approximately 1000% easier, especially for ceiling installations where you’re trying to balance on furniture while holding lights and hooks.
Creative Hanging Ideas to Steal
Want to go beyond basic draping? Here are some next-level ideas that’ll make your bedroom absolutely pop.
Try creating a photo display by hanging fairy lights in horizontal lines and using mini clothespins to attach polaroids or printed photos. It’s functional art, people.
Wrap lights around a ladder leaning against the wall for that rustic-industrial vibe. Bonus points if the ladder also holds plants or blankets.
String lights inside a glass jar or mason jar on your nightstand for a contained magical glow. This works especially well with battery-powered fairy lights.
Create a light curtain backdrop behind your bed by hanging multiple strands vertically. It’s like sleeping under stars, except your ceiling is probably hiding some questionable water stains from the upstairs neighbor.
Safety Stuff (Boring But Important)
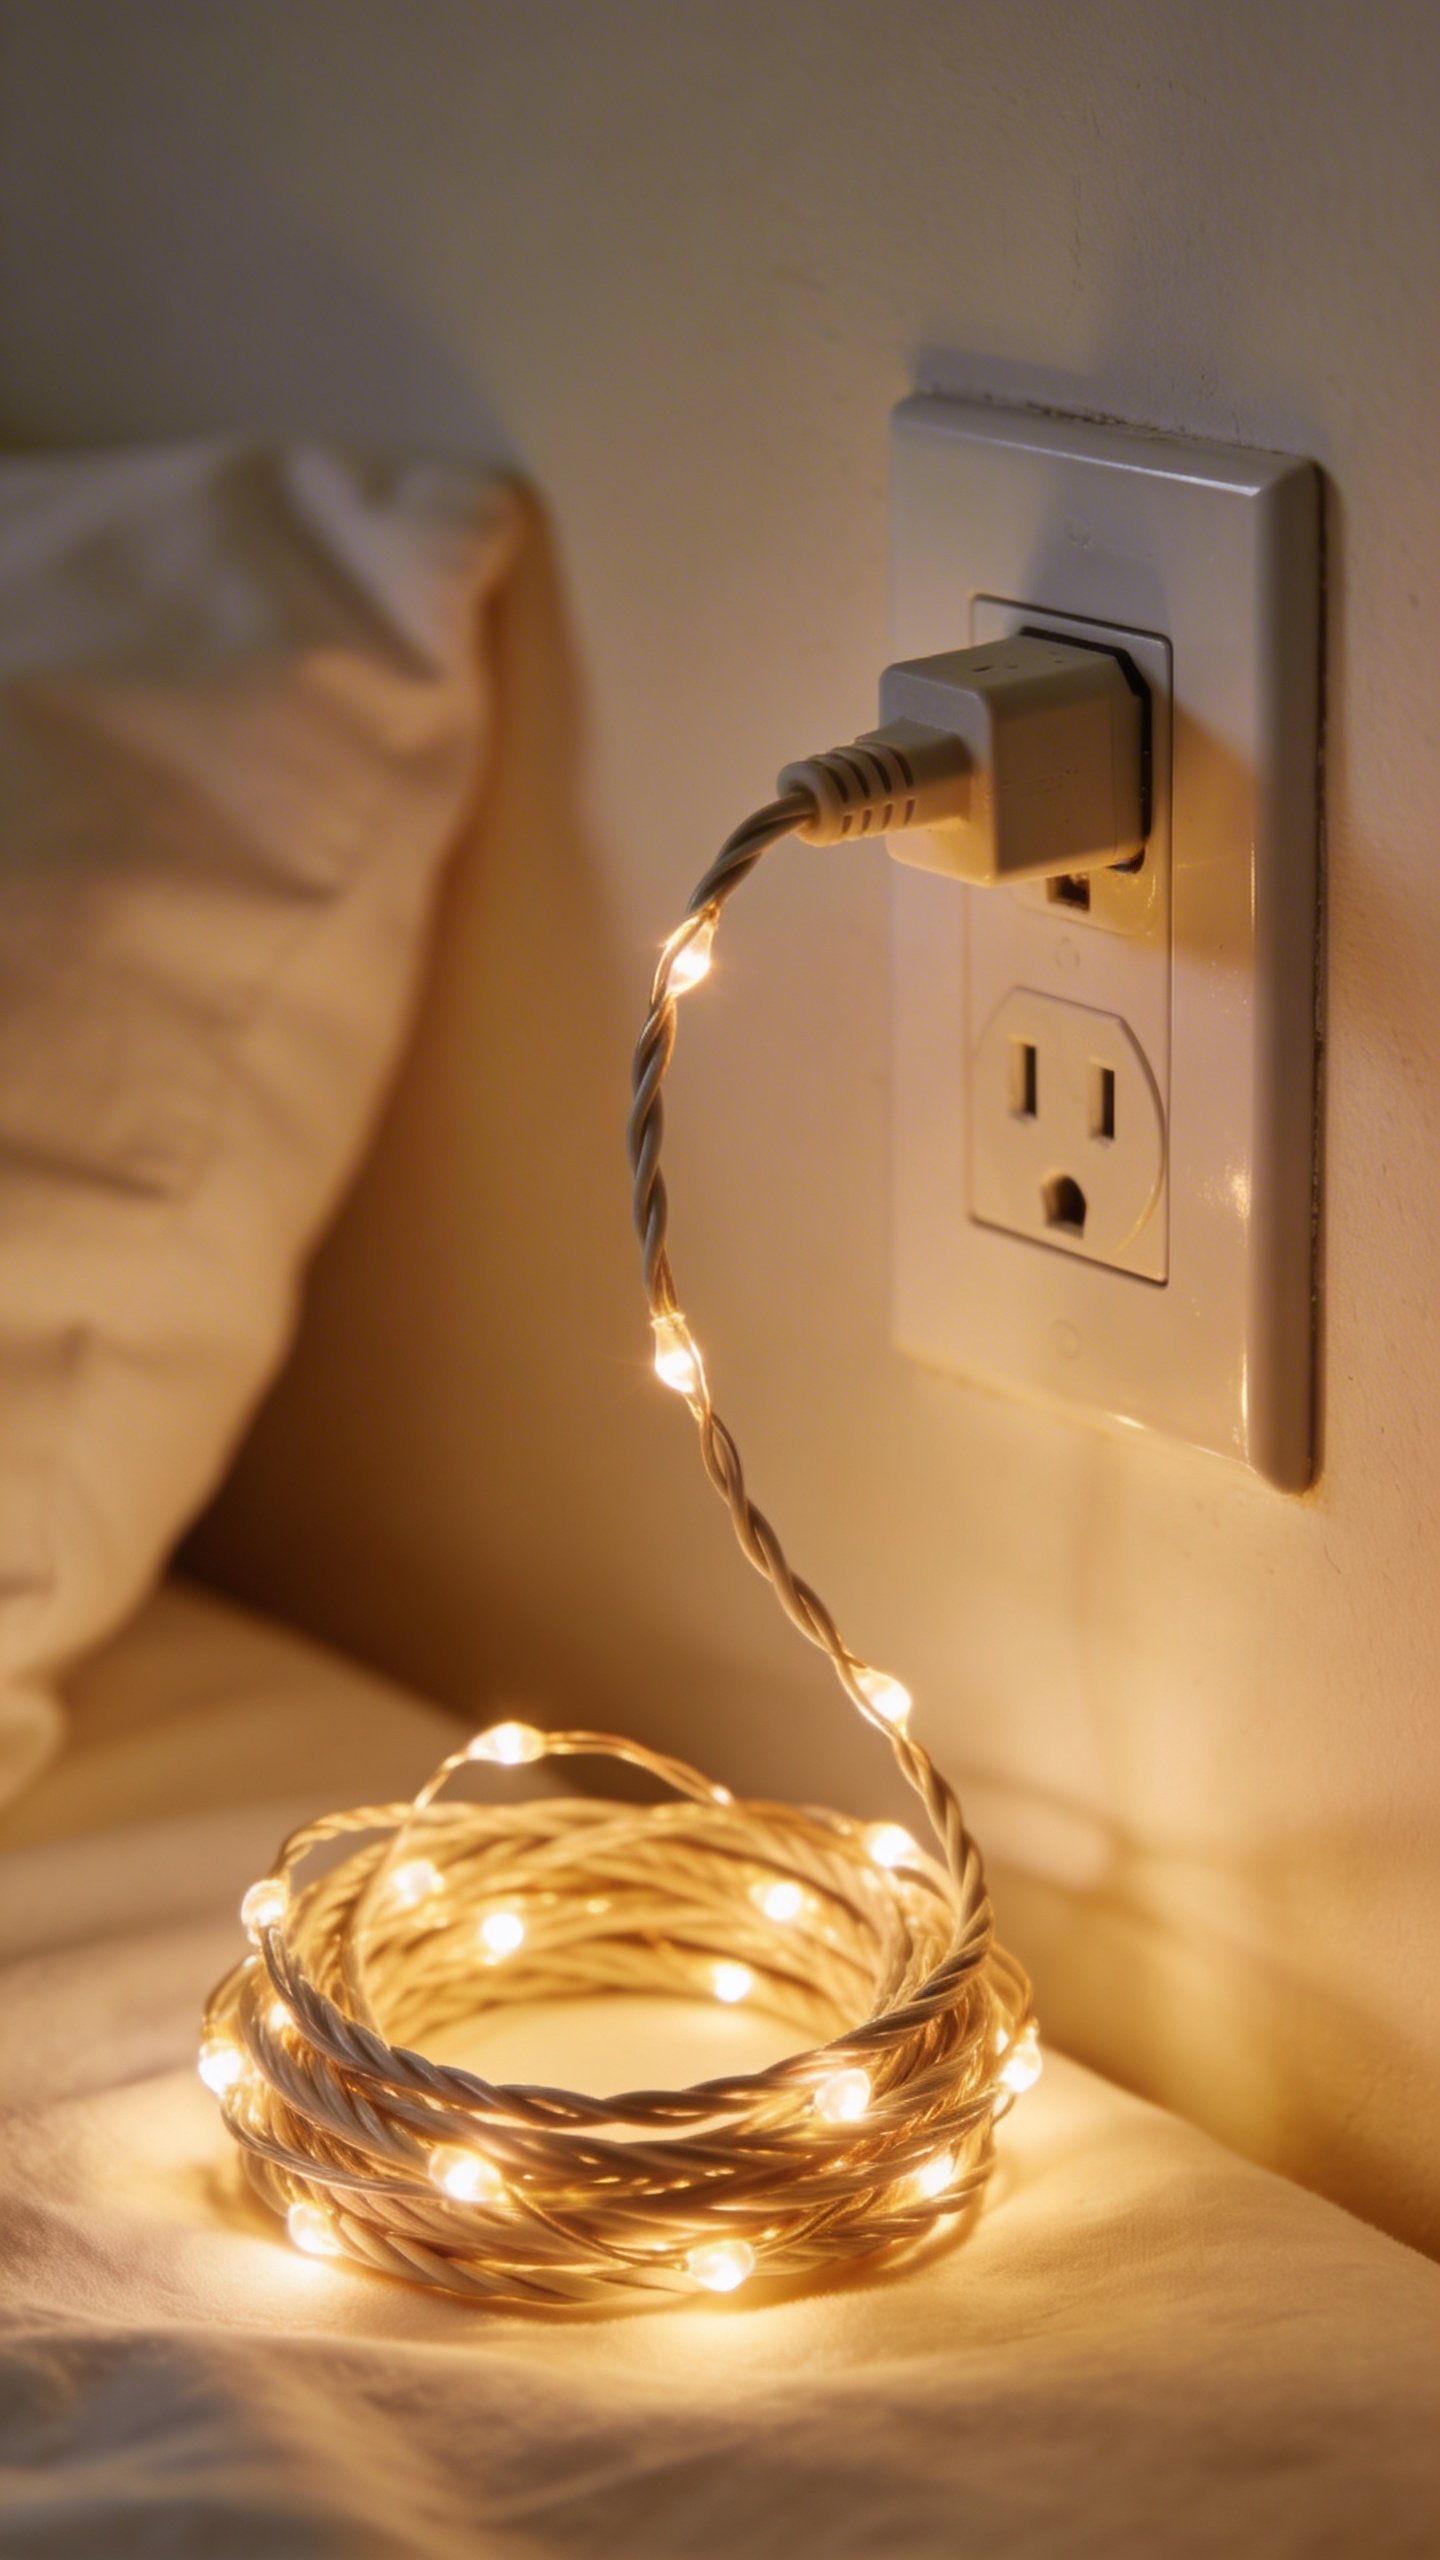
Look, I hate to be that person, but let’s cover some basic safety so your fairy light dreams don’t turn into actual nightmares.
Never cover fairy lights with fabric or bedding – they can get hot and create fire hazards. Keep them in open air where heat can dissipate. This is especially important with traditional incandescent bulbs versus LEDs.
Check that your lights are rated for indoor use. Outdoor lights are designed differently and might not be safe for bedroom applications. Also, don’t overload electrical outlets. If you’re plugging in seventeen different strands, you’re asking for trouble.
Inspect your lights regularly for frayed wires or damaged bulbs. Replace any sketchy-looking strands immediately. Your safety is way more important than aesthetic vibes.
Making Your Lights Work Harder
Want to get more functionality out of your fairy lights? Smart plugs are your friend. You can set timers so your lights turn on automatically at sunset and off when you usually fall asleep. No more falling asleep with lights blazing all night.
Dimmer switches designed for LED lights let you adjust brightness based on mood. Reading in bed? Crank them up. Netflix and chill? Dim that situation down.
Some fairy light strands come with different lighting modes – steady, twinkling, fading, etc. IMO, the twinkling mode gets old fast, but the steady glow is perfect for everyday use.
Frequently Asked Questions
How do I hang fairy lights without damaging walls?
Command hooks are absolutely your best bet for damage-free hanging. Get the clear ones in small or medium sizes depending on your light strand weight. Removable adhesive clips made specifically for string lights work great too. Just make sure you clean the wall surface first with rubbing alcohol and let it dry completely before sticking anything up.
Can I leave fairy lights on all night?
LED fairy lights are generally safe to leave on overnight since they don’t generate much heat. However, it’s better for energy consumption and bulb longevity to turn them off when you’re sleeping. Set up a smart plug with a timer if you want them on for a few hours without remembering to manually switch them off. Traditional incandescent fairy lights shouldn’t be left on unattended for long periods.
How many strands of fairy lights do I need for a bedroom?
This totally depends on your room size and desired coverage. For a standard bedroom, 2-3 strands of 20-30 feet each usually does the trick. Measure your planned hanging area and add about 20% extra for draping and swooping. You can always connect multiple strands together, but check the manufacturer’s guidelines on how many you can safely link.
Why do my fairy lights keep falling down?
Usually this happens because the adhesive isn’t sticking properly. Make sure you’re cleaning the wall with rubbing alcohol first and letting it dry. Press adhesive hooks firmly for 30 seconds when installing. Also, wait at least an hour (preferably 24 hours) before hanging your lights to let the adhesive cure. If you’re hanging heavy lights, you might need stronger hooks or more frequent anchor points.
Can I hang fairy lights on textured walls?
Textured walls are trickier but not impossible. Adhesive hooks often don’t stick well on heavy texture, so you might need to go with small clear thumbtacks or nails instead. Another option is using removable mounting putty, which can conform to textured surfaces better than flat adhesive. Just test in an inconspicuous spot first.
How do I hide the battery pack on battery-powered fairy lights?
Tuck the battery pack behind furniture, inside a decorative box on your nightstand, or behind a picture frame. Some people get creative and wrap the battery pack in decorative fabric or put it inside a small basket. You can also use velcro strips to attach it to the back of your headboard where nobody will see it.
Final Thoughts
Hanging fairy lights in your bedroom is honestly one of the easiest room upgrades you can do. The impact is huge, the cost is minimal, and the installation takes maybe an hour tops. Whether you go minimalist with a single strand around your headboard or go full fairy godmother with lights cascading from every surface, you’re creating a space that feels more like you.
Don’t overthink it too much. Start simple, see what you like, and adjust from there. The beauty of fairy lights is that they’re super forgiving – if you don’t like your first attempt, just move the hooks and try again. Now get off your phone, grab some lights, and transform that bedroom into the cozy sanctuary you deserve. Your future self scrolling through your camera roll at 2 AM will thank you.